
October 10, 2026
Converting a Vintage Van in Switzerland: What It Really Cost Us
Oldtimer-Van im Selbstausbau: Was kostet das in der Schweiz?
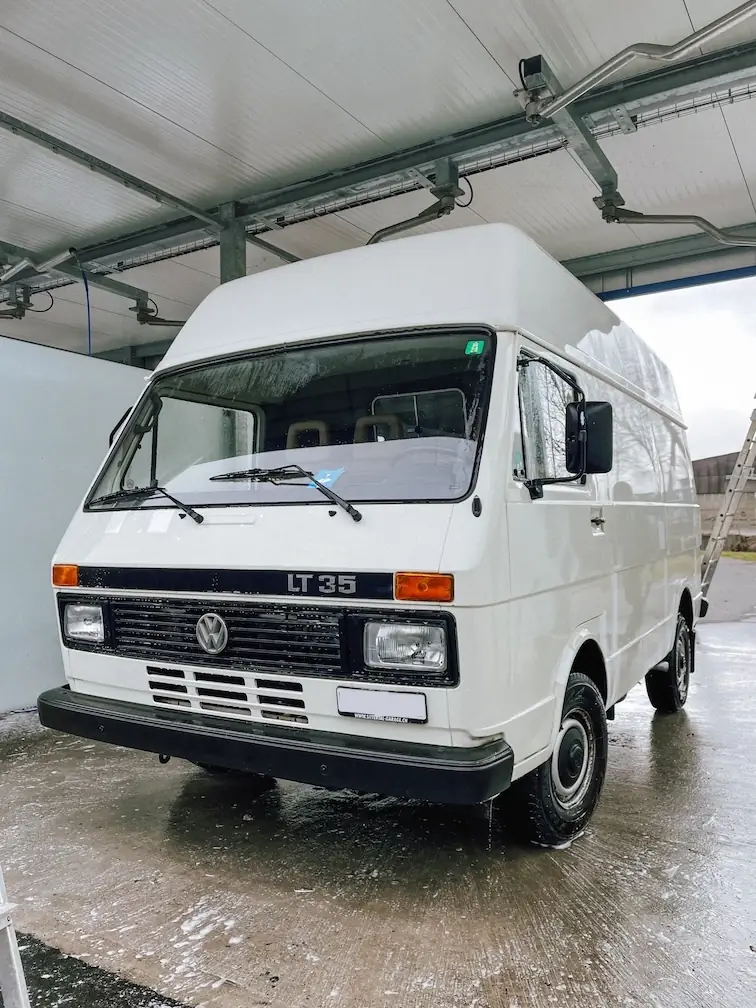
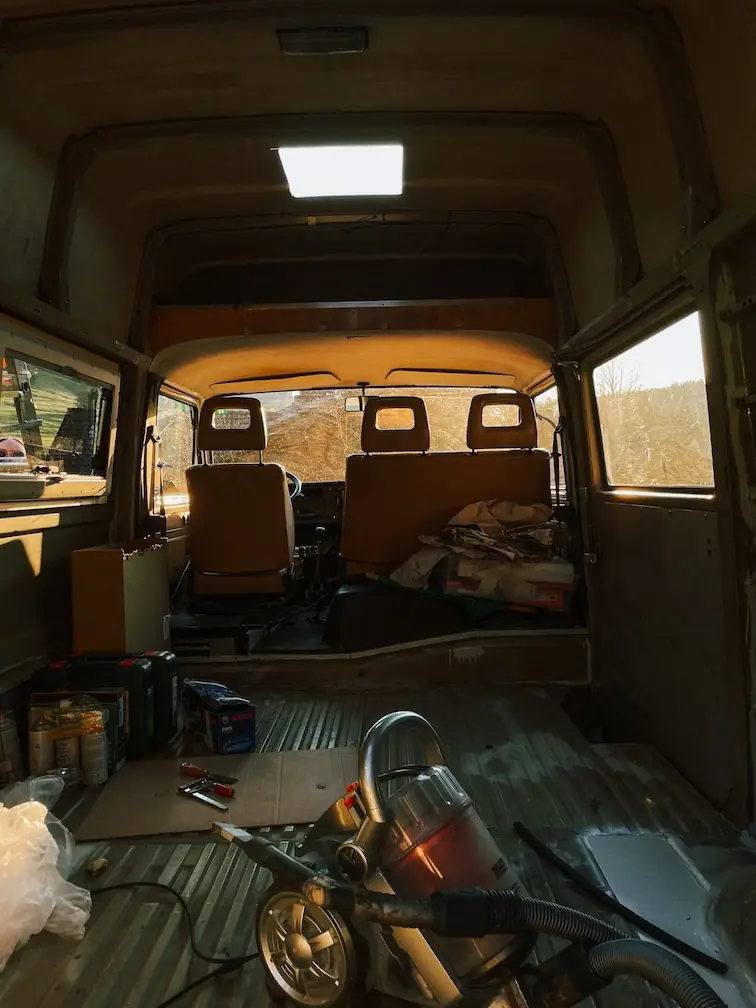
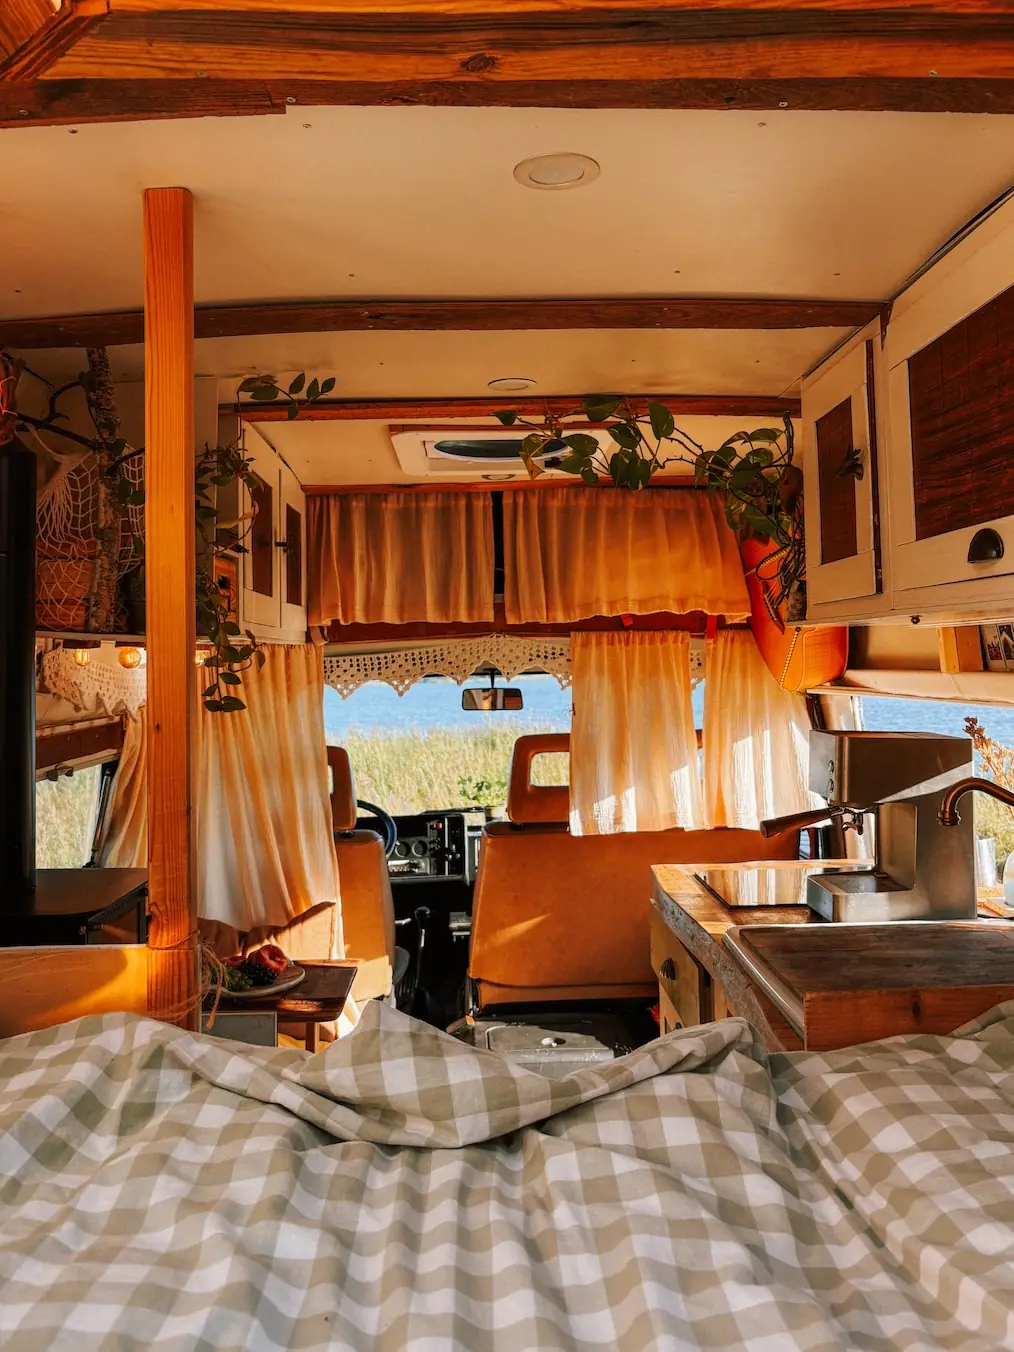
We bought Humbär and built him out for one reason: vanlife. He was going to be our home base for the next few years, so we gave up our apartment to live and work from the road as digital nomads. That means Humbär was built from day one to be a long-term hideaway out in nature: off-grid and comfortable, but easy on the eyes too. And we wanted to build him out as cheaply as possible, without cutting corners on anything that truly makes everyday van life cozy. If you're thinking about converting a vintage van for vanlife yourself, this post might give you a better sense of what to expect financially. For us, the total came to CHF 24,836.08.
What kind of vintage van did you get?
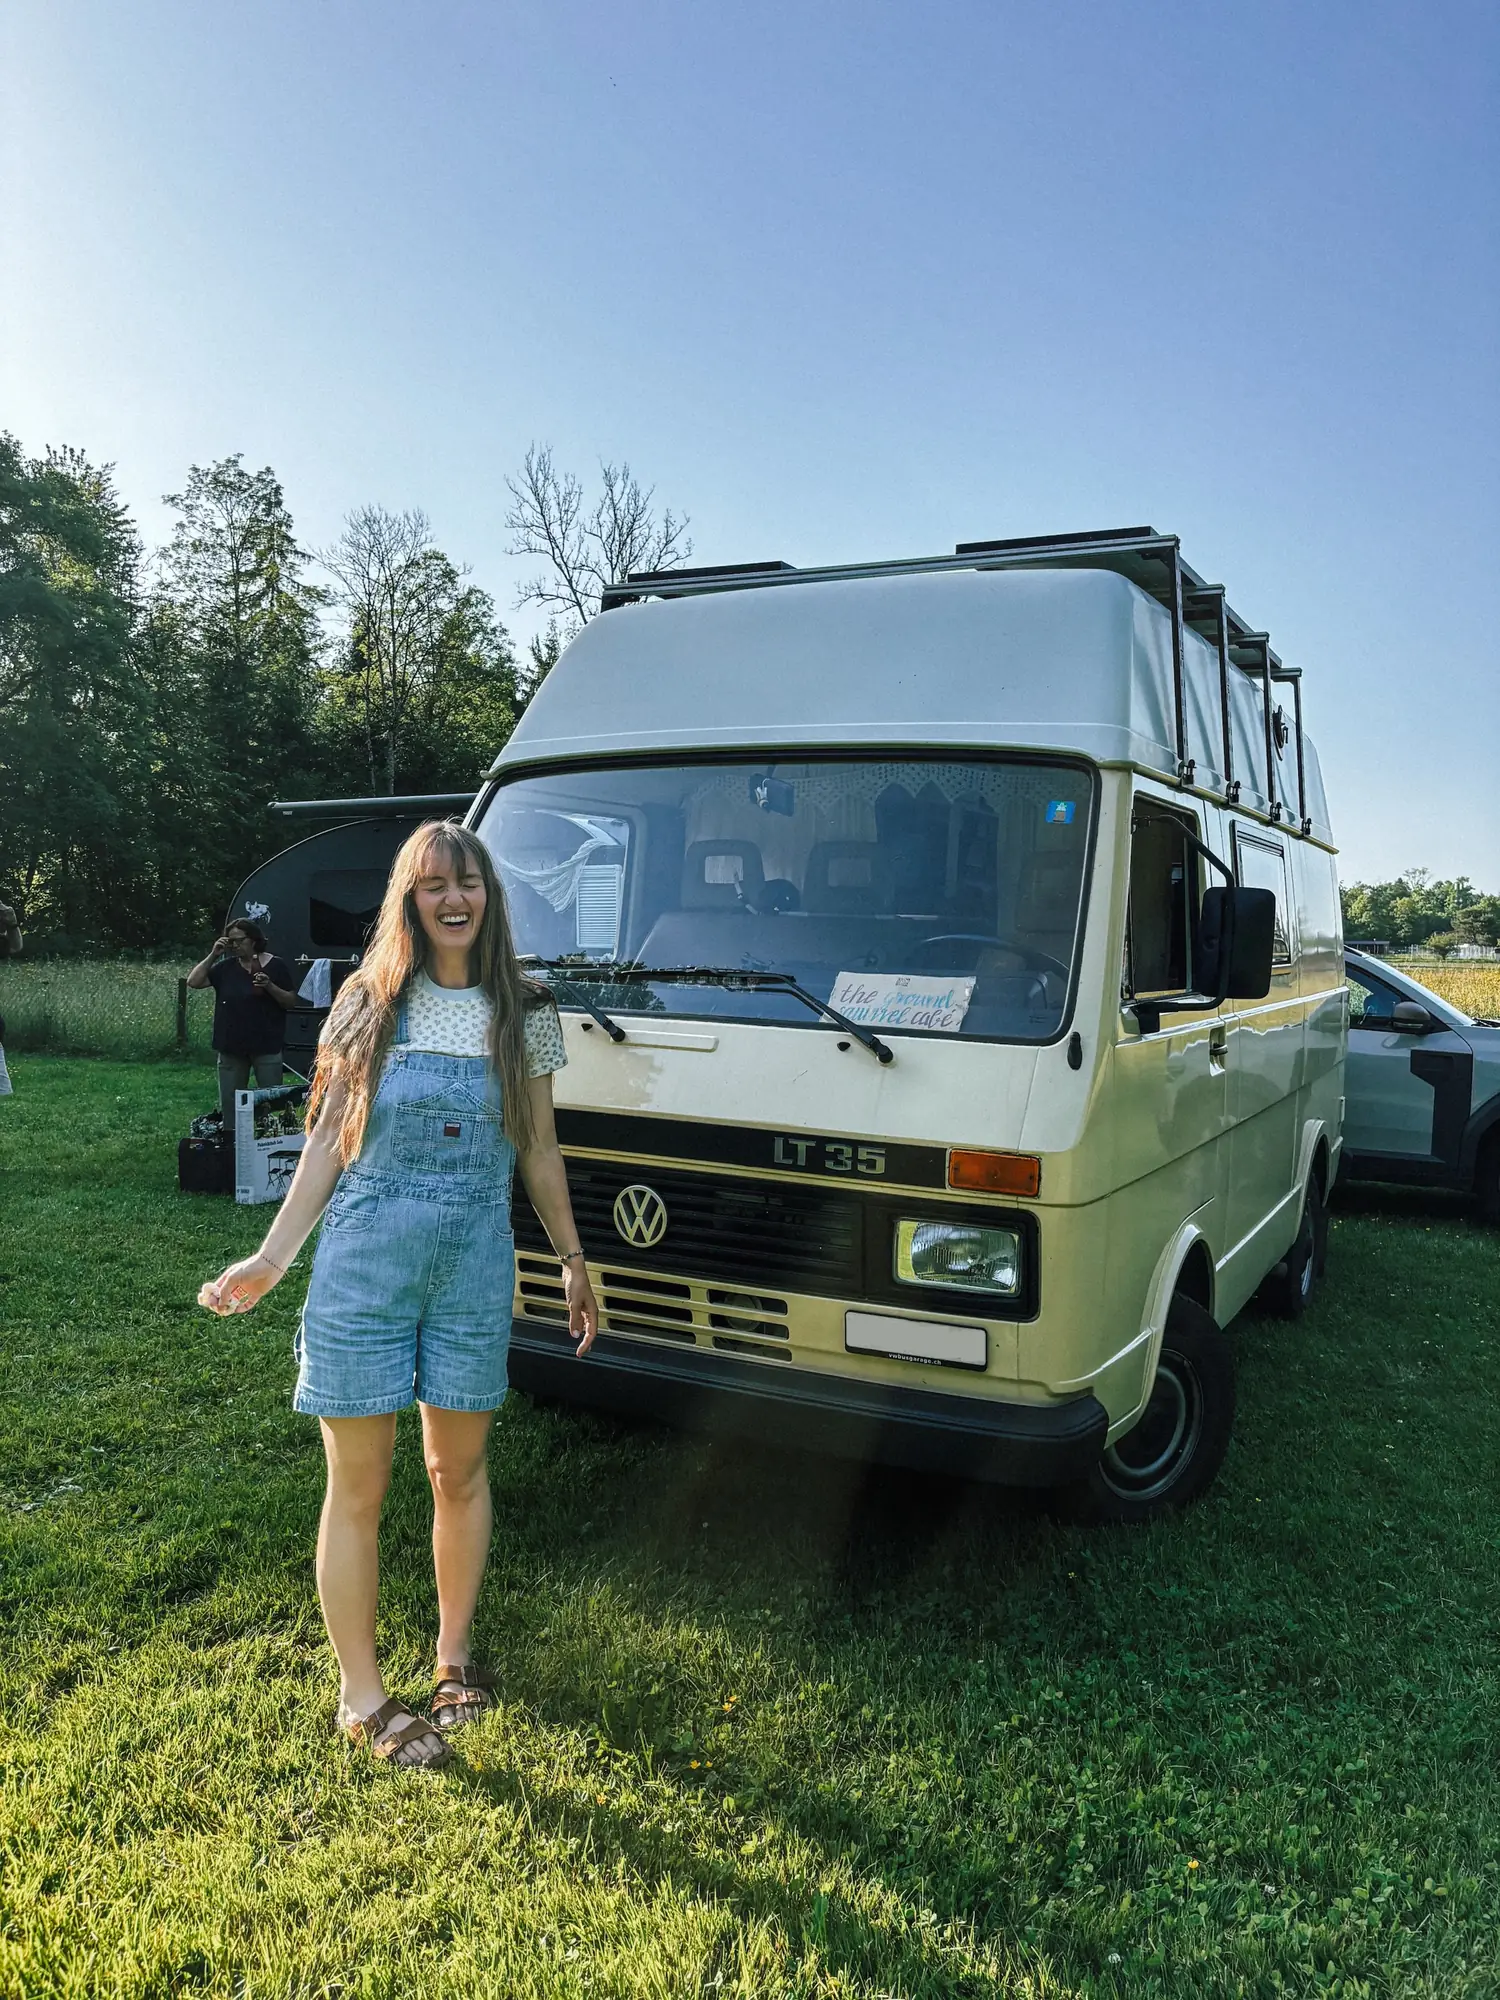
Humbär, our base vehicle, is a 1992 VW LT 35: a panel van with a fiberglass high roof, in the shorter of the two versions. In today's sizing lingo that makes him an L2H2, 15.9 ft (4.855 m) long, 8.4 ft (2.57 m) tall and 6.7 ft (2.04 m) wide, with a cargo floor of 9.7 ft (2.97 m).
Under the hood hums a 2.4-liter six-cylinder gas engine with 70 kW (94 hp). Humbär already came with power steering and a catalytic converter, which makes him one of the youngest of his kind.
We had our eye on the Mercedes-Benz T1 too. But the LT won us over fast, because it's a good bit wider. That meant we could fit the bed crosswise, and Frank, at 5'11" (1.80 m), fits in perfectly. Give or take a bad hair day.
How much did the van itself cost?
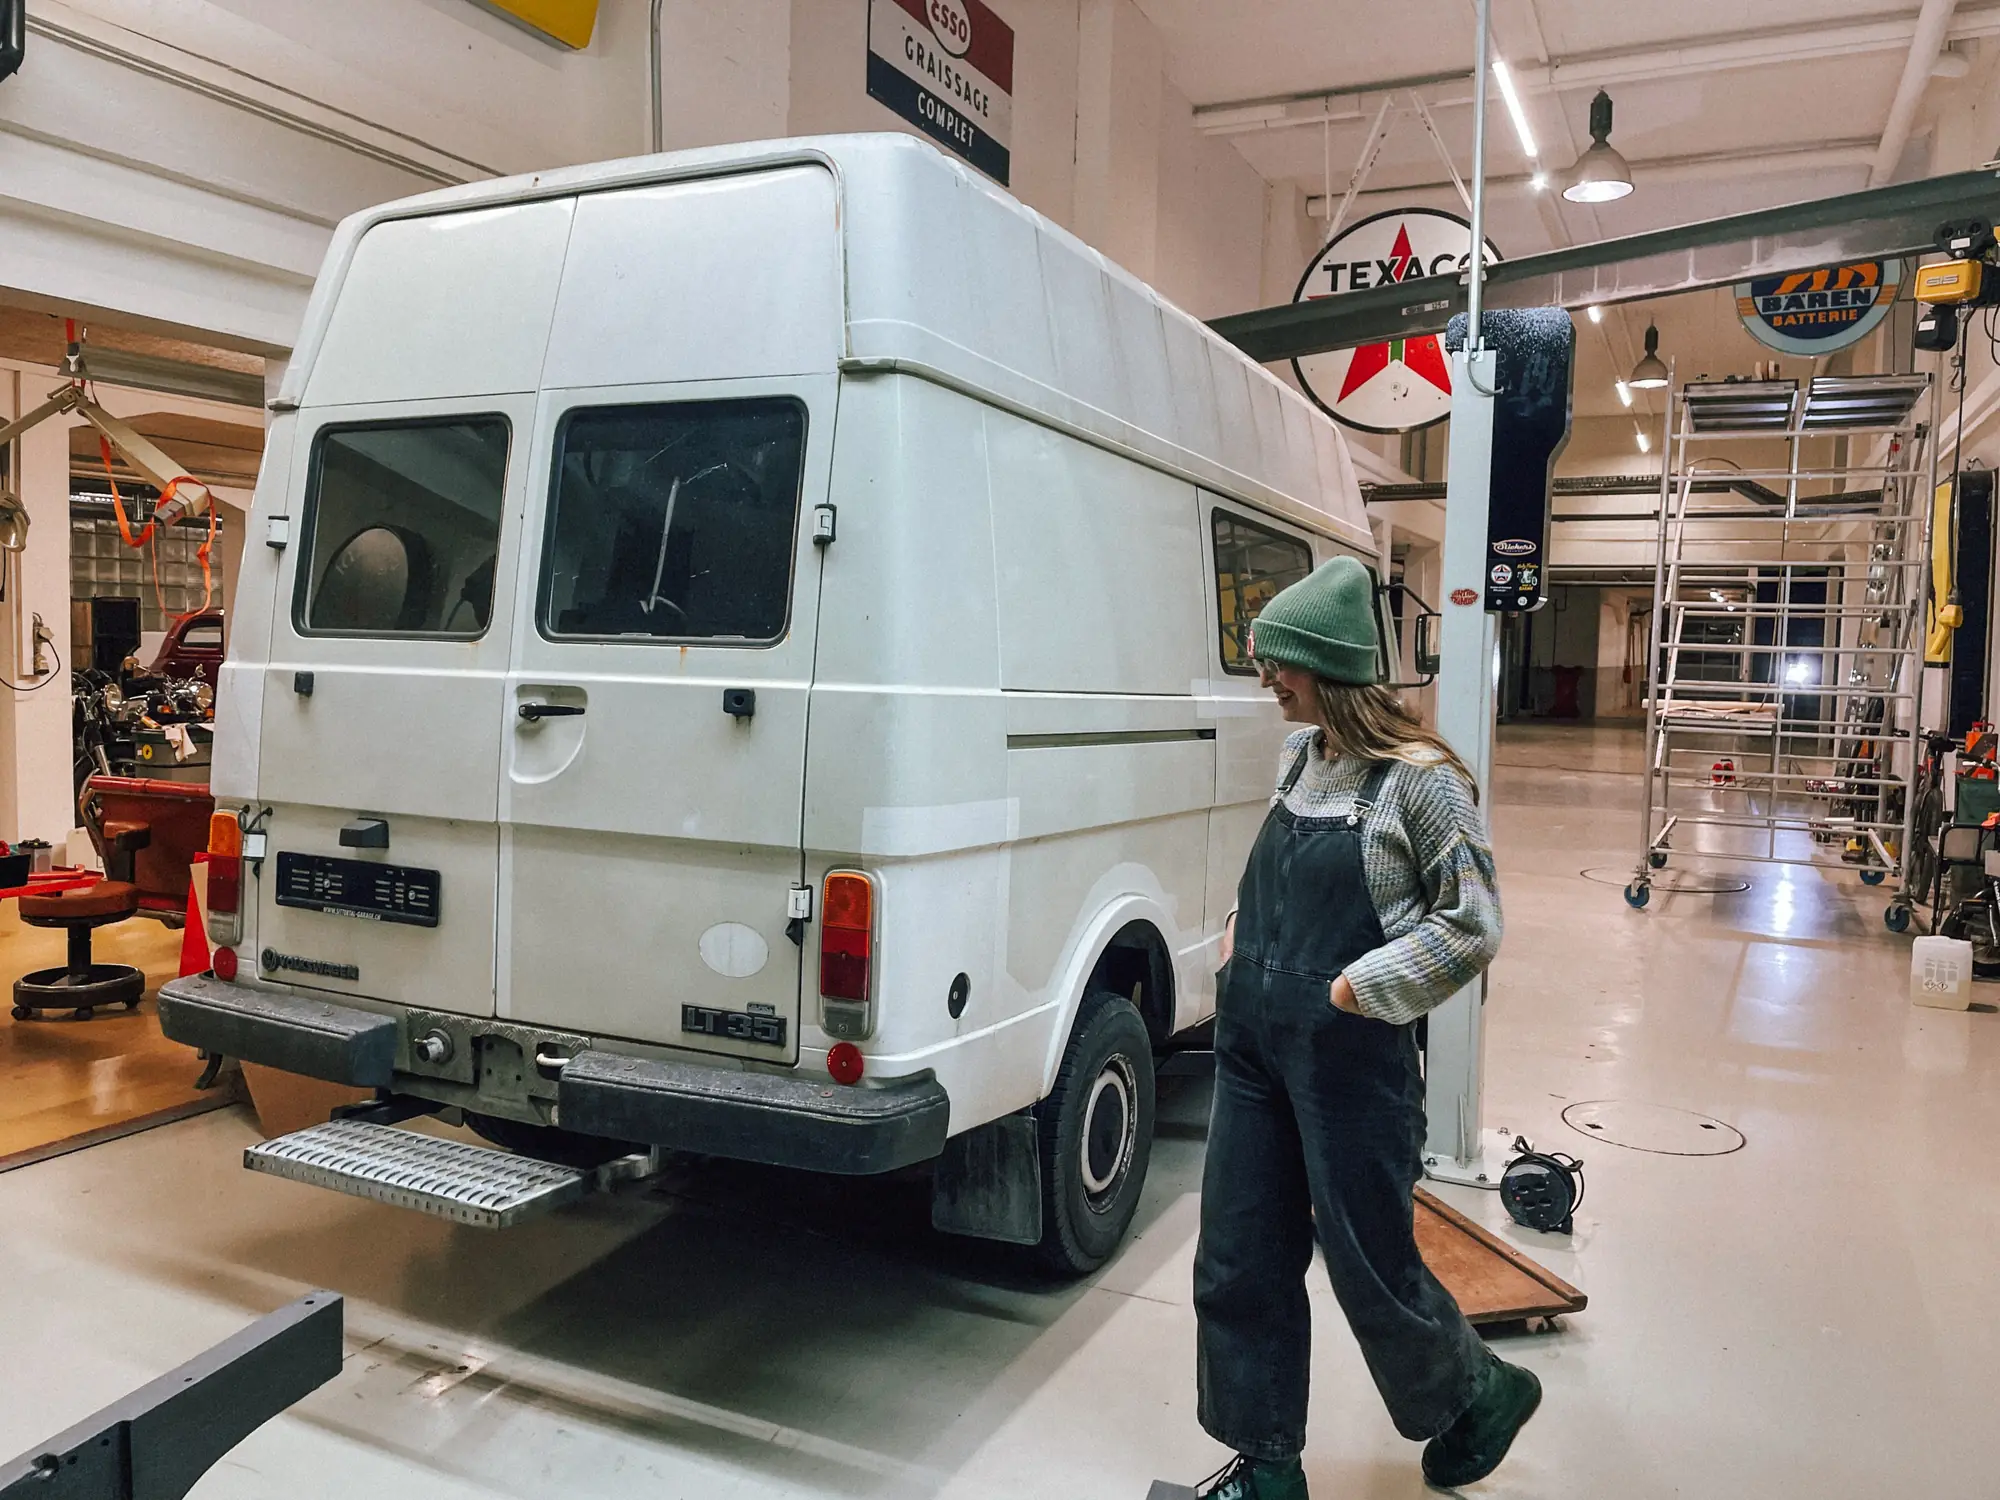
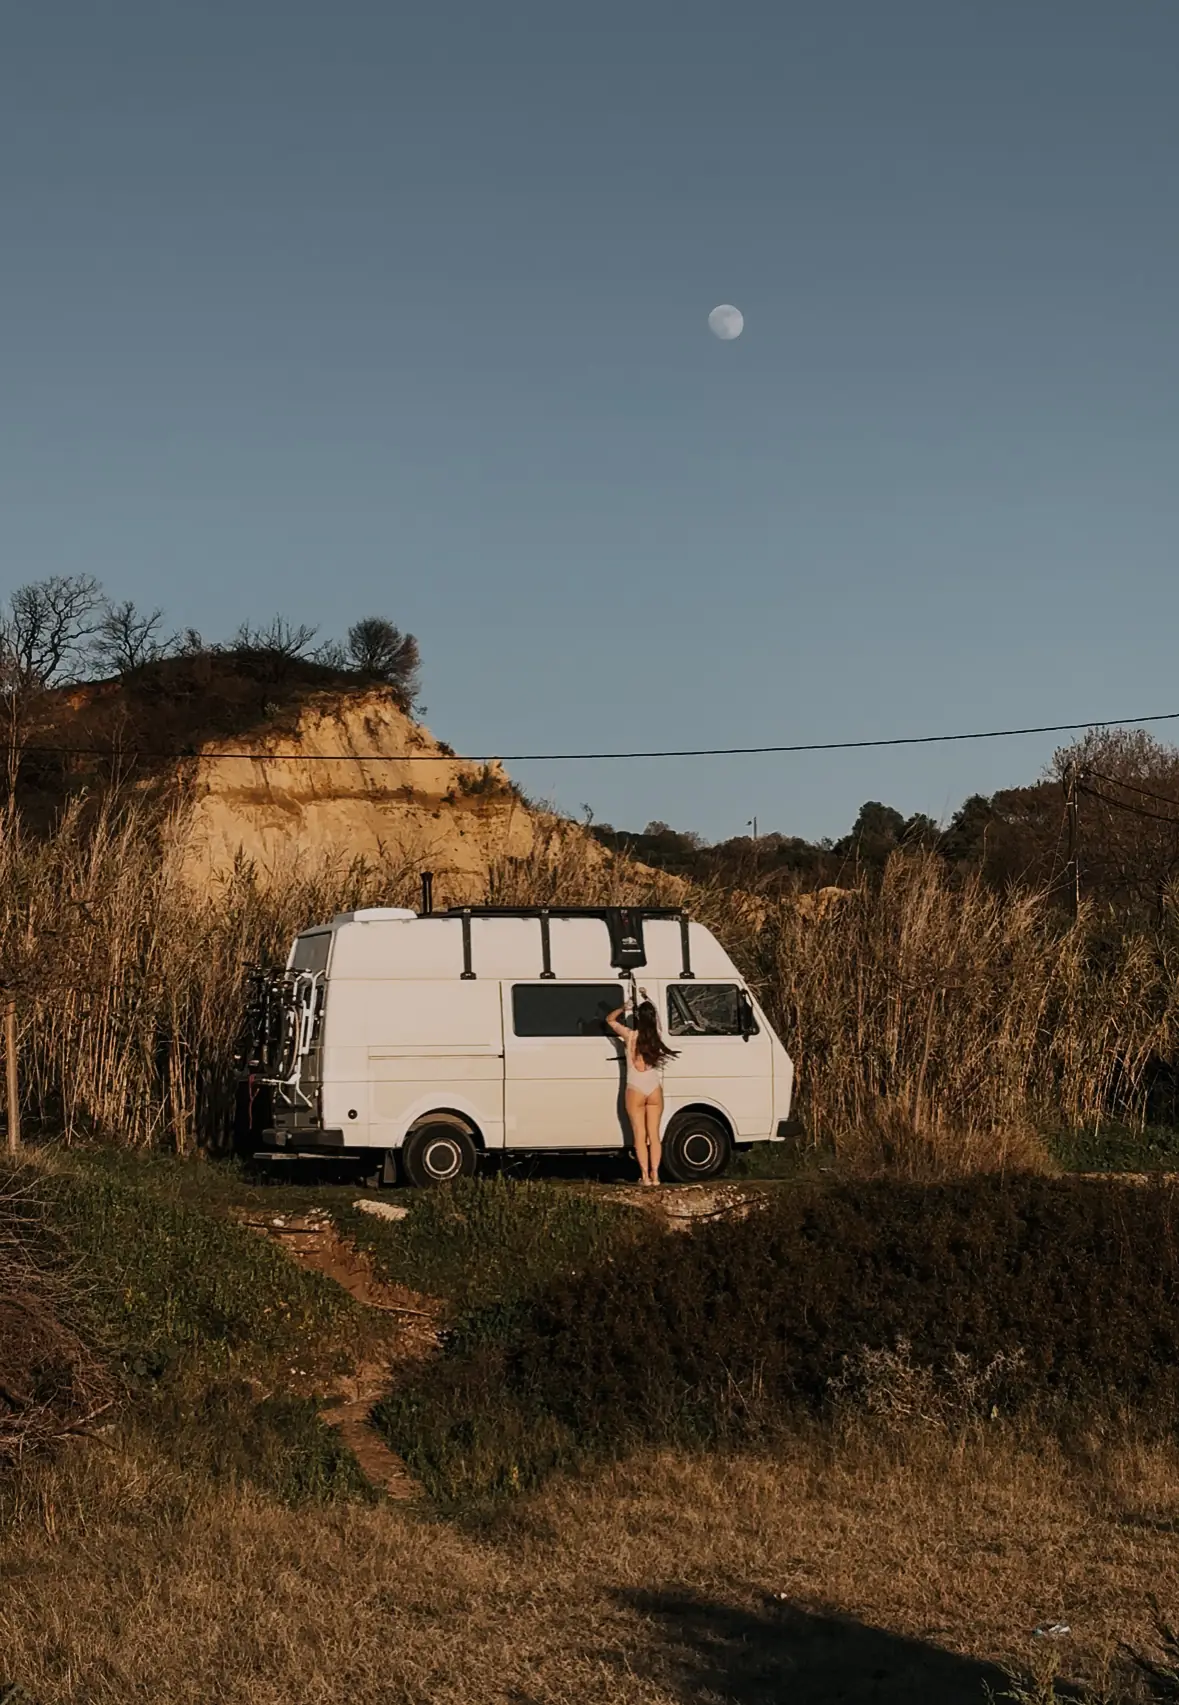
Van shopping: the day we bought Humbär
CHF 3,500, which borders on a small miracle. Humbär had about 75,000 miles (120,000 km) on the clock and was in good mechanical shape. Even so, he needed a bit of welding and some gearbox work right after we bought him. We had that done for around CHF 1,600.
That low price was only the opening act. With a vehicle more than 30 years old, don't kid yourself that handing over the cash is the end of the story.
What did the rust repair on the VW LT 35 cost?
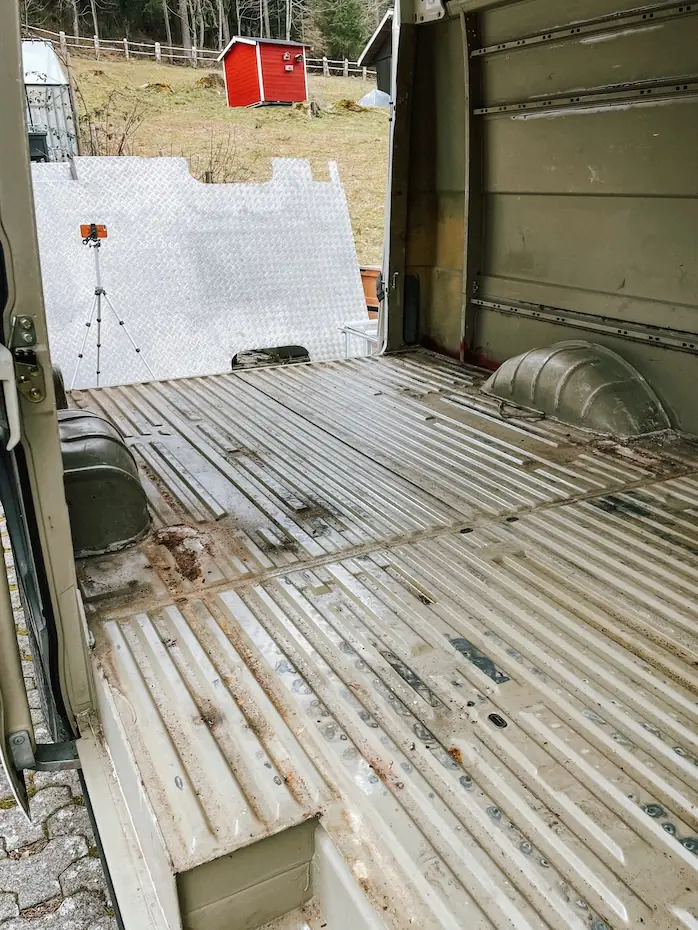
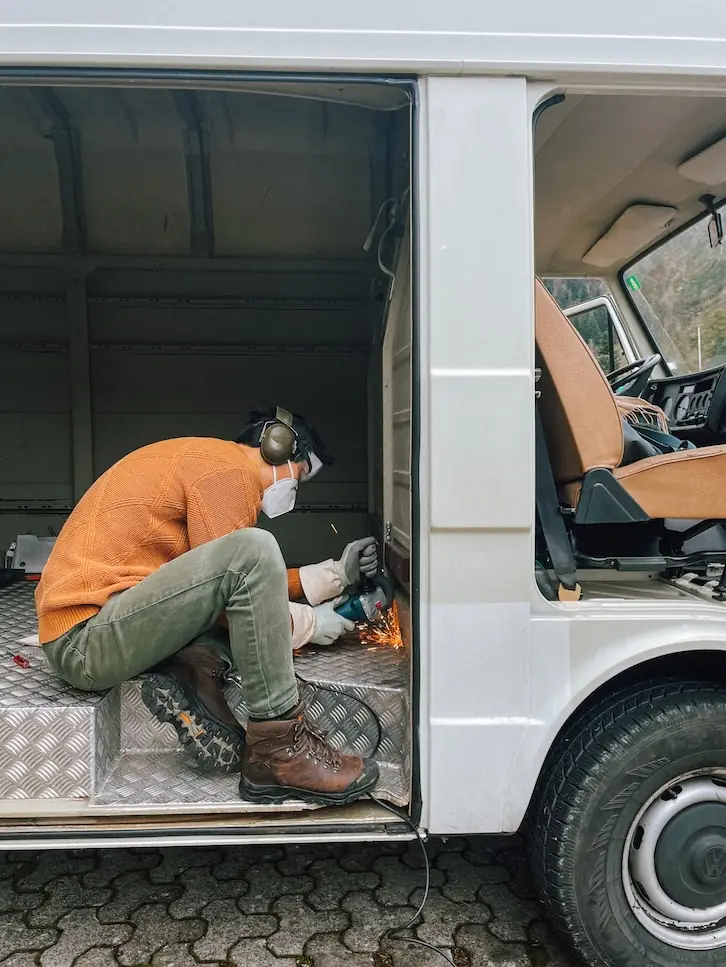
Old vans and rust go together like peanut butter and jelly. Once we'd emptied Humbär out and pulled up the diamond-plate floor, we got the scare of our lives: two big rust holes. On top of that came a classic weak spot of the first-generation LT, rust along the windshield. So off to the shop he went.
The rust repair set us back a hefty CHF 4,862.85. It stung, but it had to happen. Without a solid base, no build is worth the effort. Add roughly CHF 290 on top for paint, rust converter and sanding supplies.
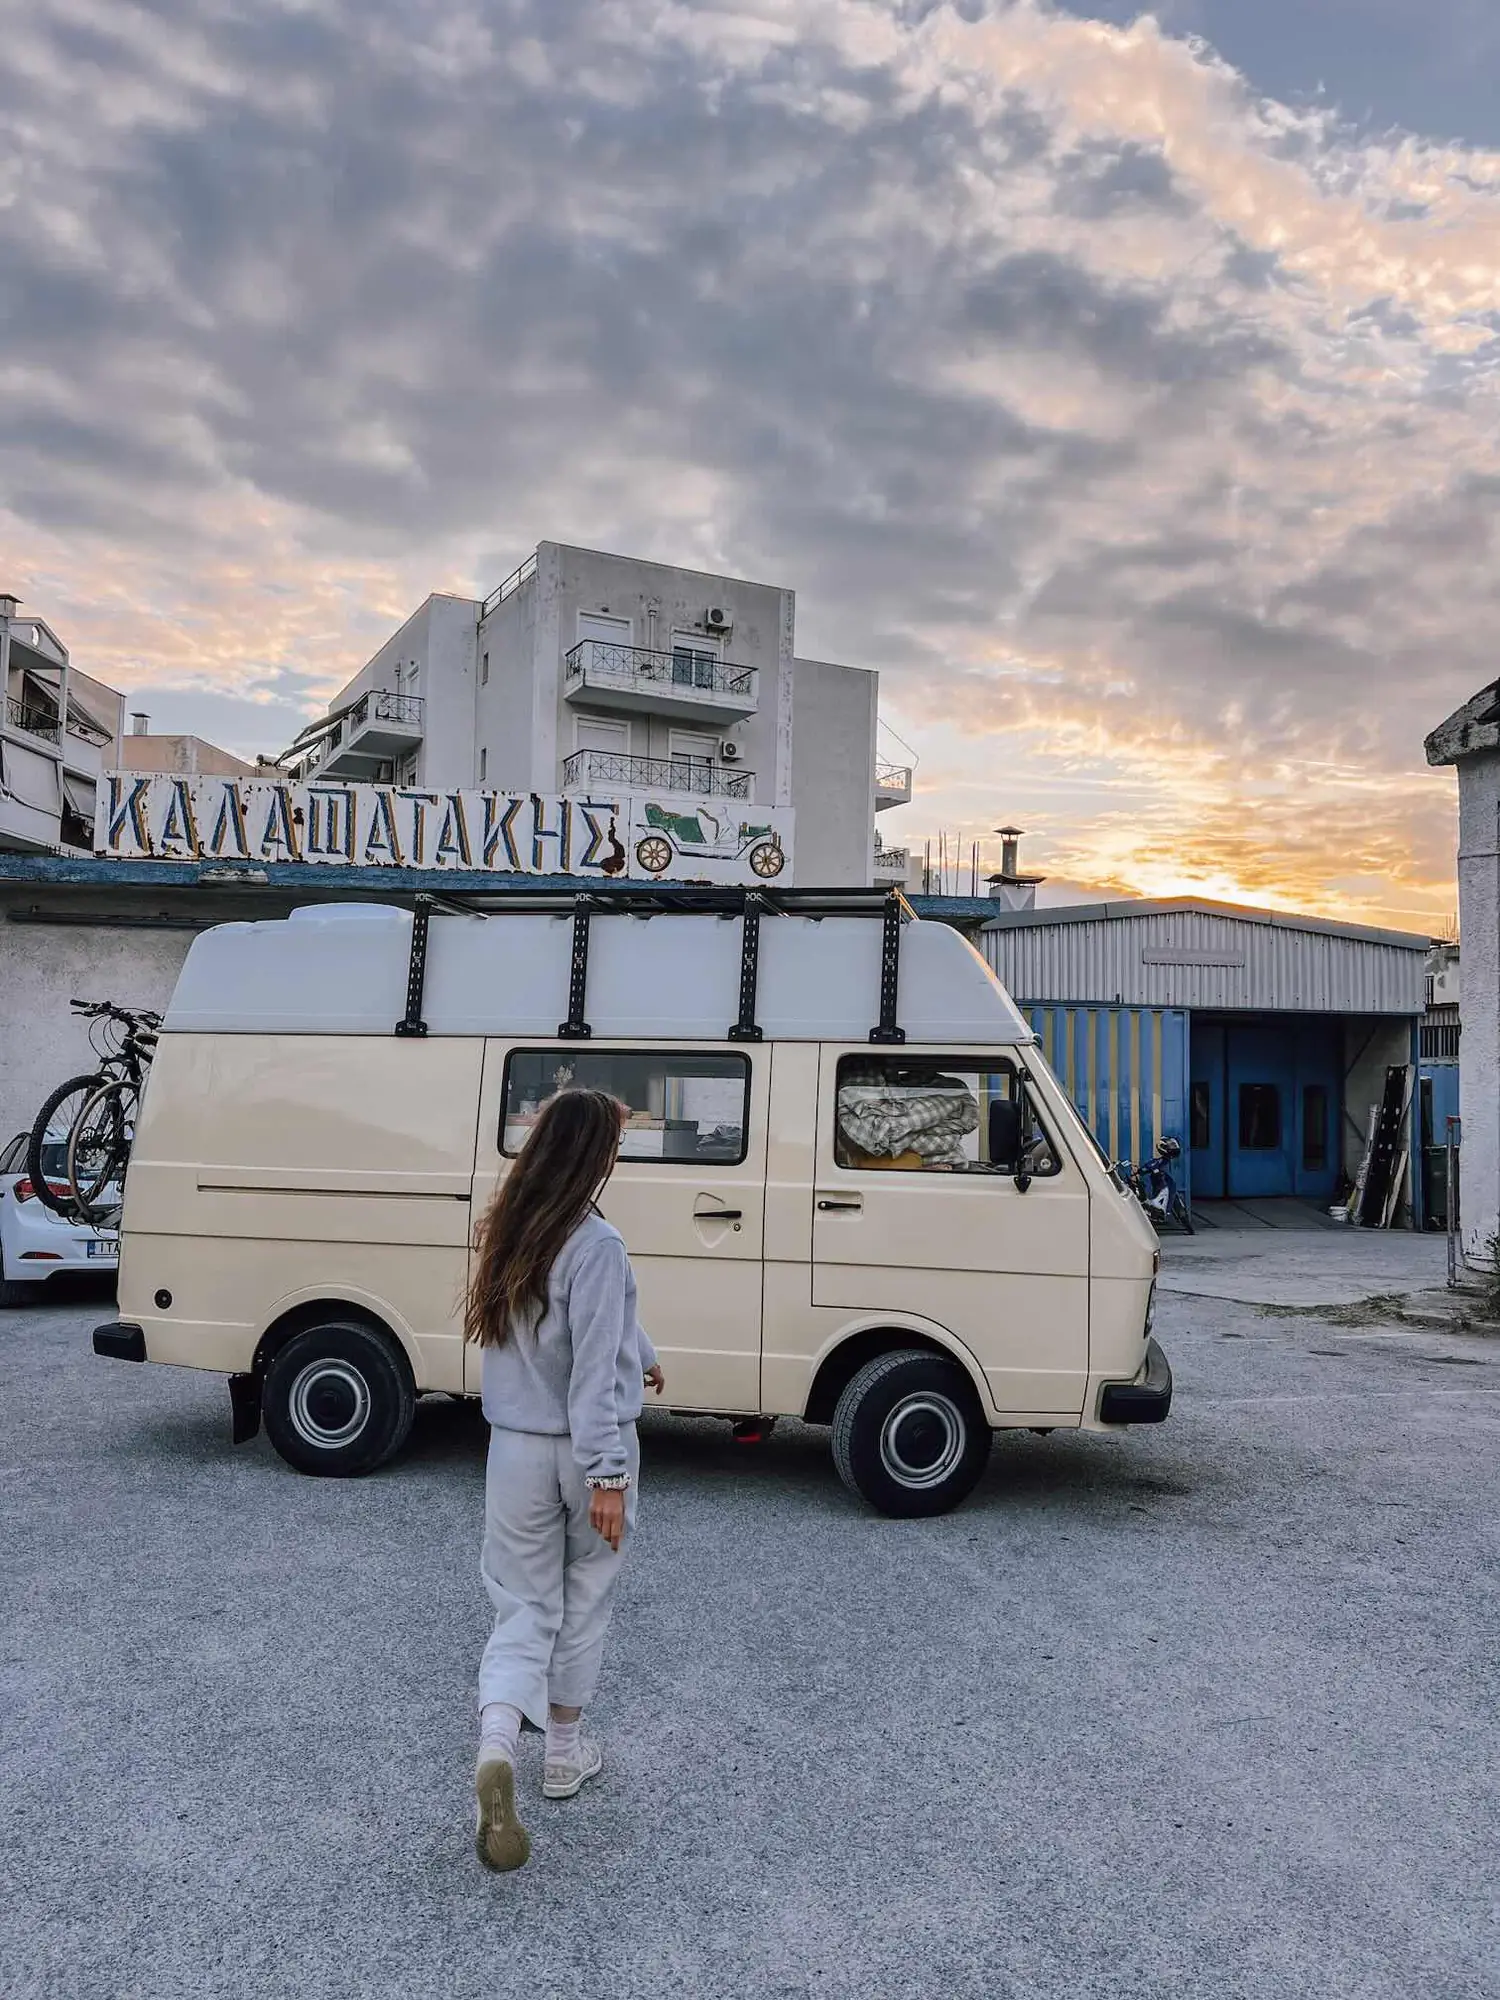
Later on we had Humbär repainted in Greece, with more restoration and rust work thrown in, at a price we thought was more than fair.
How long did the build take, and what did it cost?
CHF 24,836.08Total
- VehicleCHF 10,285.8541%
- InteriorCHF 6,301.7825%
- ElectricsCHF 3,921.8816%
- ExteriorCHF 2,118.039%
- Water and toiletCHF 1,956.138%
- ConstructionCHF 252.411%
All prices in CHF. Not included: the repaint in Greece later on.
Under "Construction" (CHF 252.41) we logged tools and small stuff like Sikaflex and saw blades.
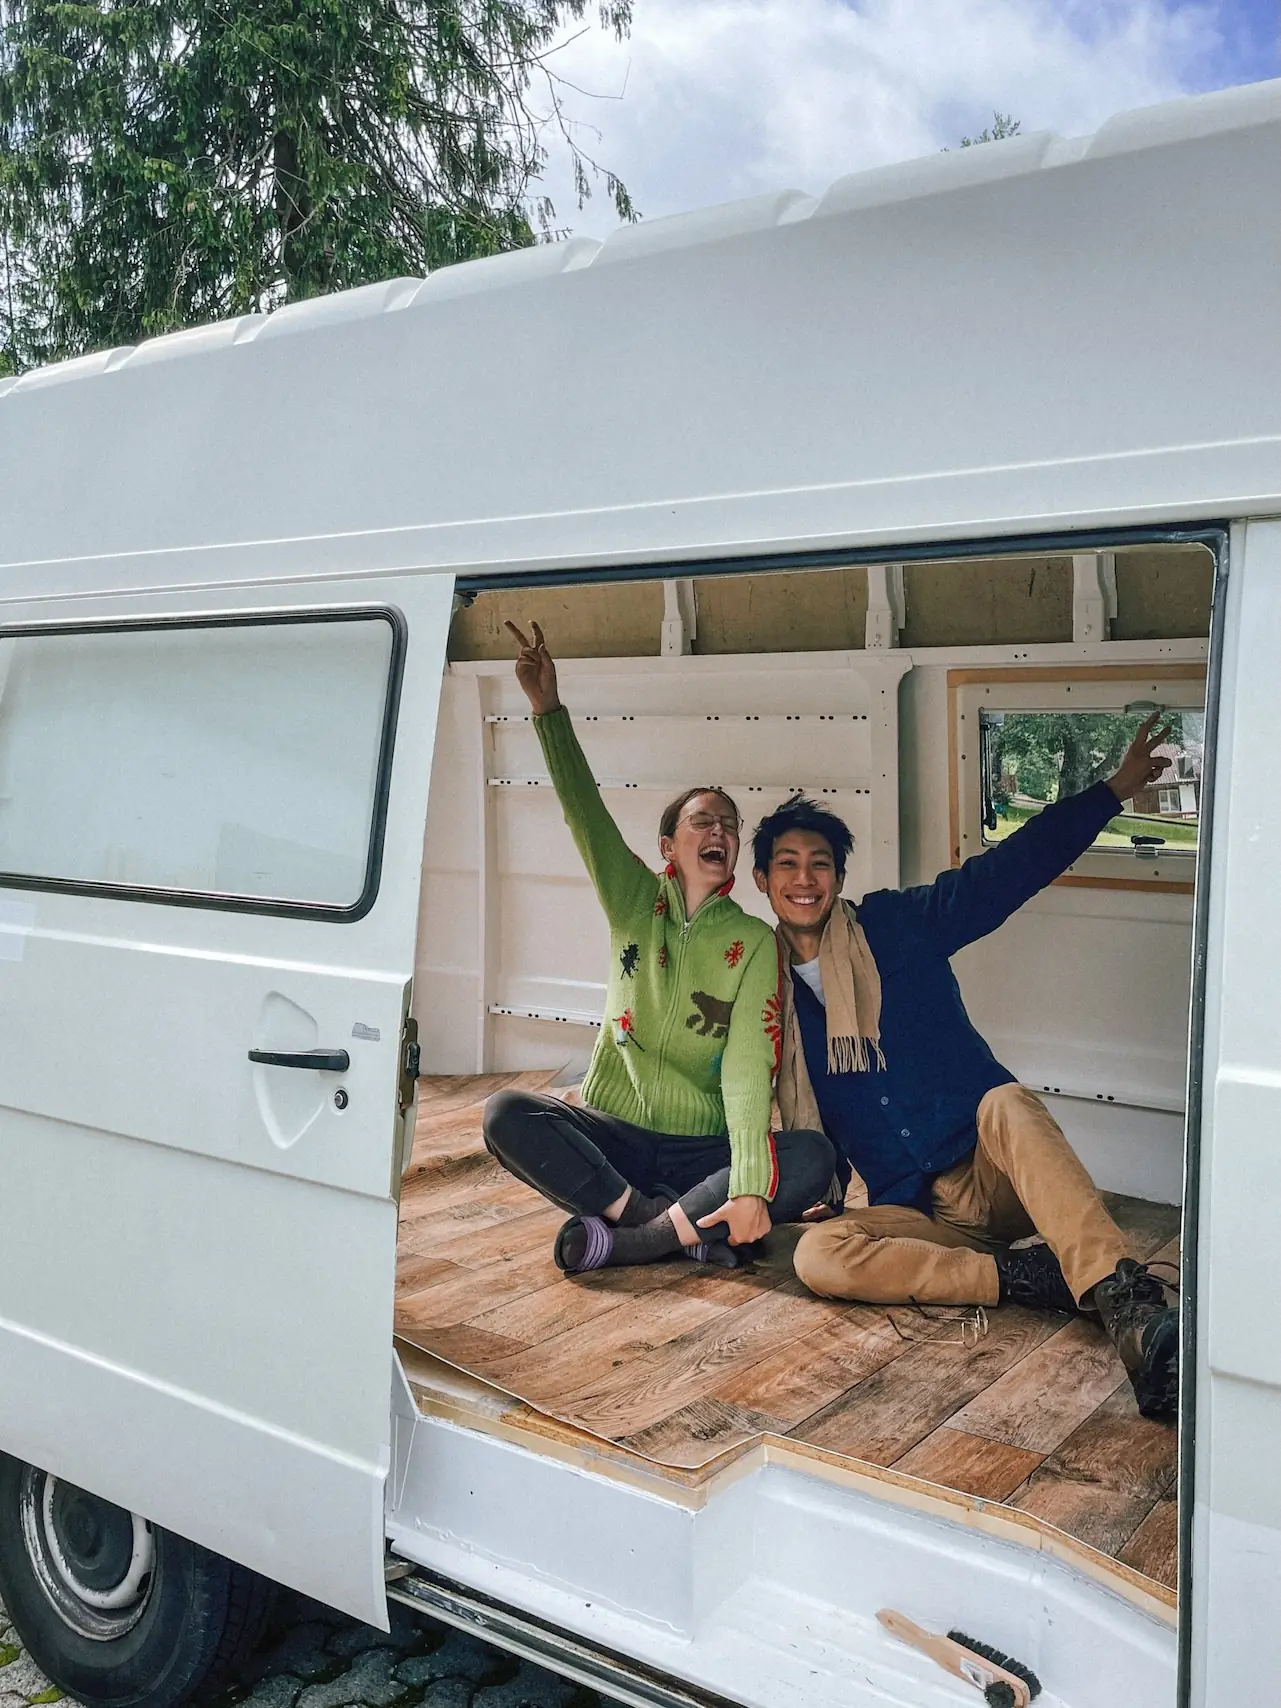
Honest answer: you're never really done. Our six-month plan quietly snowballed into 18. At some point we just said it out loud: we hit the road now, or we never will.
We both had full-time jobs. During the week Humbär lived in a covered hall, and on weekends we drove out to Evelyne's parents' place and built in their parking lot. Saturdays were for sanding, sawing, figuring things out and runs to the hardware store. Sundays, out of respect for the neighbors, were for the quiet stuff, like painting and fitting things in.
From picking Humbär up in early February to the end of 2024 alone, that's 48 weekends. At about eight hours a day, it adds up to a good 750 hours each, or more than 1,500 hours between the two of us.
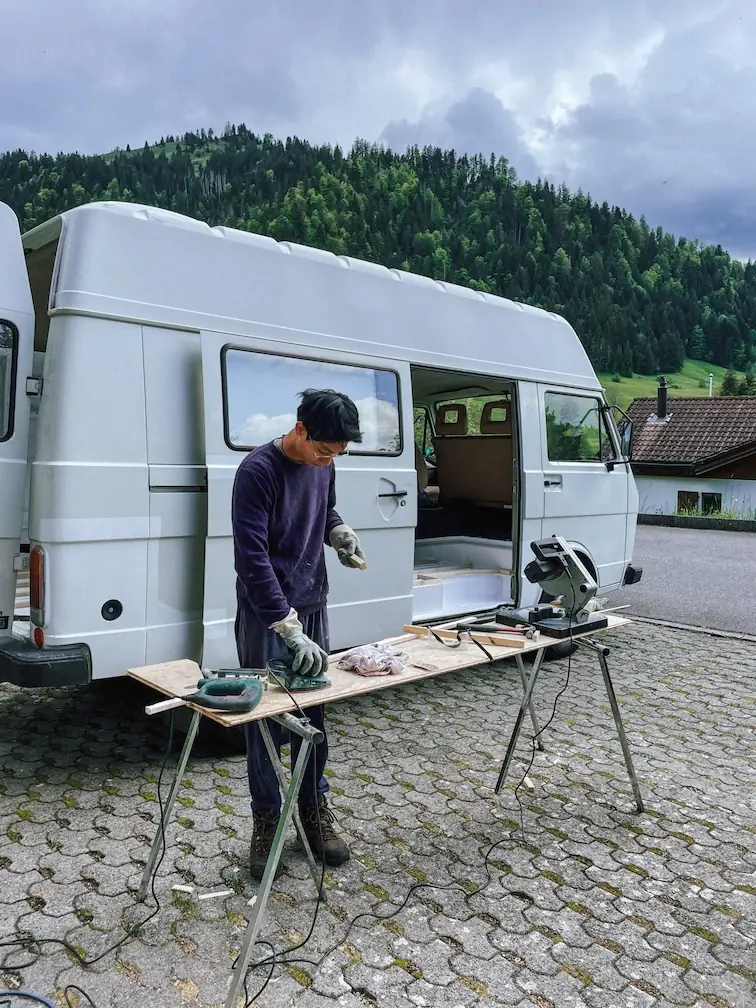
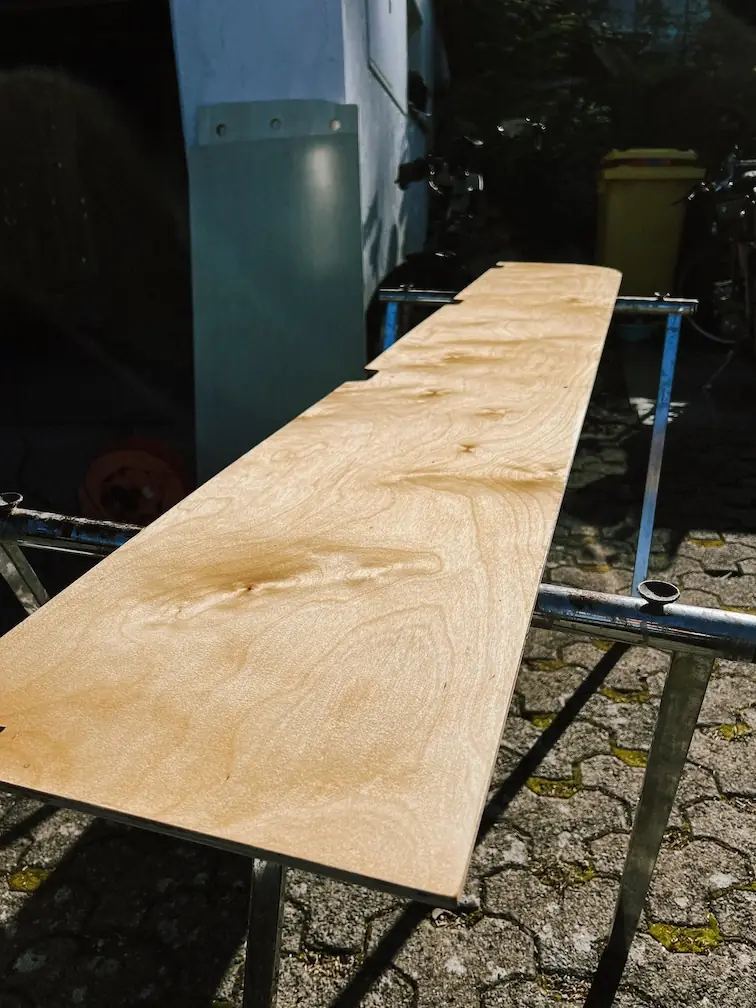
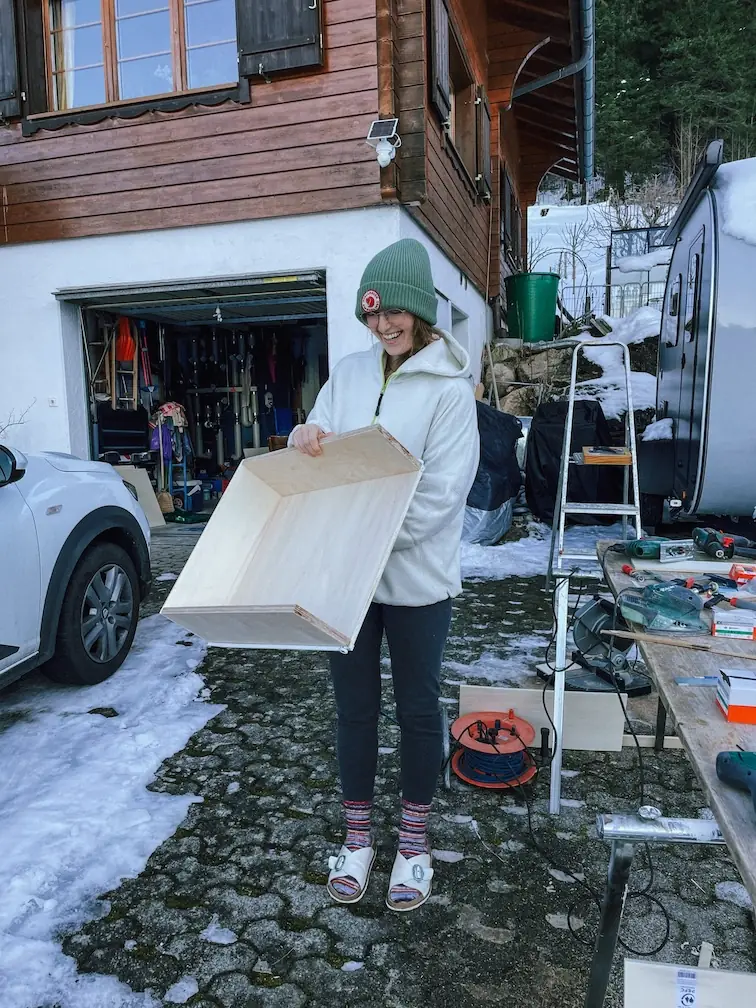
Before we started, we did some napkin math: if Humbär came in under CHF 30,000 with the build included, we'd call it a win, even with our special requests like the wood stove. In the end, the van, the first round of repairs and the entire interior and exterior build came to CHF 24,836.08. Mission accomplished!
How much did you spend on insulation, flooring and furniture?
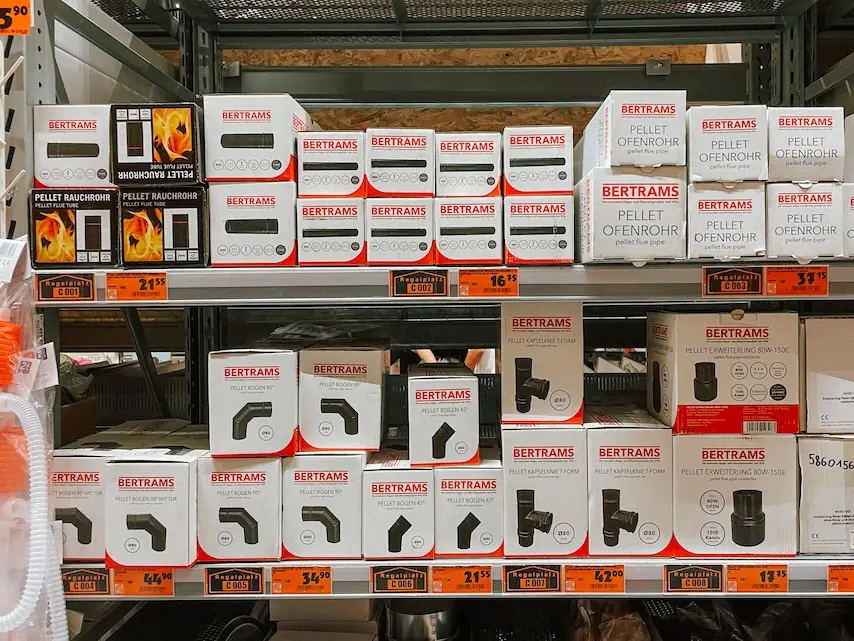
More than we bargained for! The interior category added up to CHF 6,301.78 in total. Leave out the wood stove (CHF 1,438) and the fridge (CHF 338.40) and you're still looking at around CHF 4,525 for insulation, flooring, lumber, furniture and the kitchen.
Lumber in particular is pricey in Switzerland. During the build we rarely walked out of Hornbach, our trusty hardware store, for less than CHF 100.
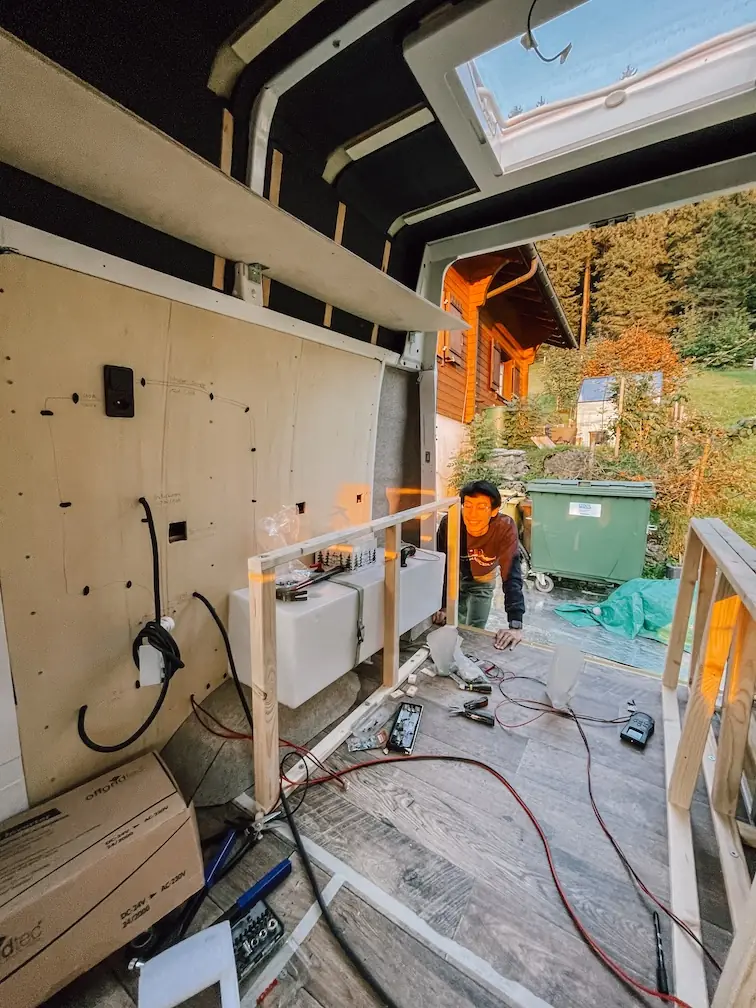
Insulation: We went with 6 and 19 mm Armaflex, about 27 m² of it, and wrapped the frame members and crossbeams in felt on top.
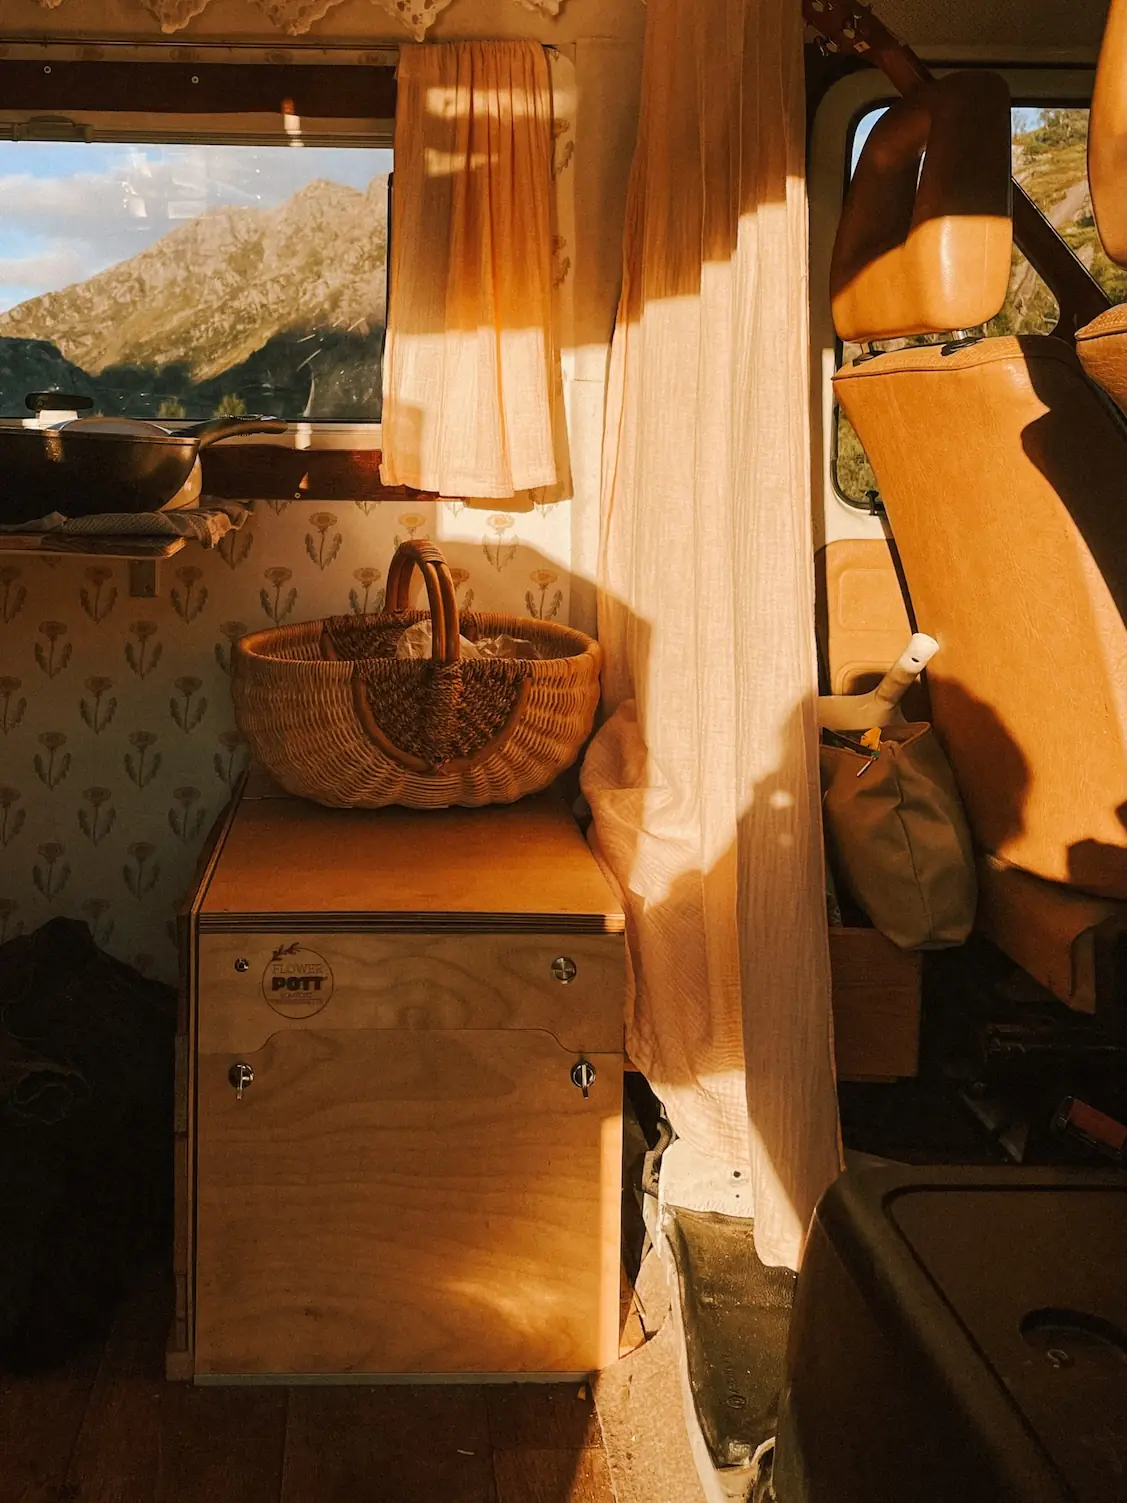
Floor: Wooden battens with insulation in between make the base, topped with OSB boards and a glued-down vinyl floor. That's the one thing we'd do differently today: OSB is pretty flimsy, and something sturdier would have been worth the extra cash.
Walls: Plywood all around, with every cable tucked out of sight behind it. For a little flair, we treated ourselves to Swedish wallpaper.
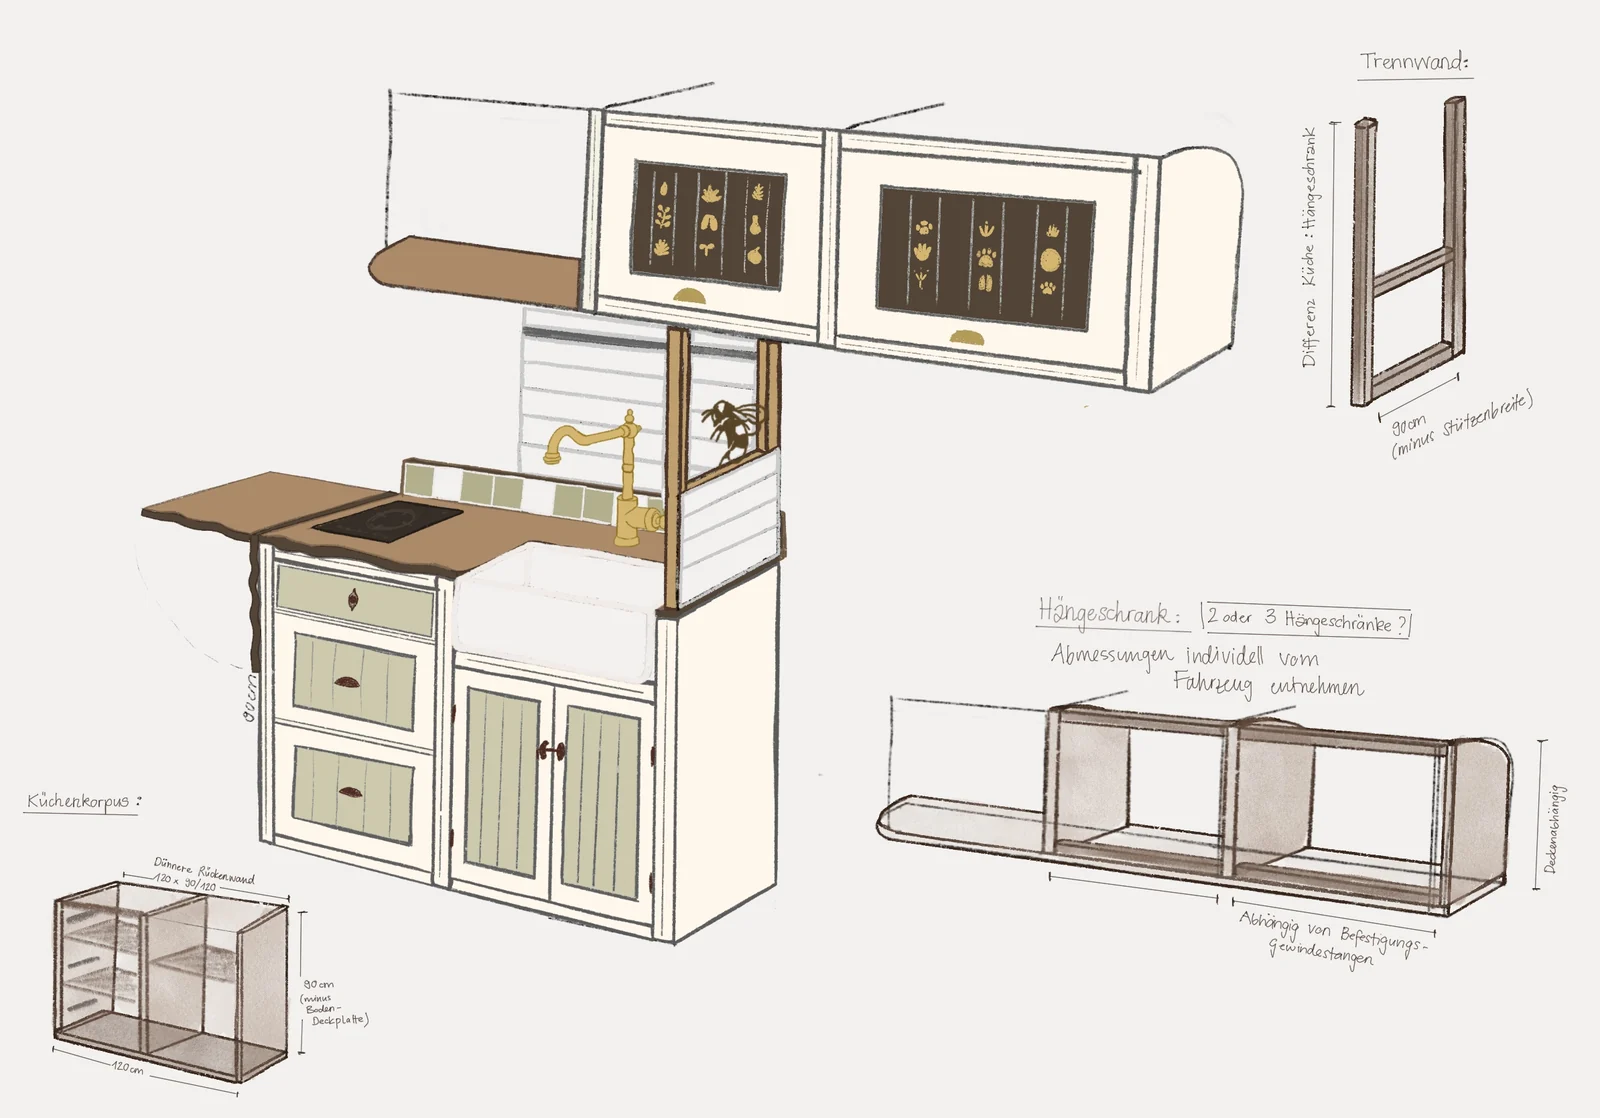
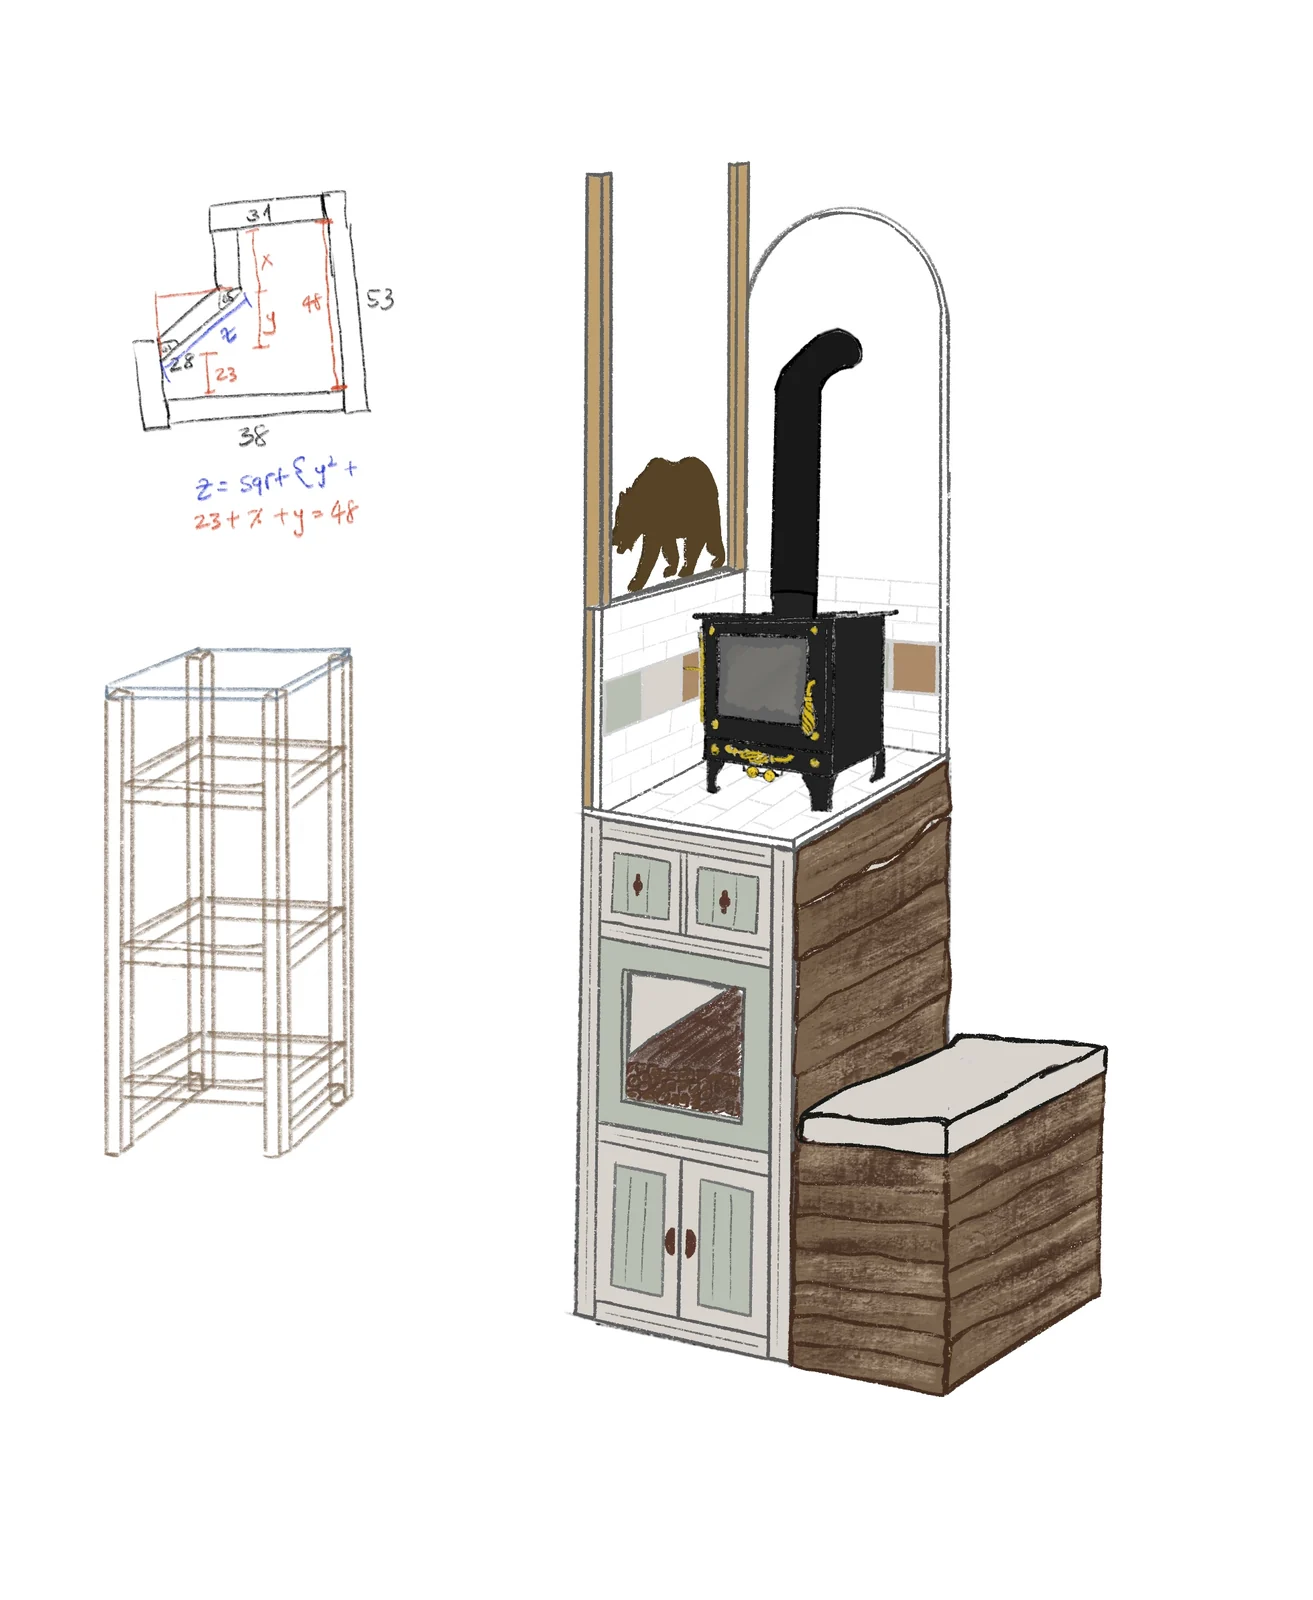
Evelyne's drawing of the kitchen counter and wall cabinets
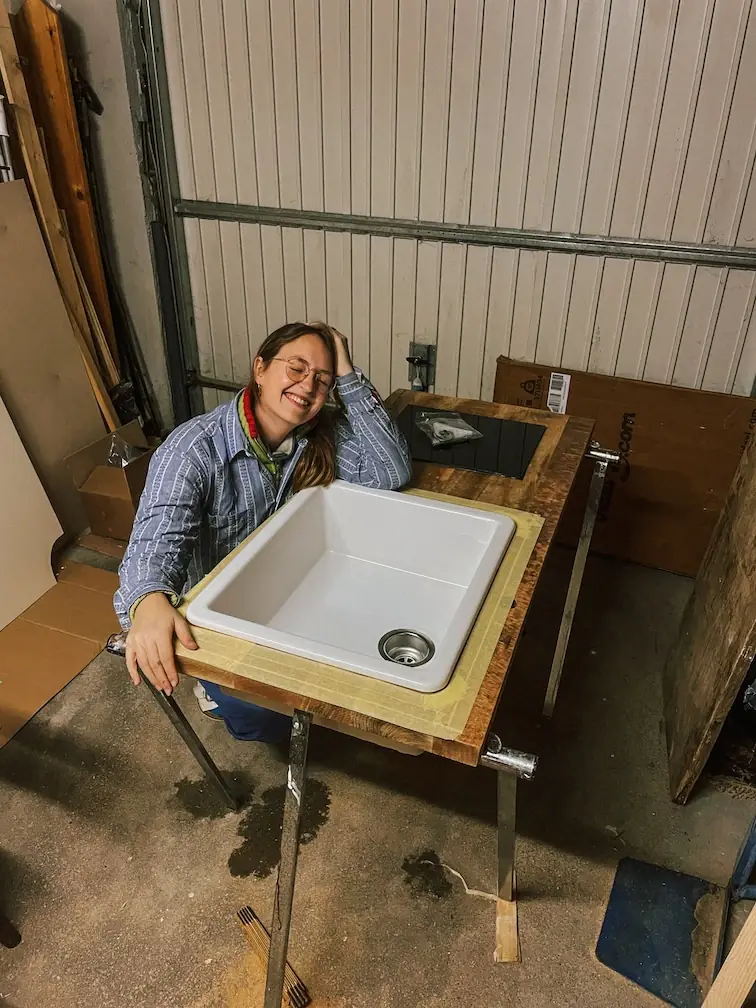
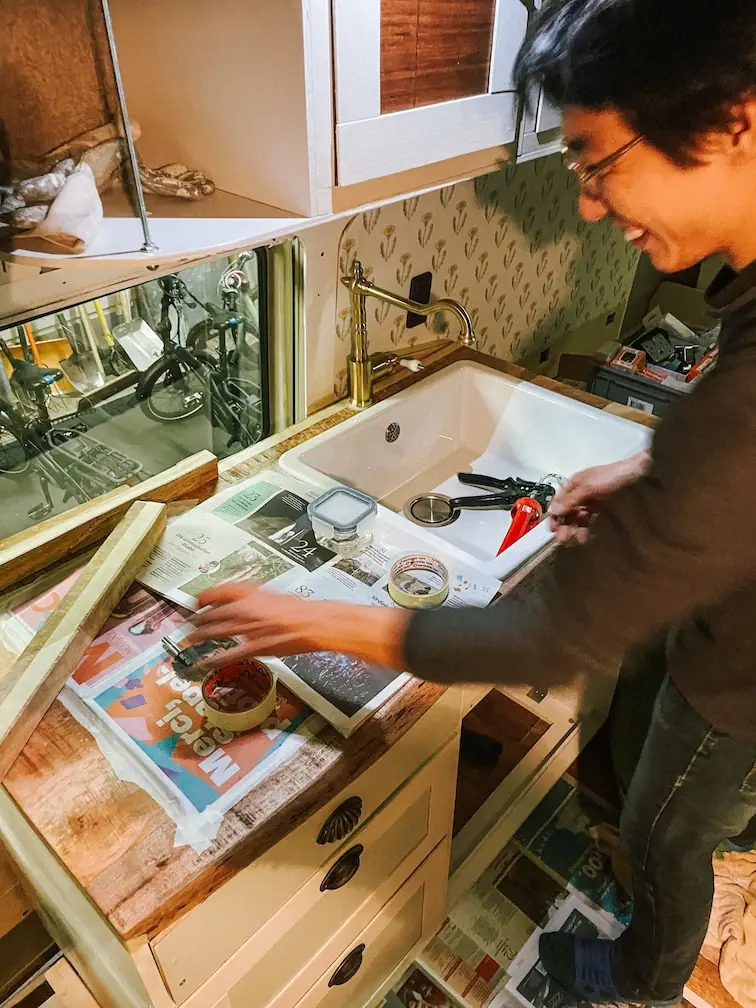
Kitchen: Fun fact, nothing in here is made for camping. The sink, faucet and induction cooktop are regular household gear, plenty of it from IKEA. The one exception is our dual-zone cooler, which is built for life on the road and sits on a heavy-duty slide rail.
What did the windows, roof fan and roof rack cost?
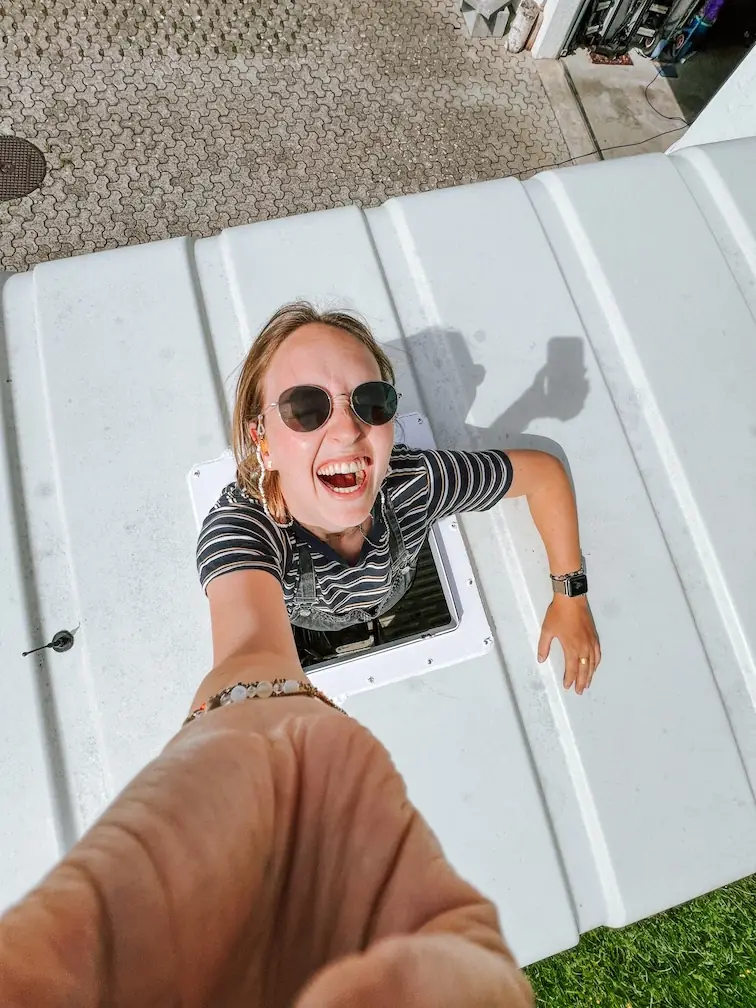
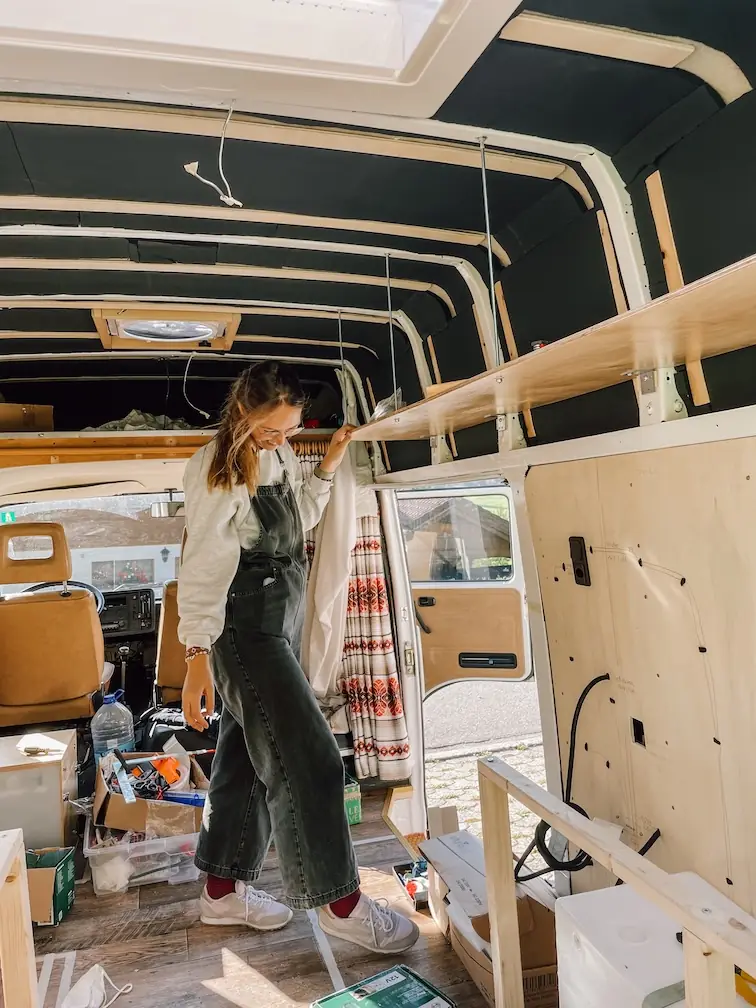
To make the inside feel homey and flooded with light, we put in a big skylight plus a window right where our dining table sits. Above the kitchen sits the crowd-favorite Maxxfan, which can pull fresh air in or push stale air out.
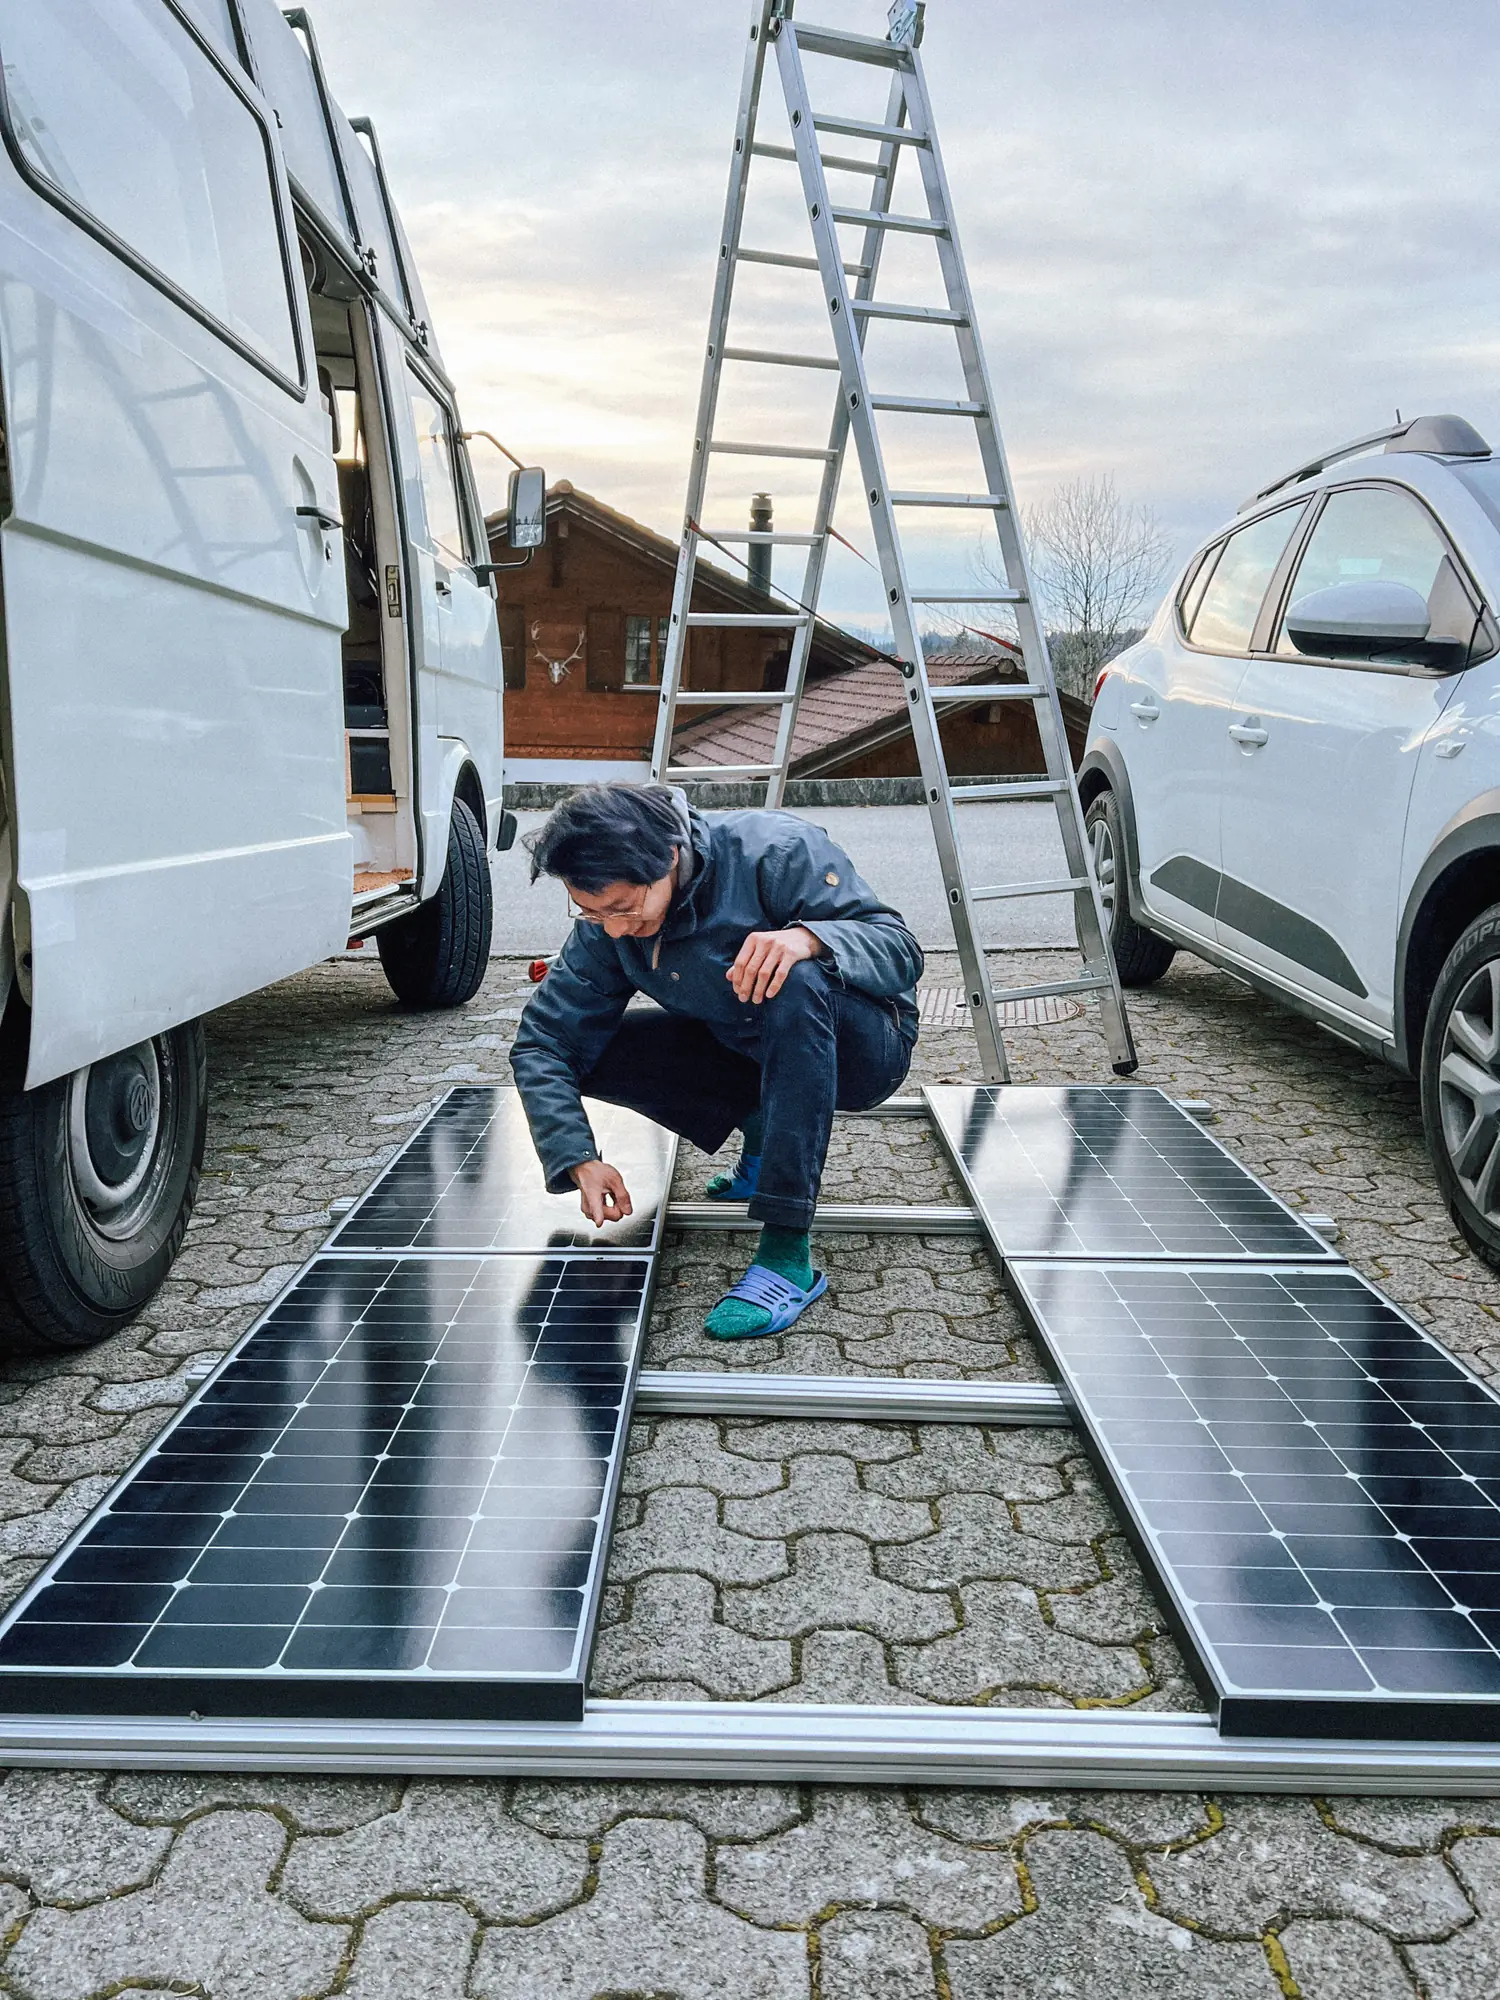
Up top, Humbär got a roof rack: eight crossbars tied together with aluminum profiles, which is where our four solar panels live. Later on we treated him to a Fiamma bike rack too. All in, the exterior came to CHF 2,118.03.
What does it cost to build an off-grid camper with solar and a lithium battery?
Our goal was to camp out in the wild for long stretches, fully self-sufficient. So we planned in a 5 kWh lithium battery, 500 Wp of solar on the roof and a beefy inverter. Curious how the system is holding up after a year and a half on the road? We dig into that in this post.
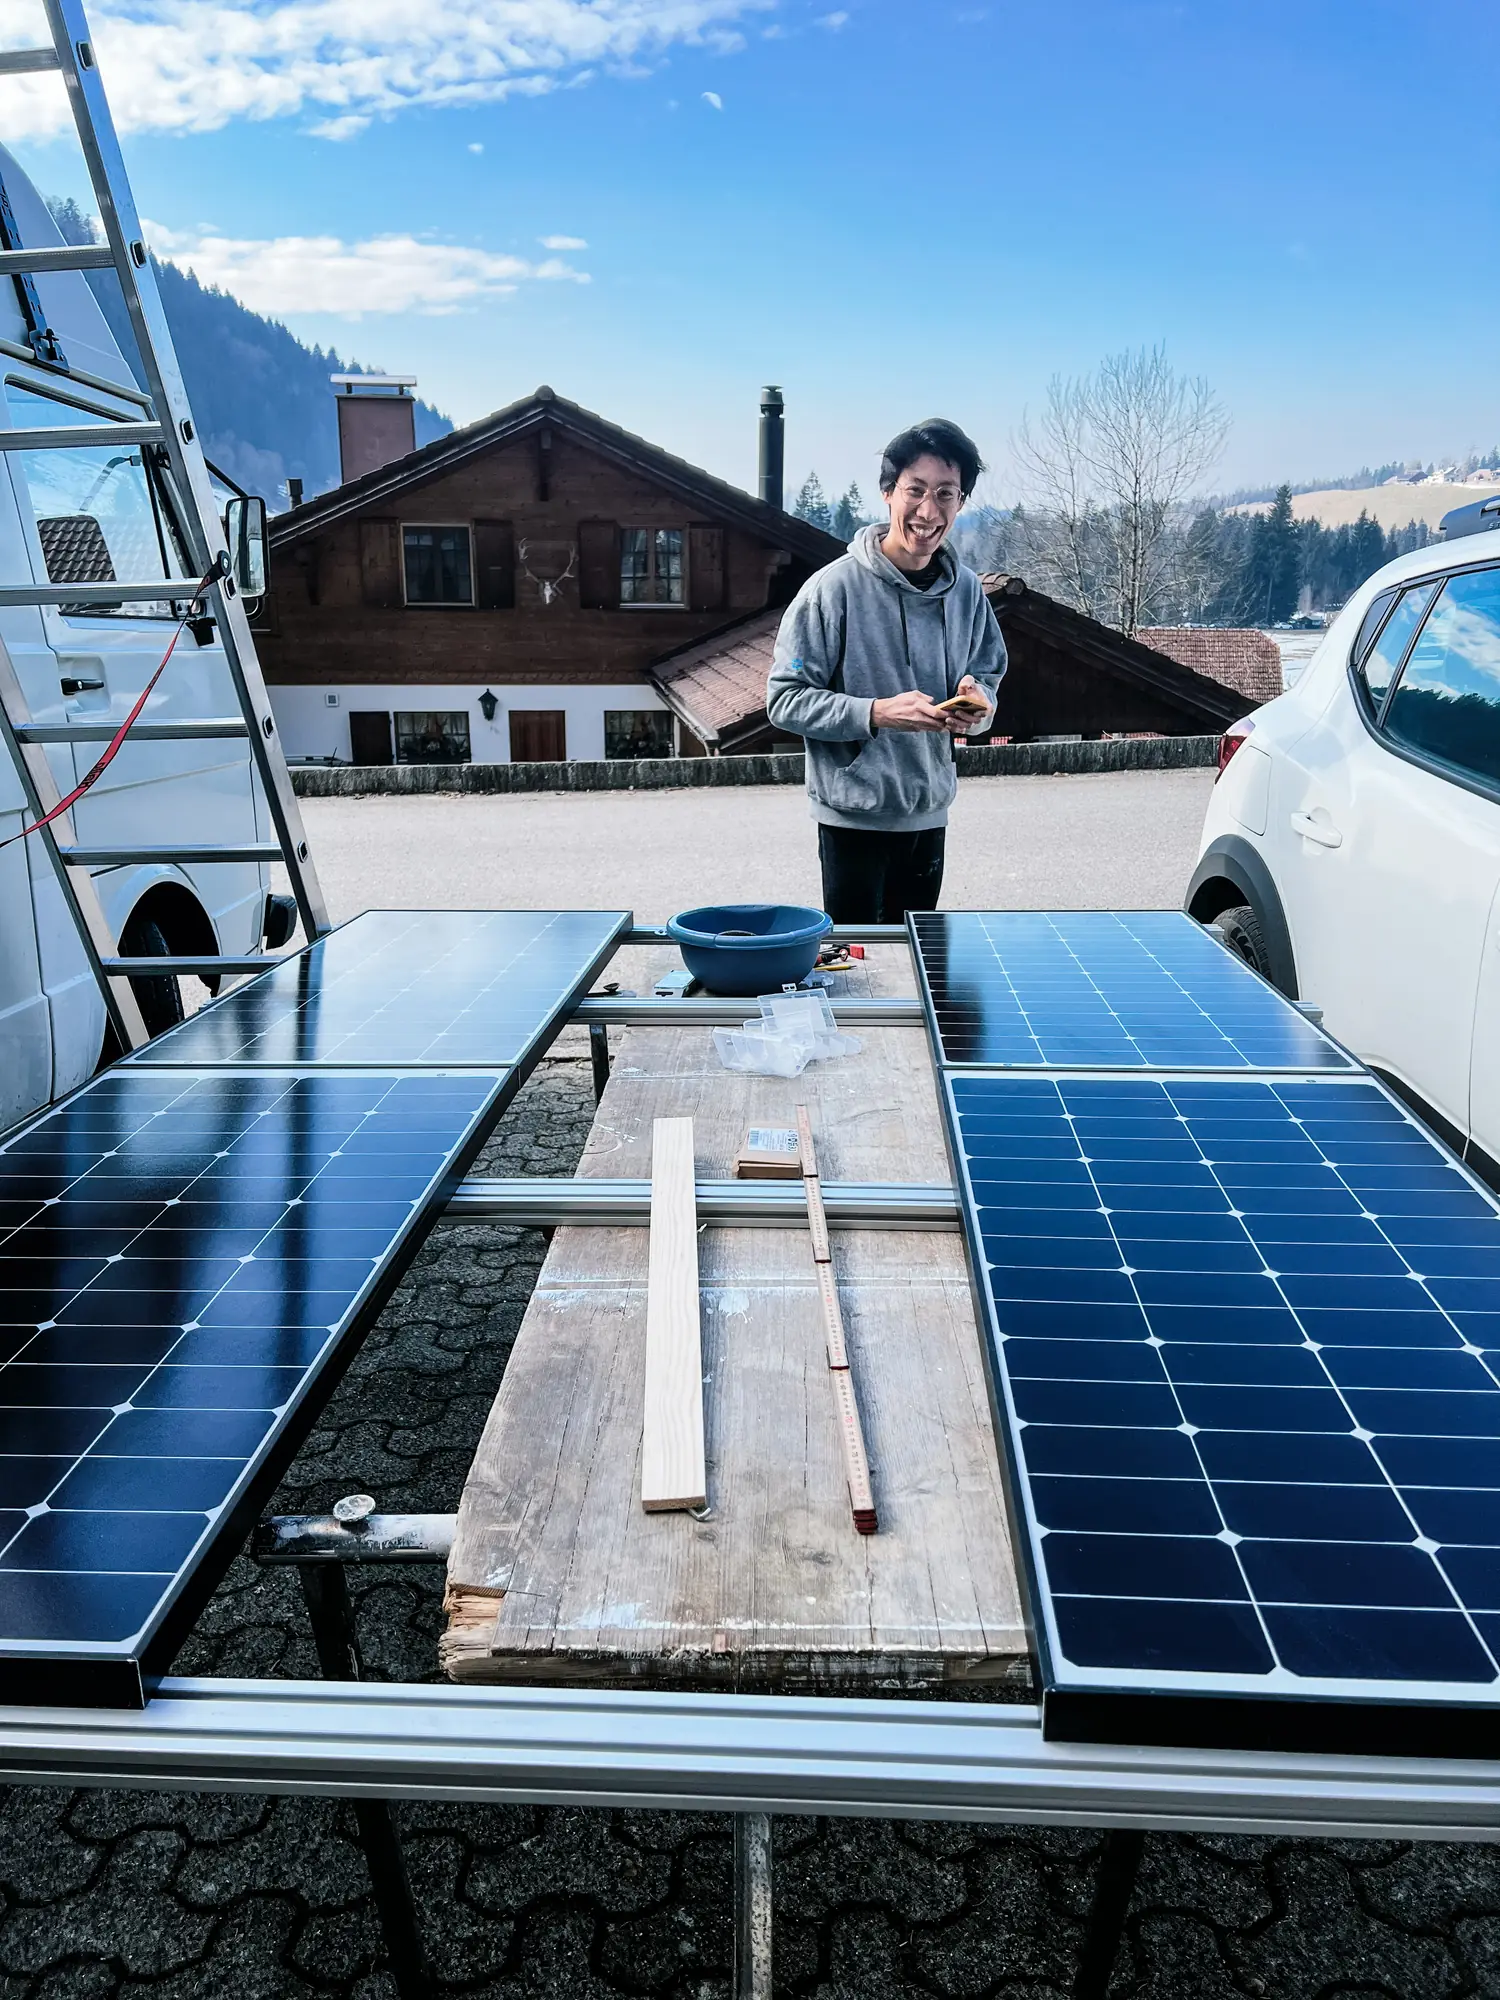
After the interior, the electrics are the biggest line item of the whole build. All in, we put CHF 3,921.88 into our electrical system. Here's where the money went:
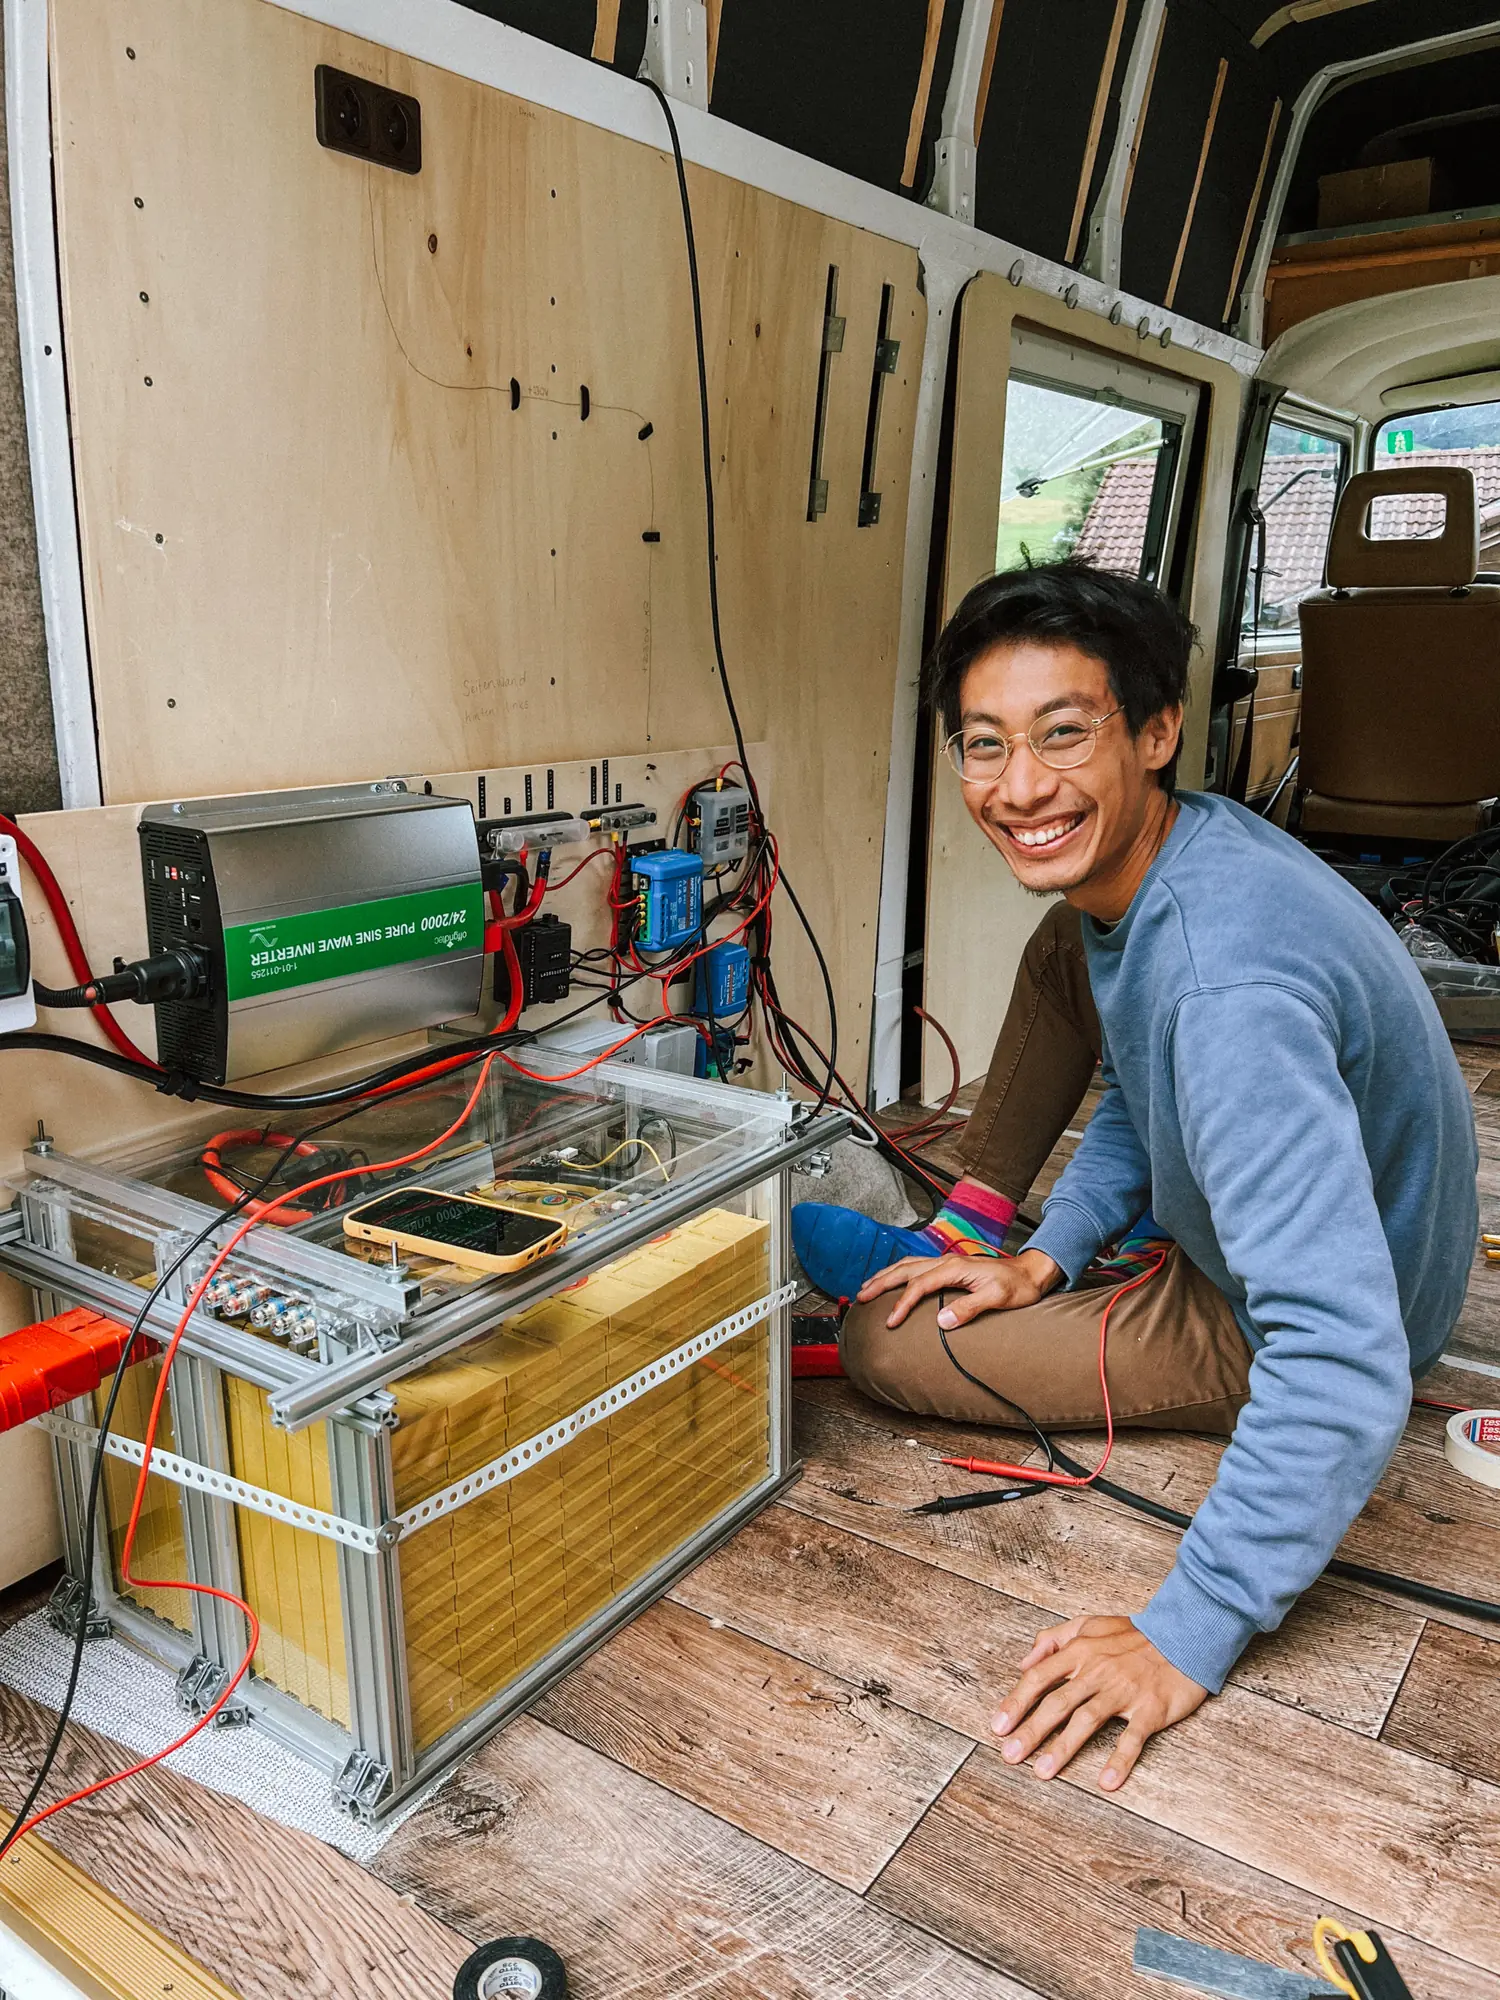
The big battery lets us cook without gas, and the solar keeps us independent out there. That doesn't mean the sun always delivers, though. In winter and during long gray spells we have to keep an eye on what we use, or plug into shore power.
The upside: we don't spend a single franc on gas. Since we cook exclusively on induction, we never have to refill or swap gas bottles on the road, which adds up fast, and there's no gas inspection to pay for either.
What kind of water system do you have in the camper, and what does it cost?
Before we built a thing, we thought long and hard about how big our water system should be. We wanted it easy: no plastic bottles and no hauling jerry cans around. So we mounted an 84-liter (22-gallon) fresh water tank and a 54-liter (14-gallon) gray water tank under the floor. The gray water tank alone, mounting kit included, ran CHF 226.15.
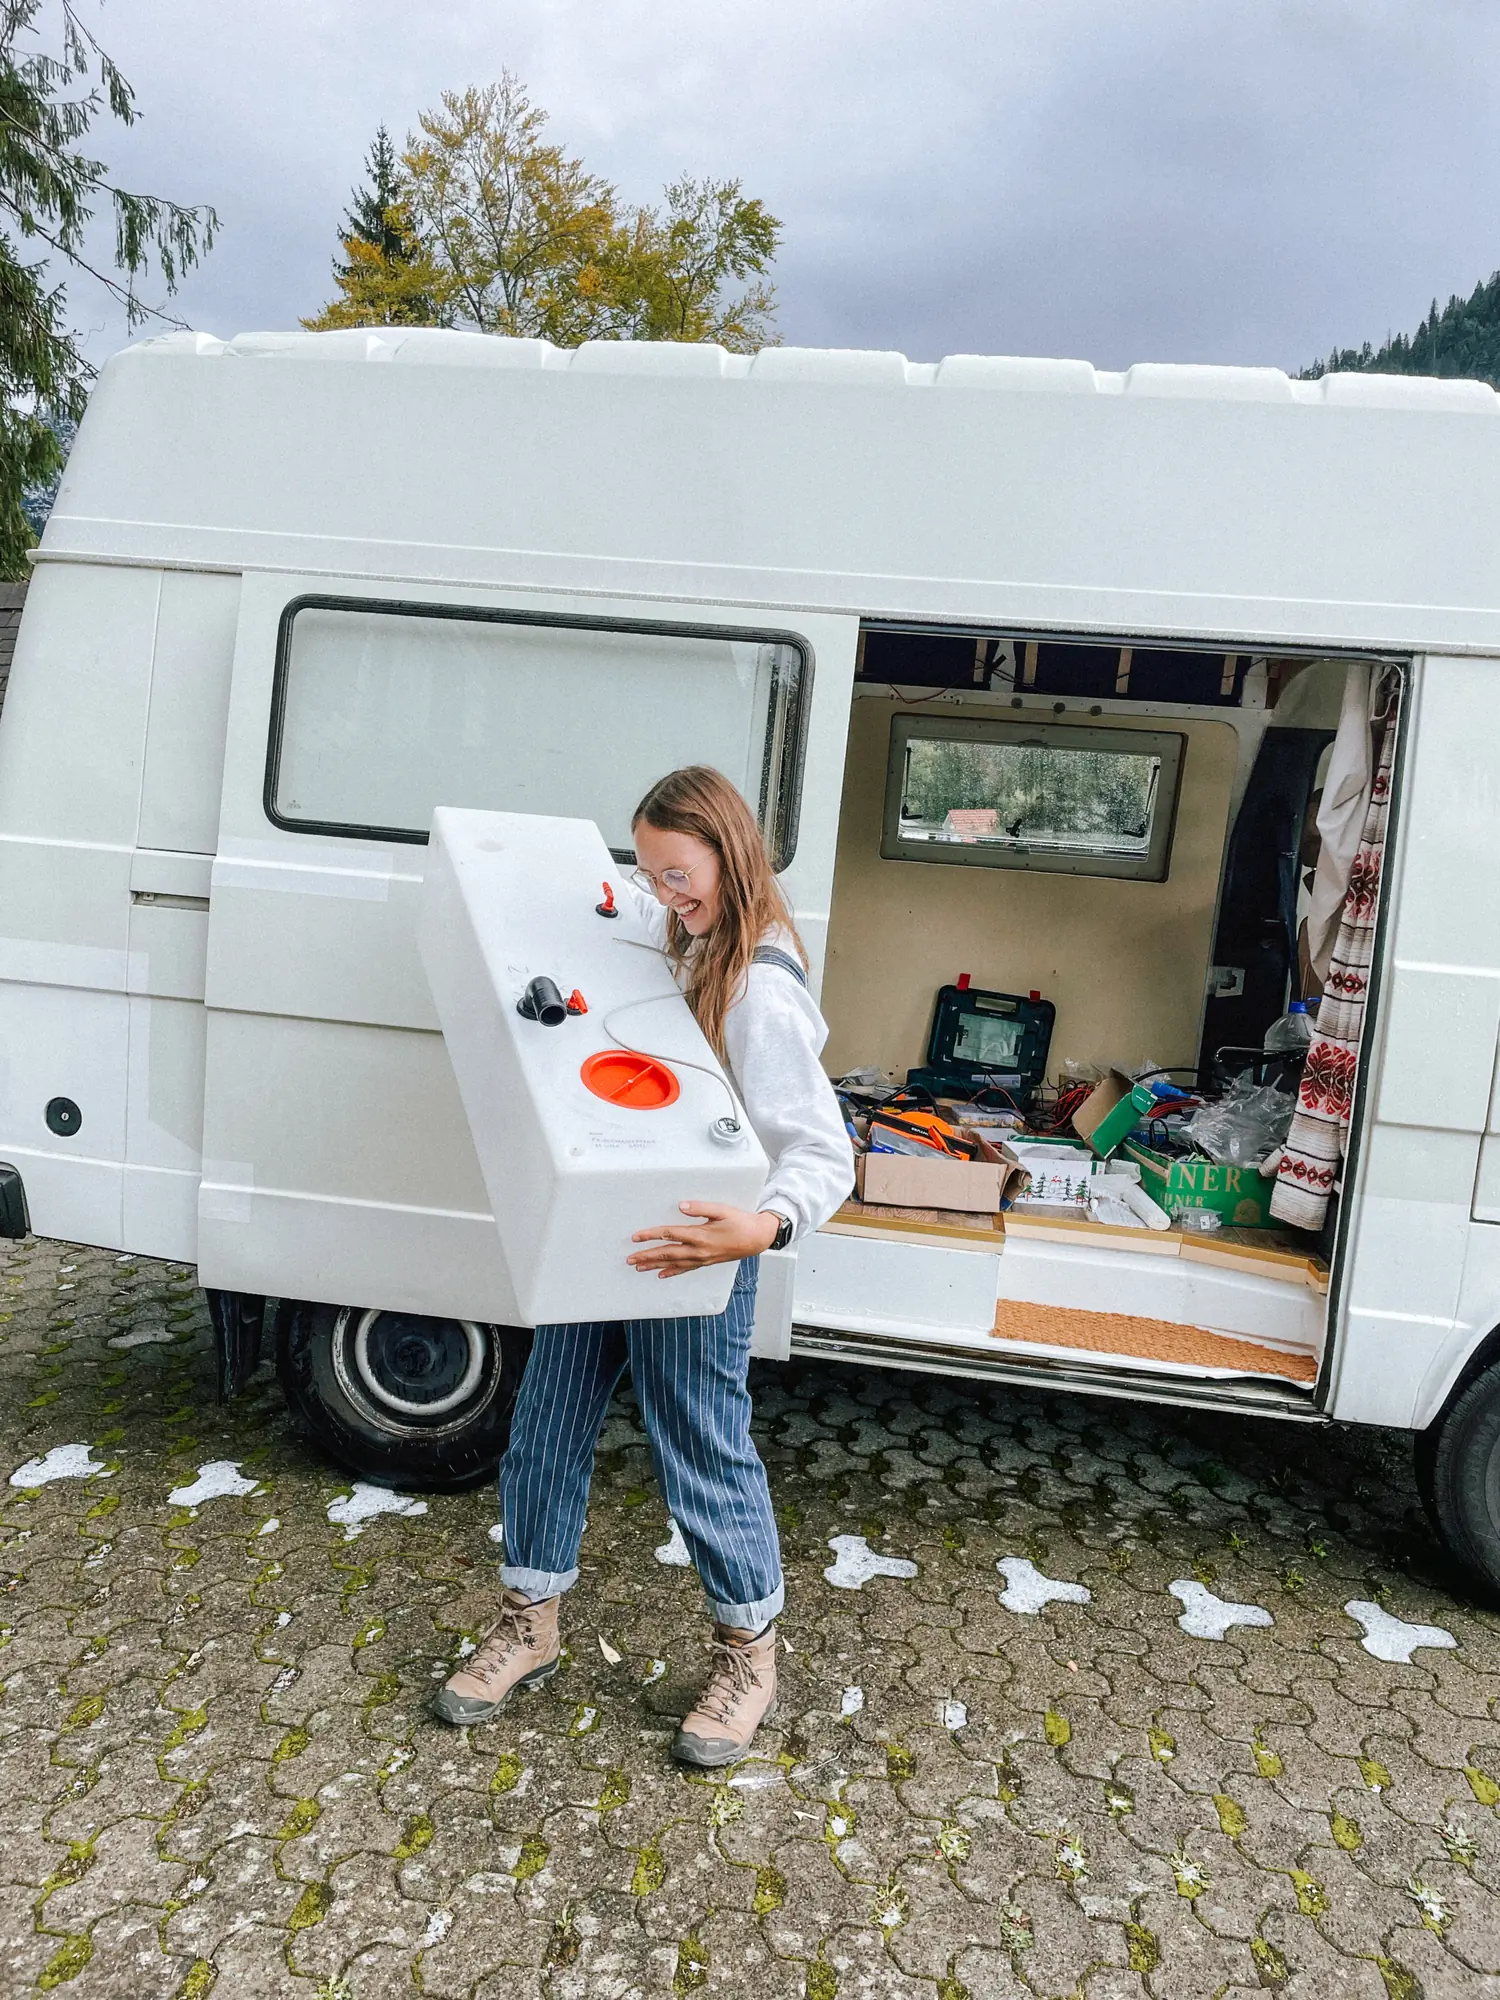
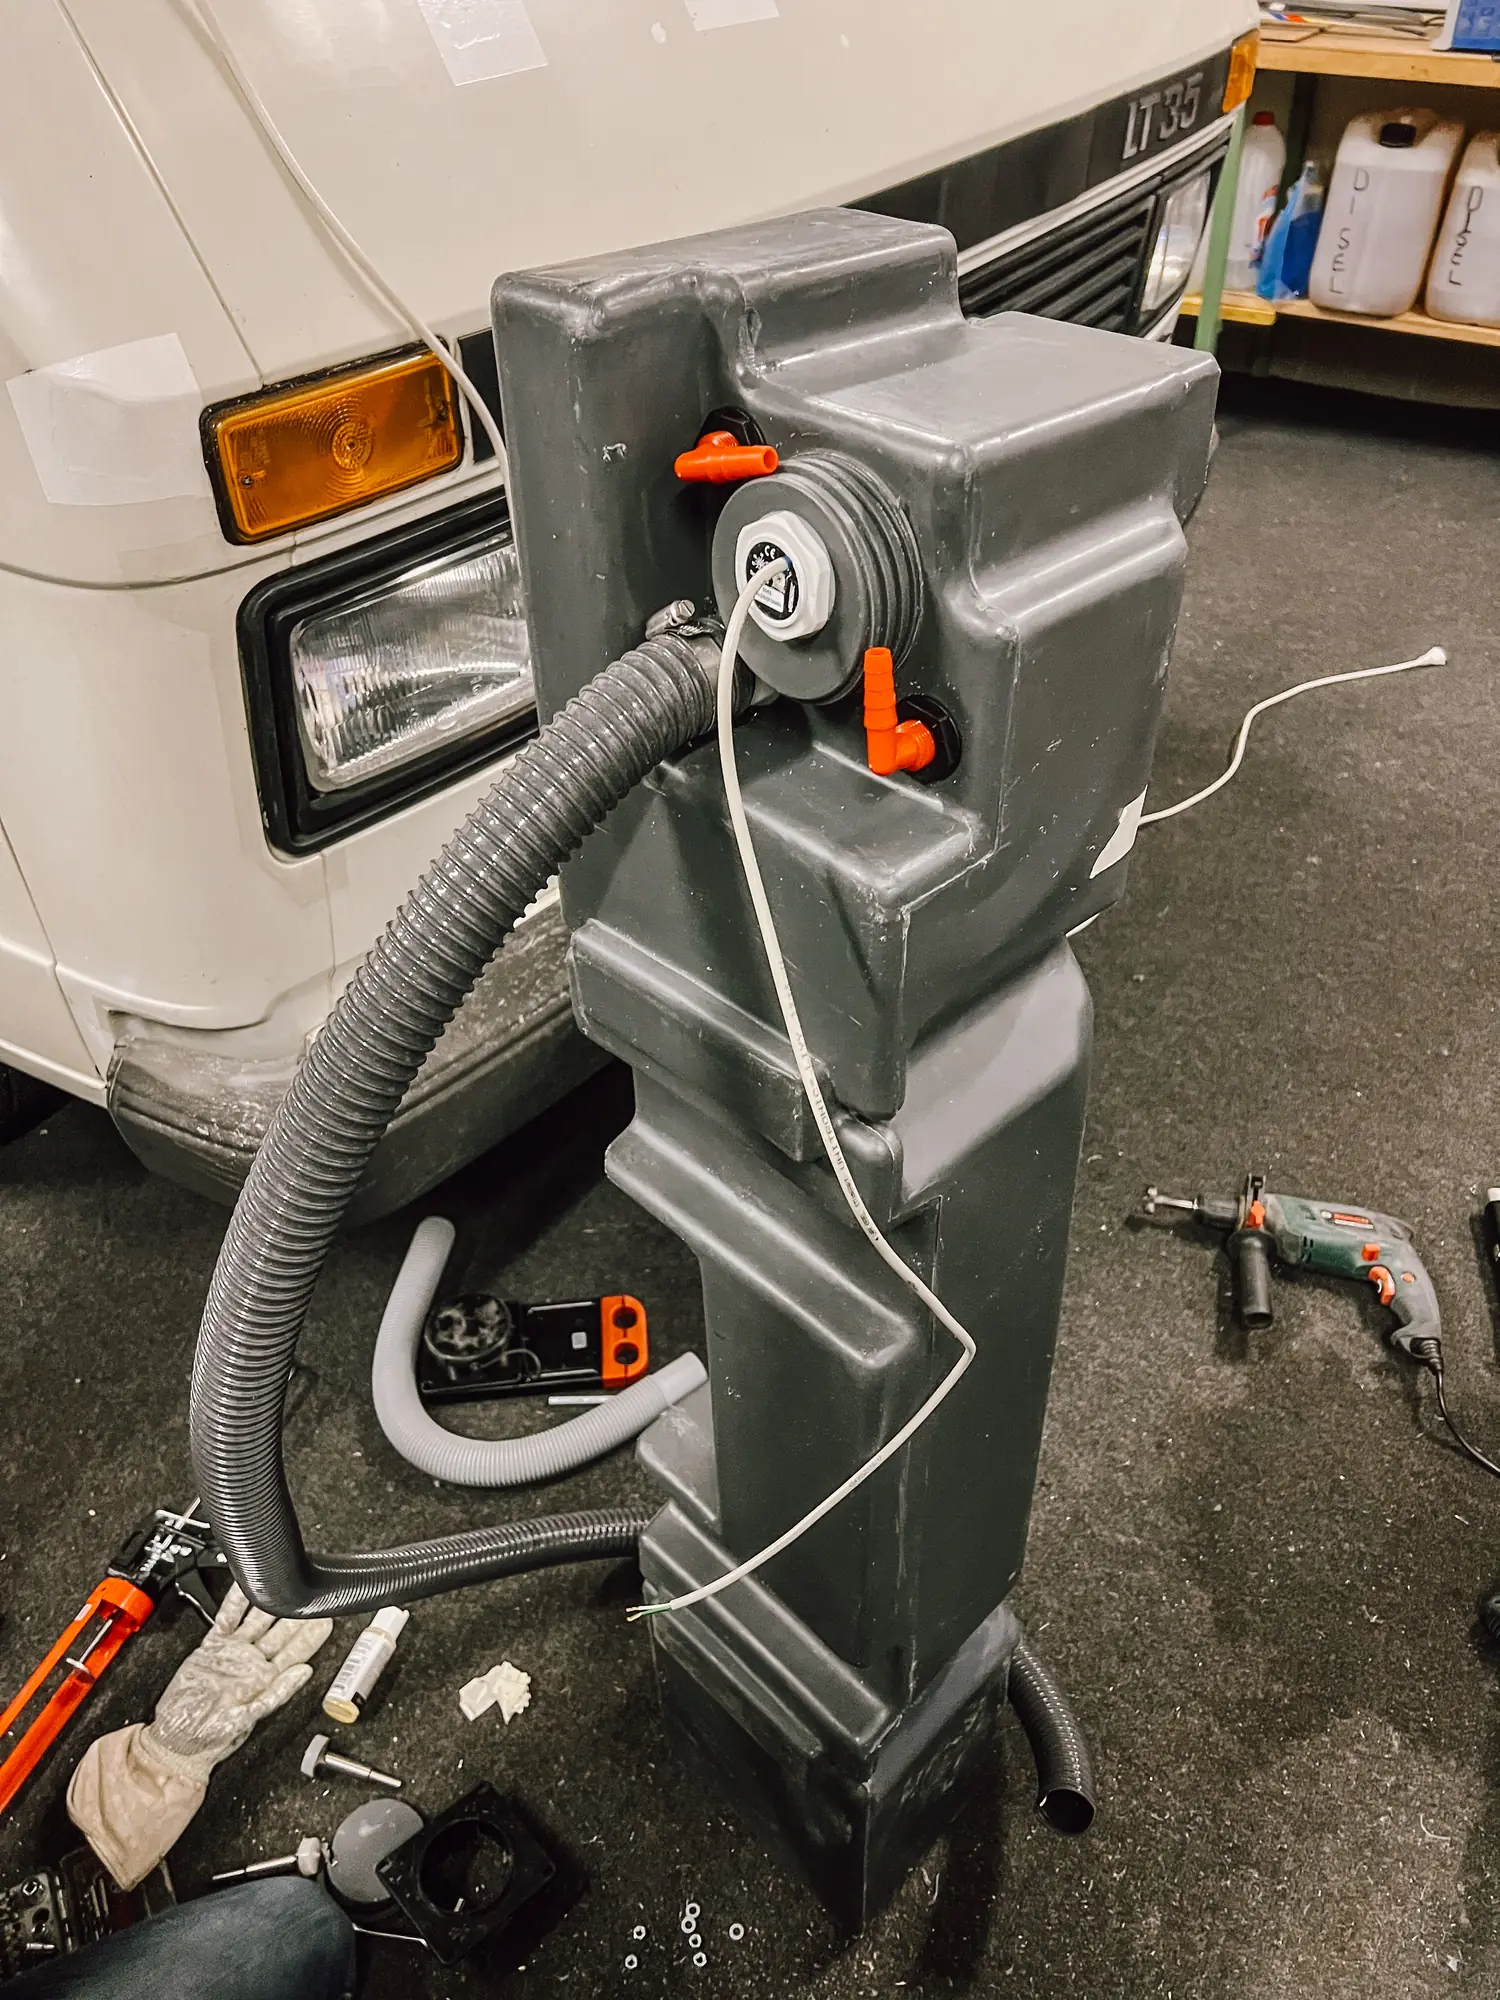
We skipped a shower, because all that moisture inside felt too risky to us. There's no hot water either: way too much energy for way too much complexity.
The water system cost us about CHF 946. If you'd like to build your own, our detailed parts list is in this post.

Water quality is the one place we refused to cut corners. We wanted the cleanest, safest water we could get on the road, so we put our money into the best filter system out there from day one.
What kind of toilet do you have in the van, and what did it cost?
A toilet on board was non-negotiable for us. If you love camping off the beaten path, we think it really matters not to leave your, ahem, souvenirs out in nature. It's nicer for everyone, and it helps keep those places beautiful for the long haul.
We went with a urine-diverting dry toilet from the Swiss company Flower Pott, the Bonsai model, free of chemicals and free of plastic, for CHF 1,050. With two of us on board, we empty the urine tank about every three days. The solids land in sawdust, get churned by an electric crank every four hours, and after two weeks they can go in the trash or on the compost.
Where did you save the most money on the build?
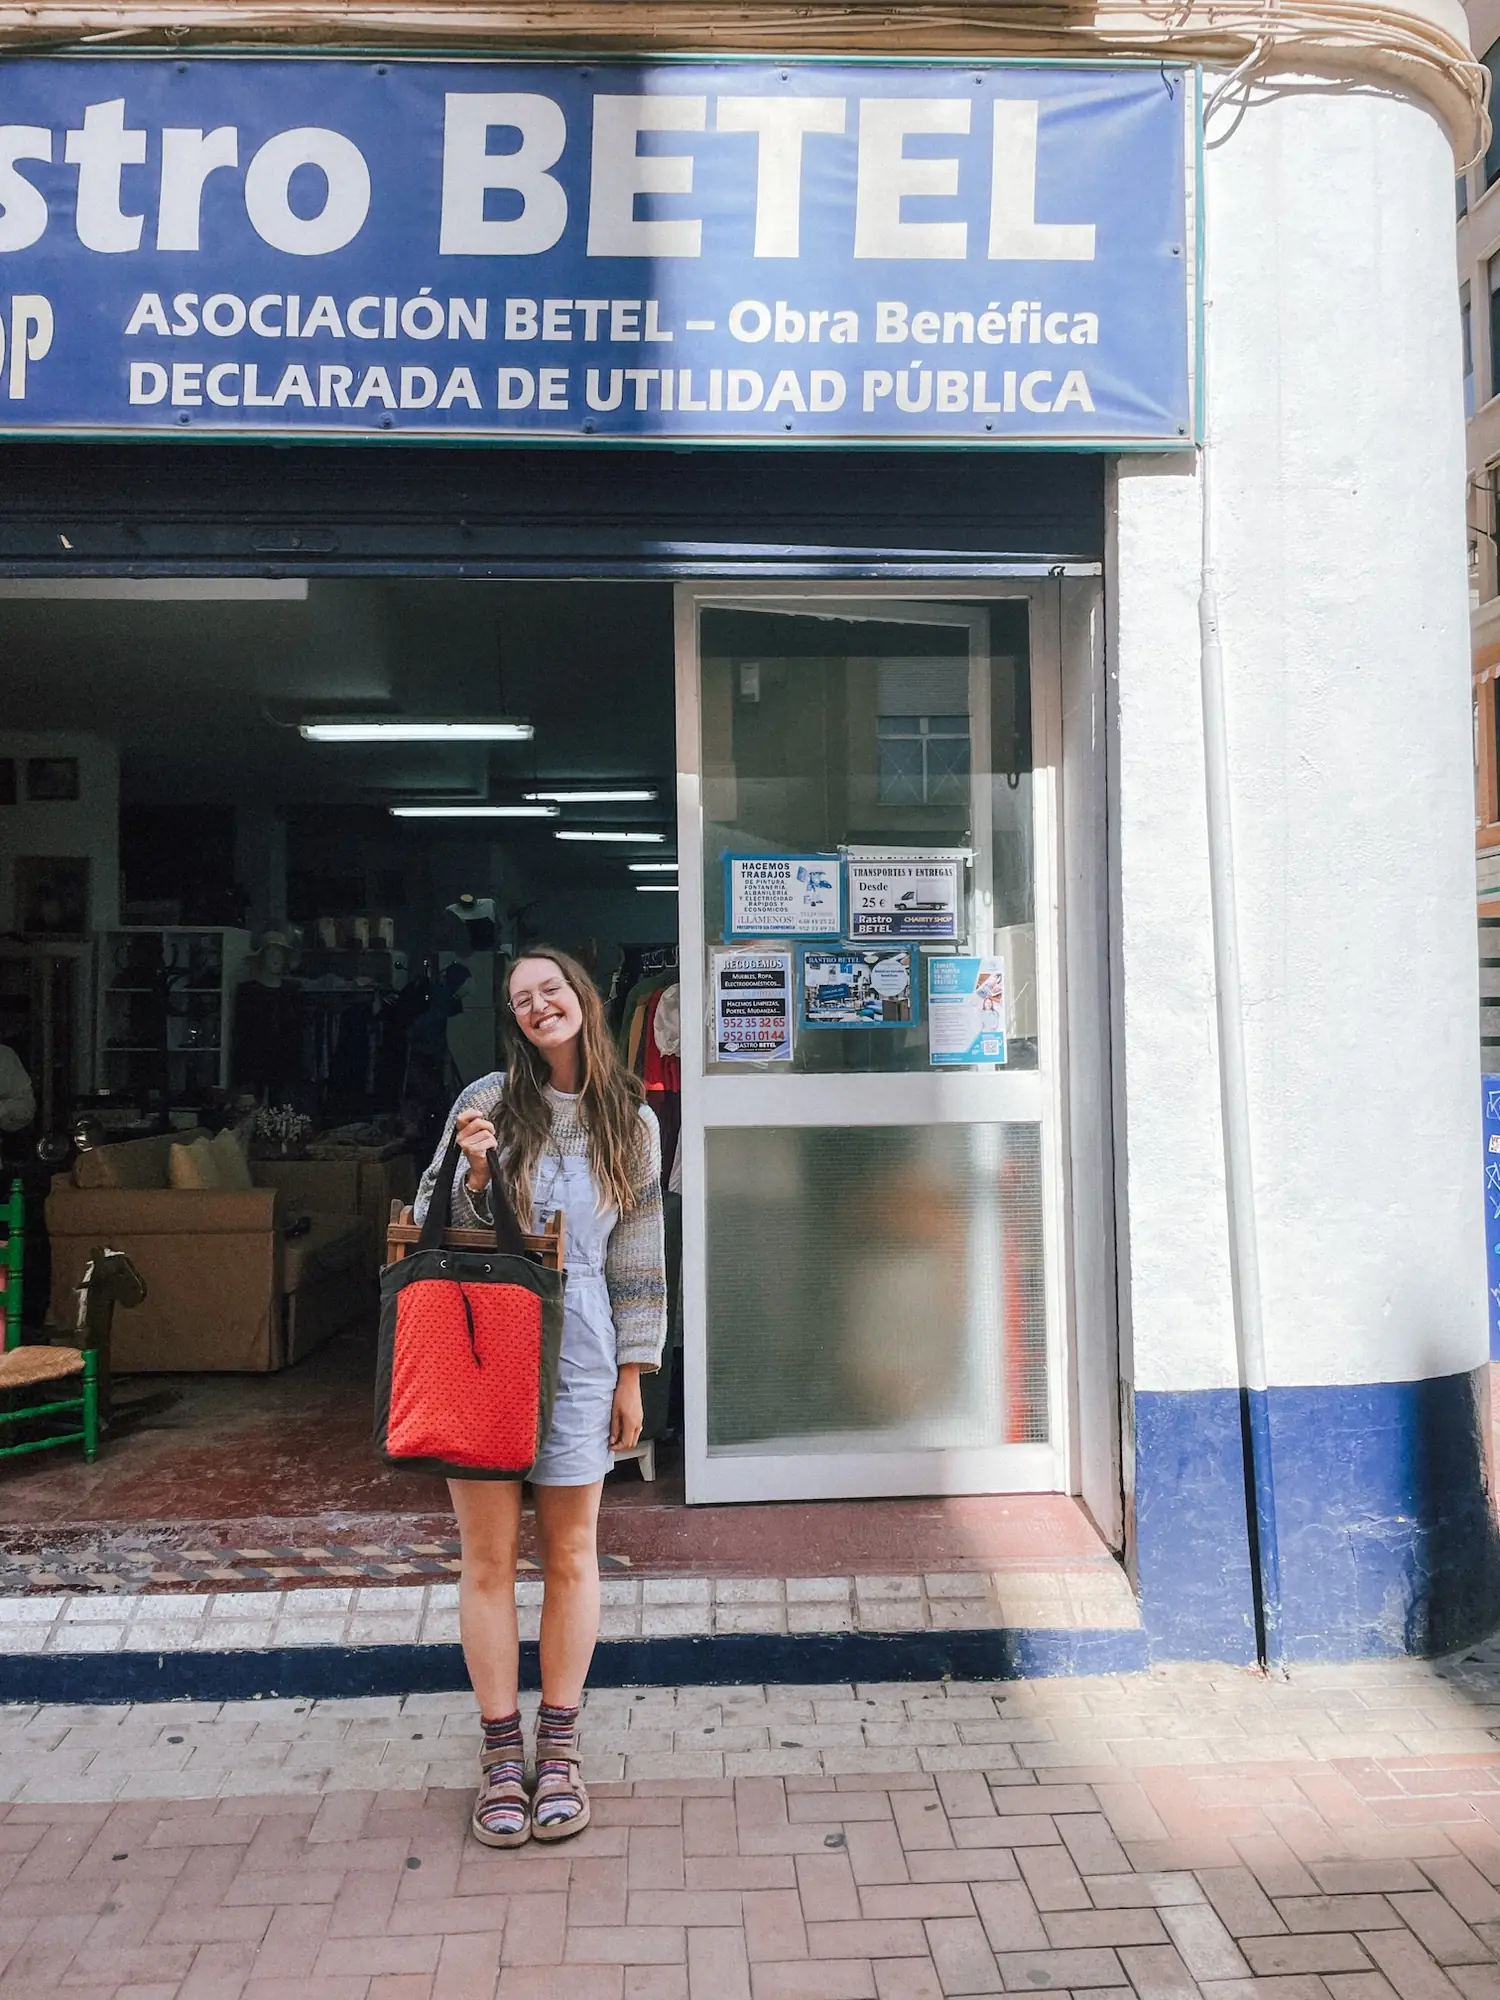
Here's the big one: you are not the only person building out a van right now! Plenty of people who've wrapped up their build sell the leftovers on tutti.ch, basically Switzerland's Craigslist (in Germany, try Kleinanzeigen). The stuff is often brand new and still up to half off the store price. That's how we scored 8 m² of Armaflex insulation for CHF 115, butyl sound deadening for CHF 30 and even our fresh water tank: CHF 40 instead of CHF 140.
We even found tools on tutti, like a jigsaw for CHF 20 and a drill for CHF 50. Practically a steal!
What was truly worth the money?

Our wood stove is gorgeous, but let's be real, it wasn't exactly the most sensible investment. For those CHF 1,438 we could just as well have put in a diesel parking heater. It probably would have been more practical and spared us a fair bit of work. But as so often with our old Humbär, heart wins over head.
What we'd throw money at again any day is a powerful electrical system (CHF 3,921.88). Being able to run the coffee machine, the oven or the kettle without doing power math every single time makes van life almost as comfy as living in an apartment.
The insulation, about CHF 550 worth of Armaflex and butyl, was worth every last cent too. Even on cold nights, Humbär holds on to the heat amazingly well. When we fire up the wood stove in the evening, it often stays toasty until two or three in the morning, which is plenty of time for us to be sound asleep.

Does a DIY build pay off compared to buying a ready-made camper?
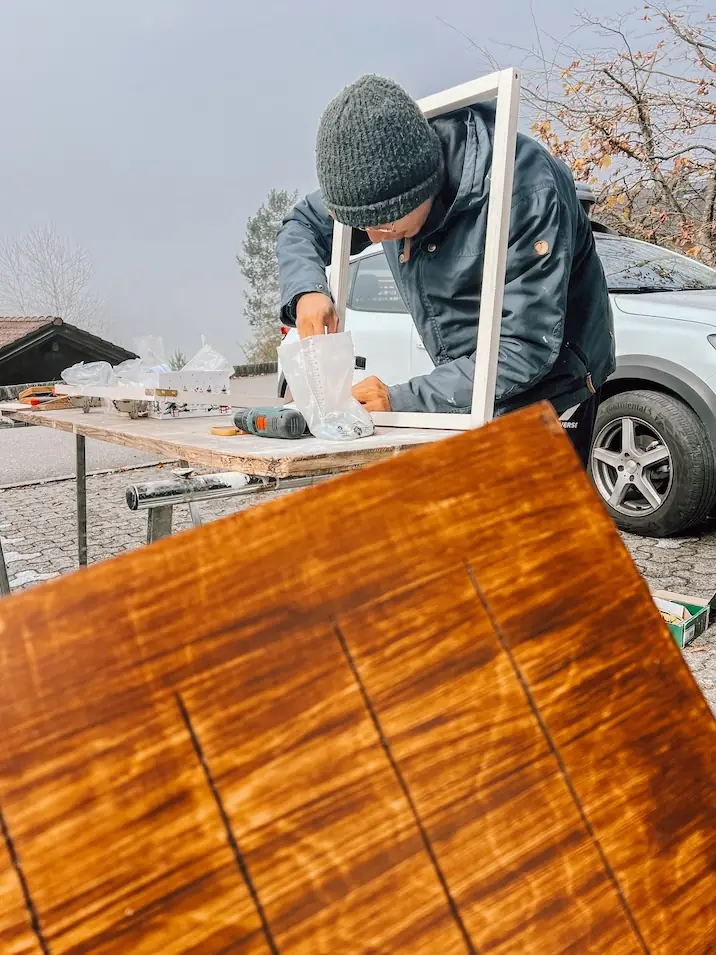
For us, building it ourselves paid off. We know every single screw, and Humbär turned out exactly the way we pictured him. Wherever something really mattered to us, we got to decide where the money went.
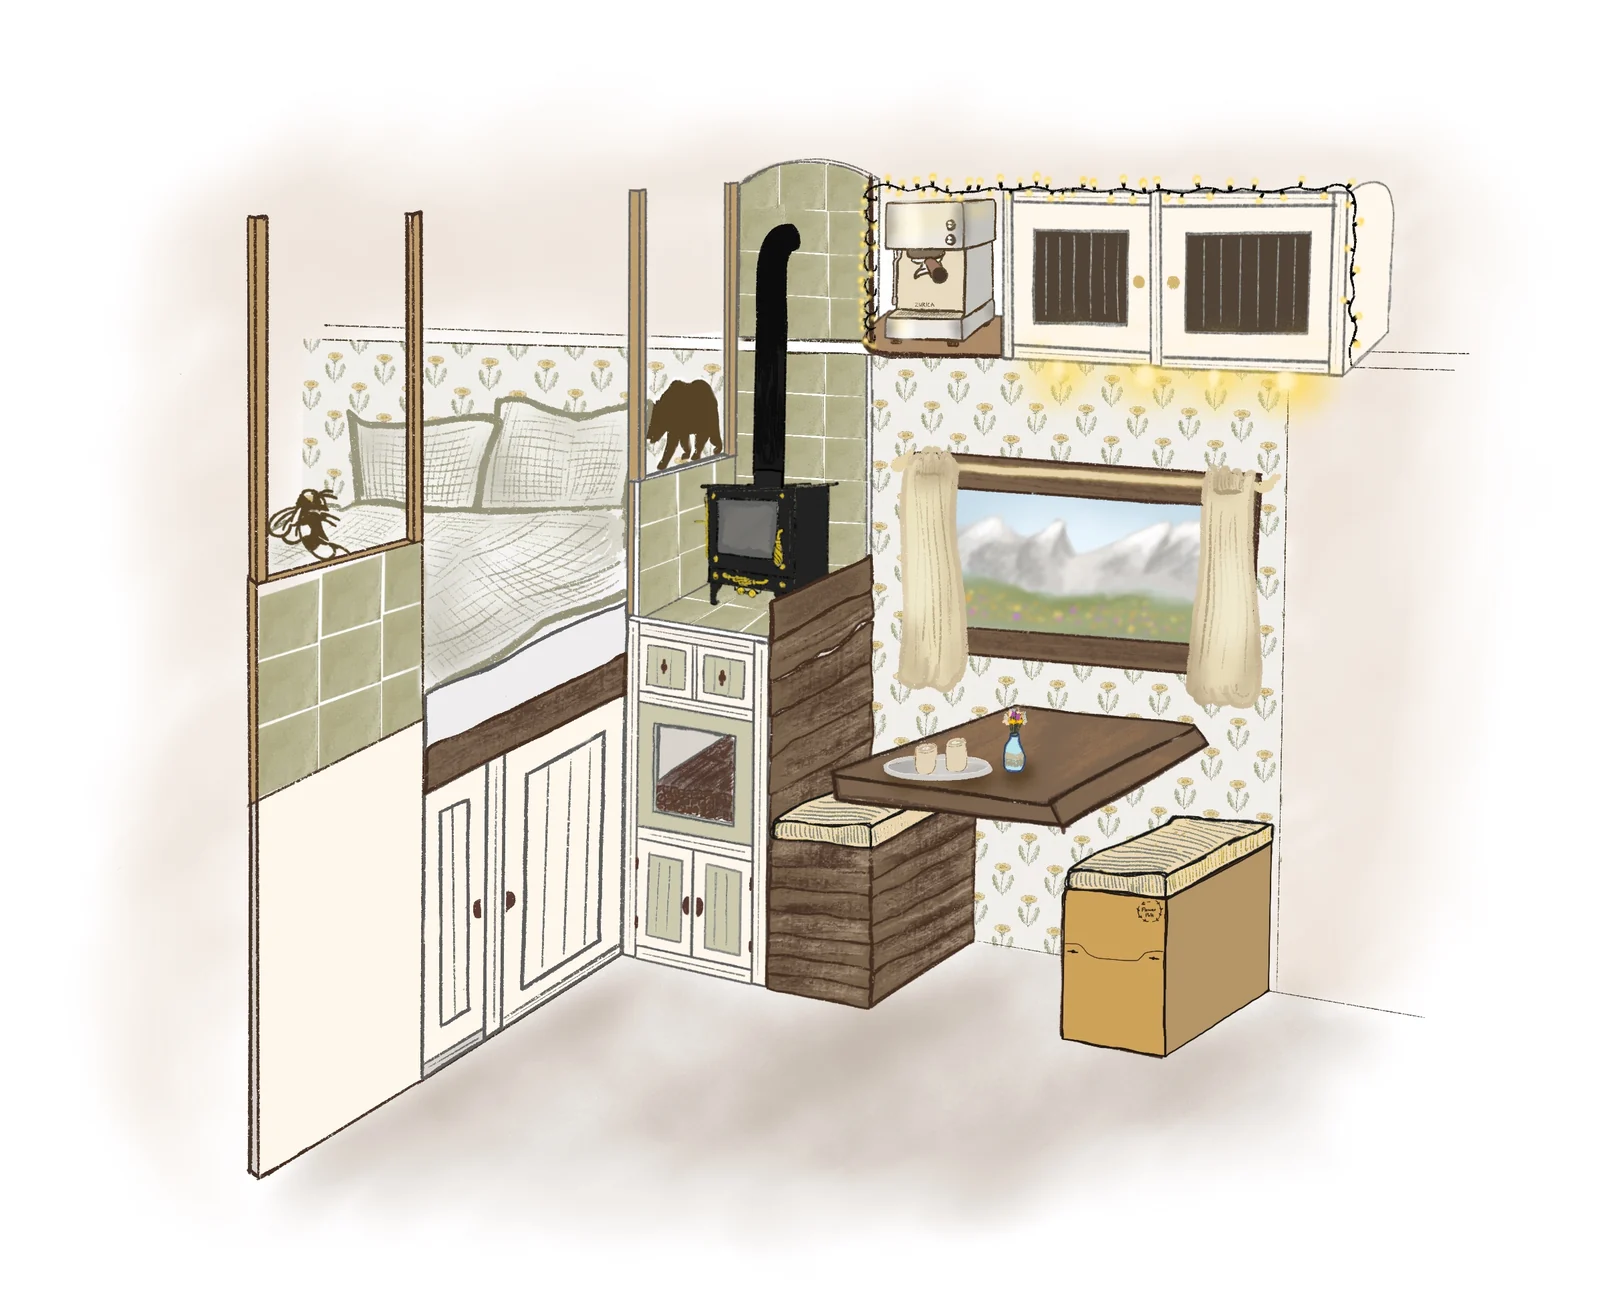
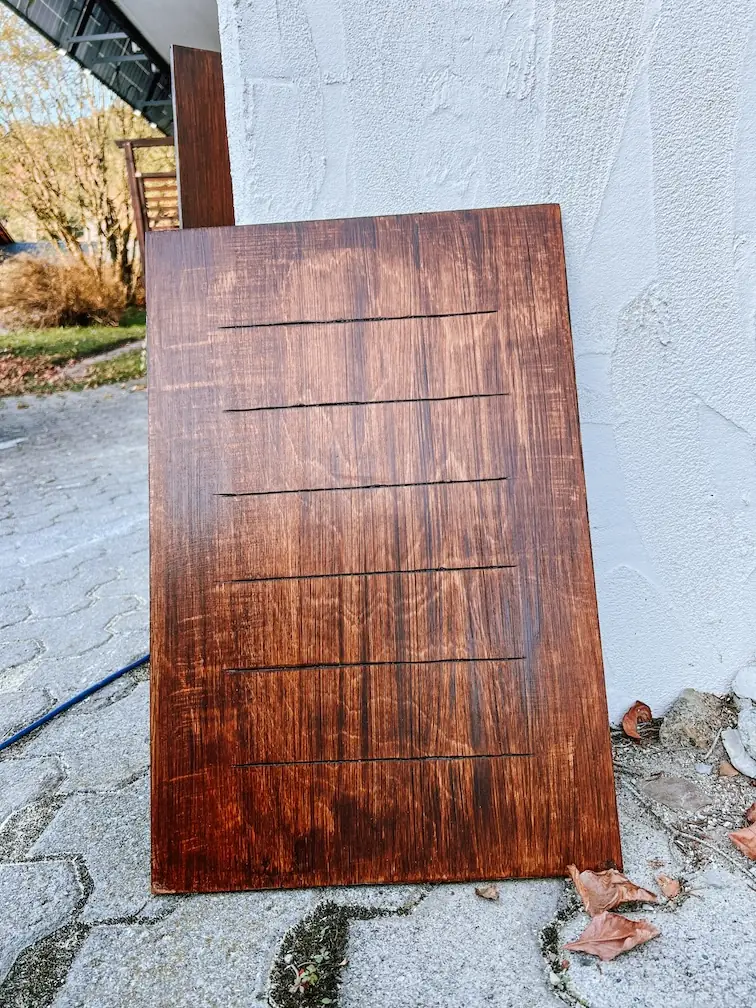
Evelyne designed the entire interior on paper first, then brought it to life in the van, just the way we'd pictured it
Whether a DIY build is cheaper than a used camper in general is hard to say, though. Factor in the tools, a place to build and all those hours, and you might land on a different answer. A ready-made camper can be just as well equipped, or better. Just not necessarily the way we'd want it. In the end, though, it was never really about the money or the time. It was about building a camper that feels like home and reflects who we are in the most beautiful way.
And then there's everything we learned in a year and a half of building. That part is priceless.
What do you regret about Humbär?
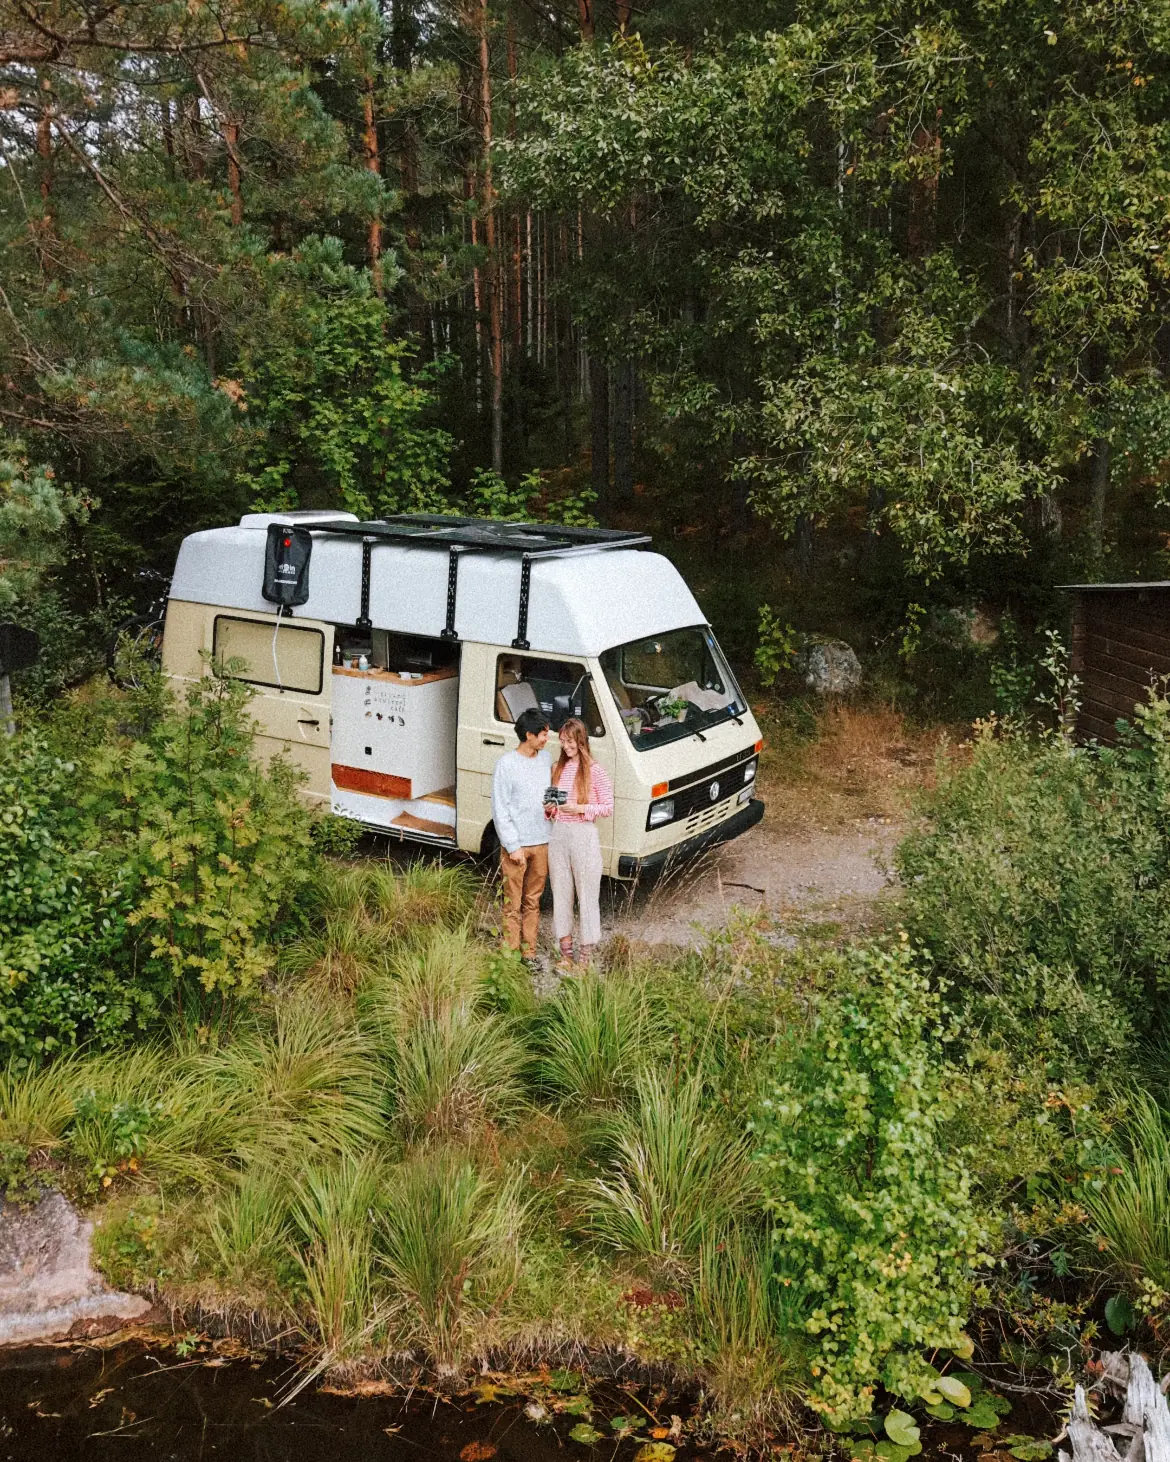
About the build? Hardly anything! We're so glad for every minute we poured into Humbär. All those big and little decisions pay off every single day on the road, from the well-thought-out water system to the outlets sitting exactly where you need them.
That said, we'd be lying if we told you Humbär is perfect.
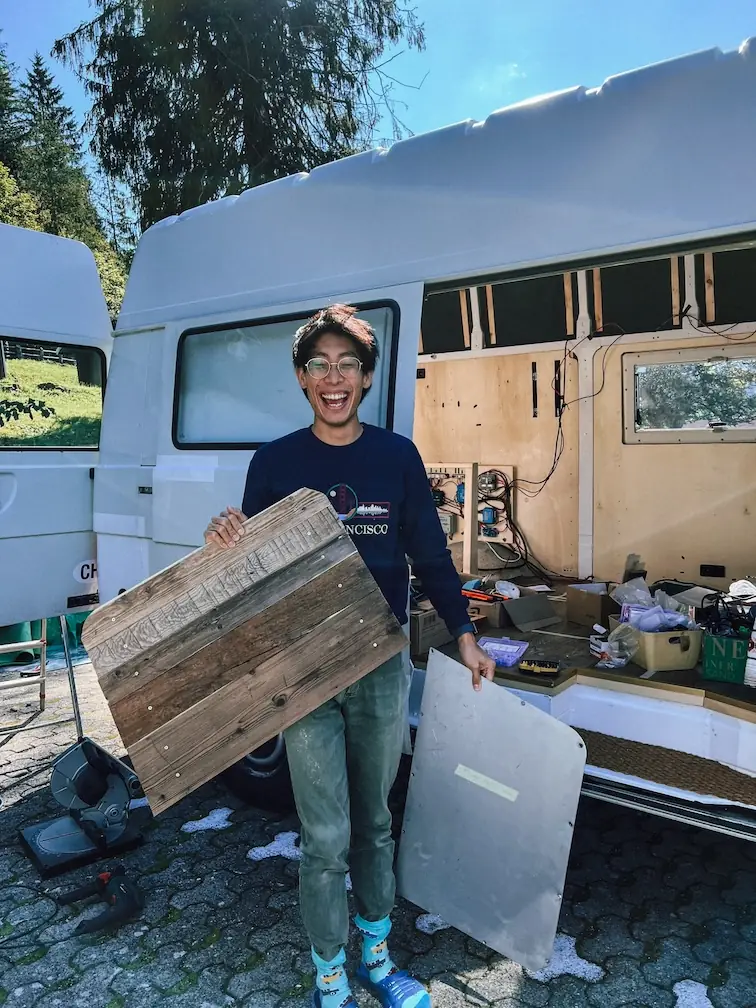
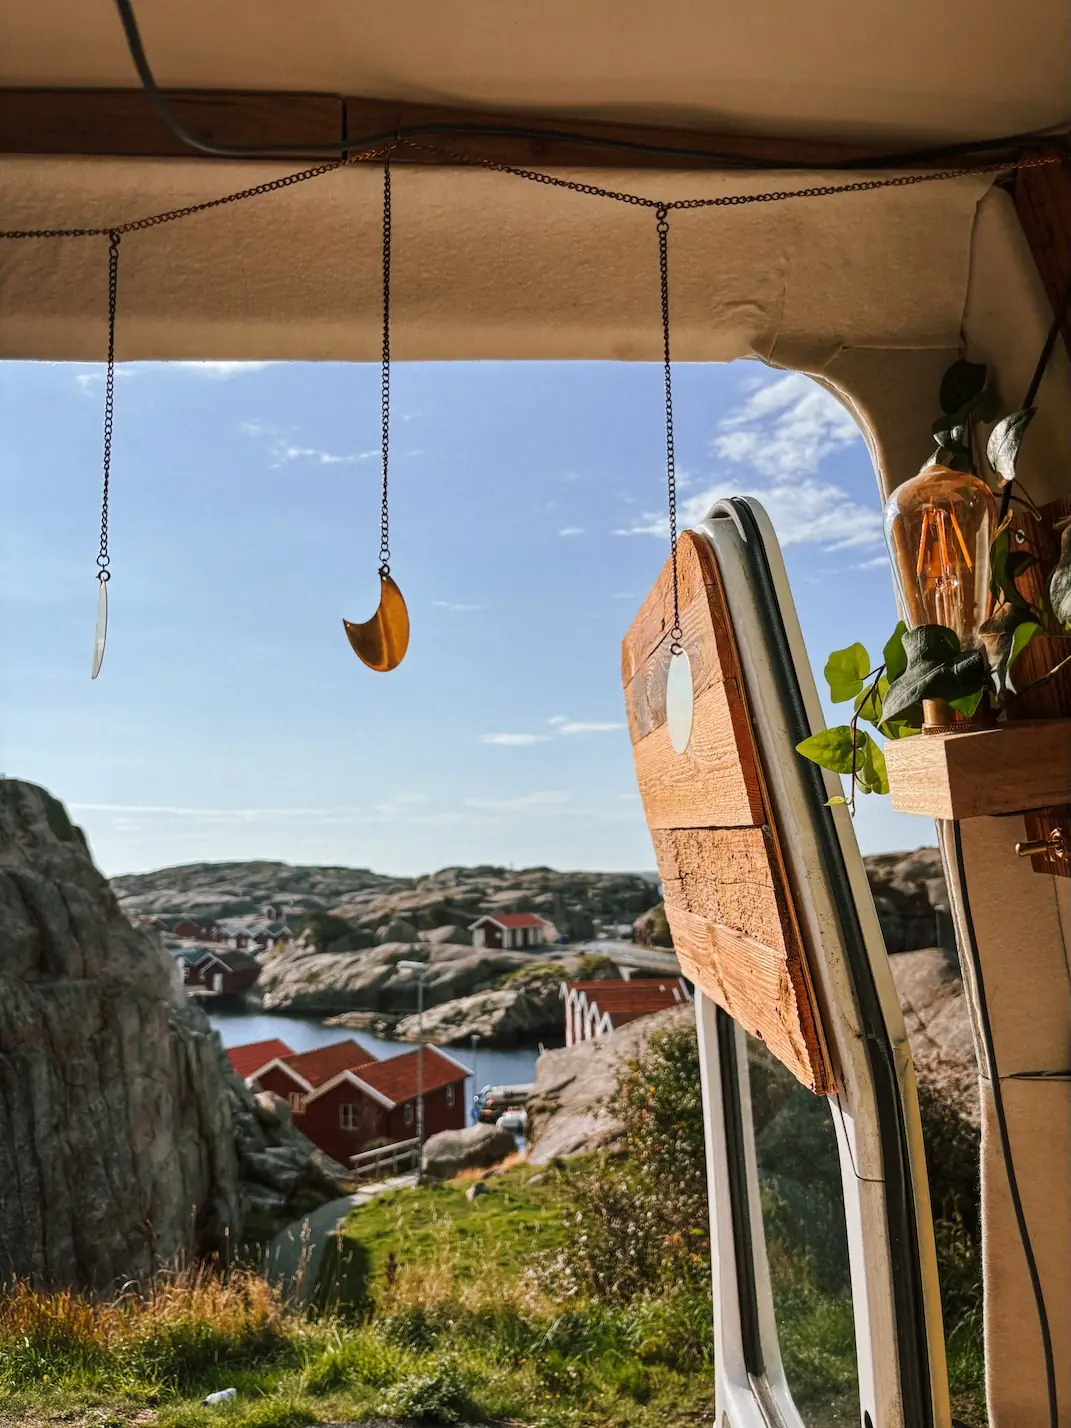
The thing that genuinely bugs us a little is the height of the windows. With the high roof we stand pretty tall in there, while the windows still sit at their original height. Translation: if you want to soak up the view, you have to duck down first. The rear windows sit so low, too, that from inside we barely catch a glimpse of the scenery. Luckily there's an easy fix: fling open the back doors!
Would we convert an old van into a camper again?
Funny enough, every now and then we catch ourselves wondering whether we'd go through that year and a half of building Humbär all over again.
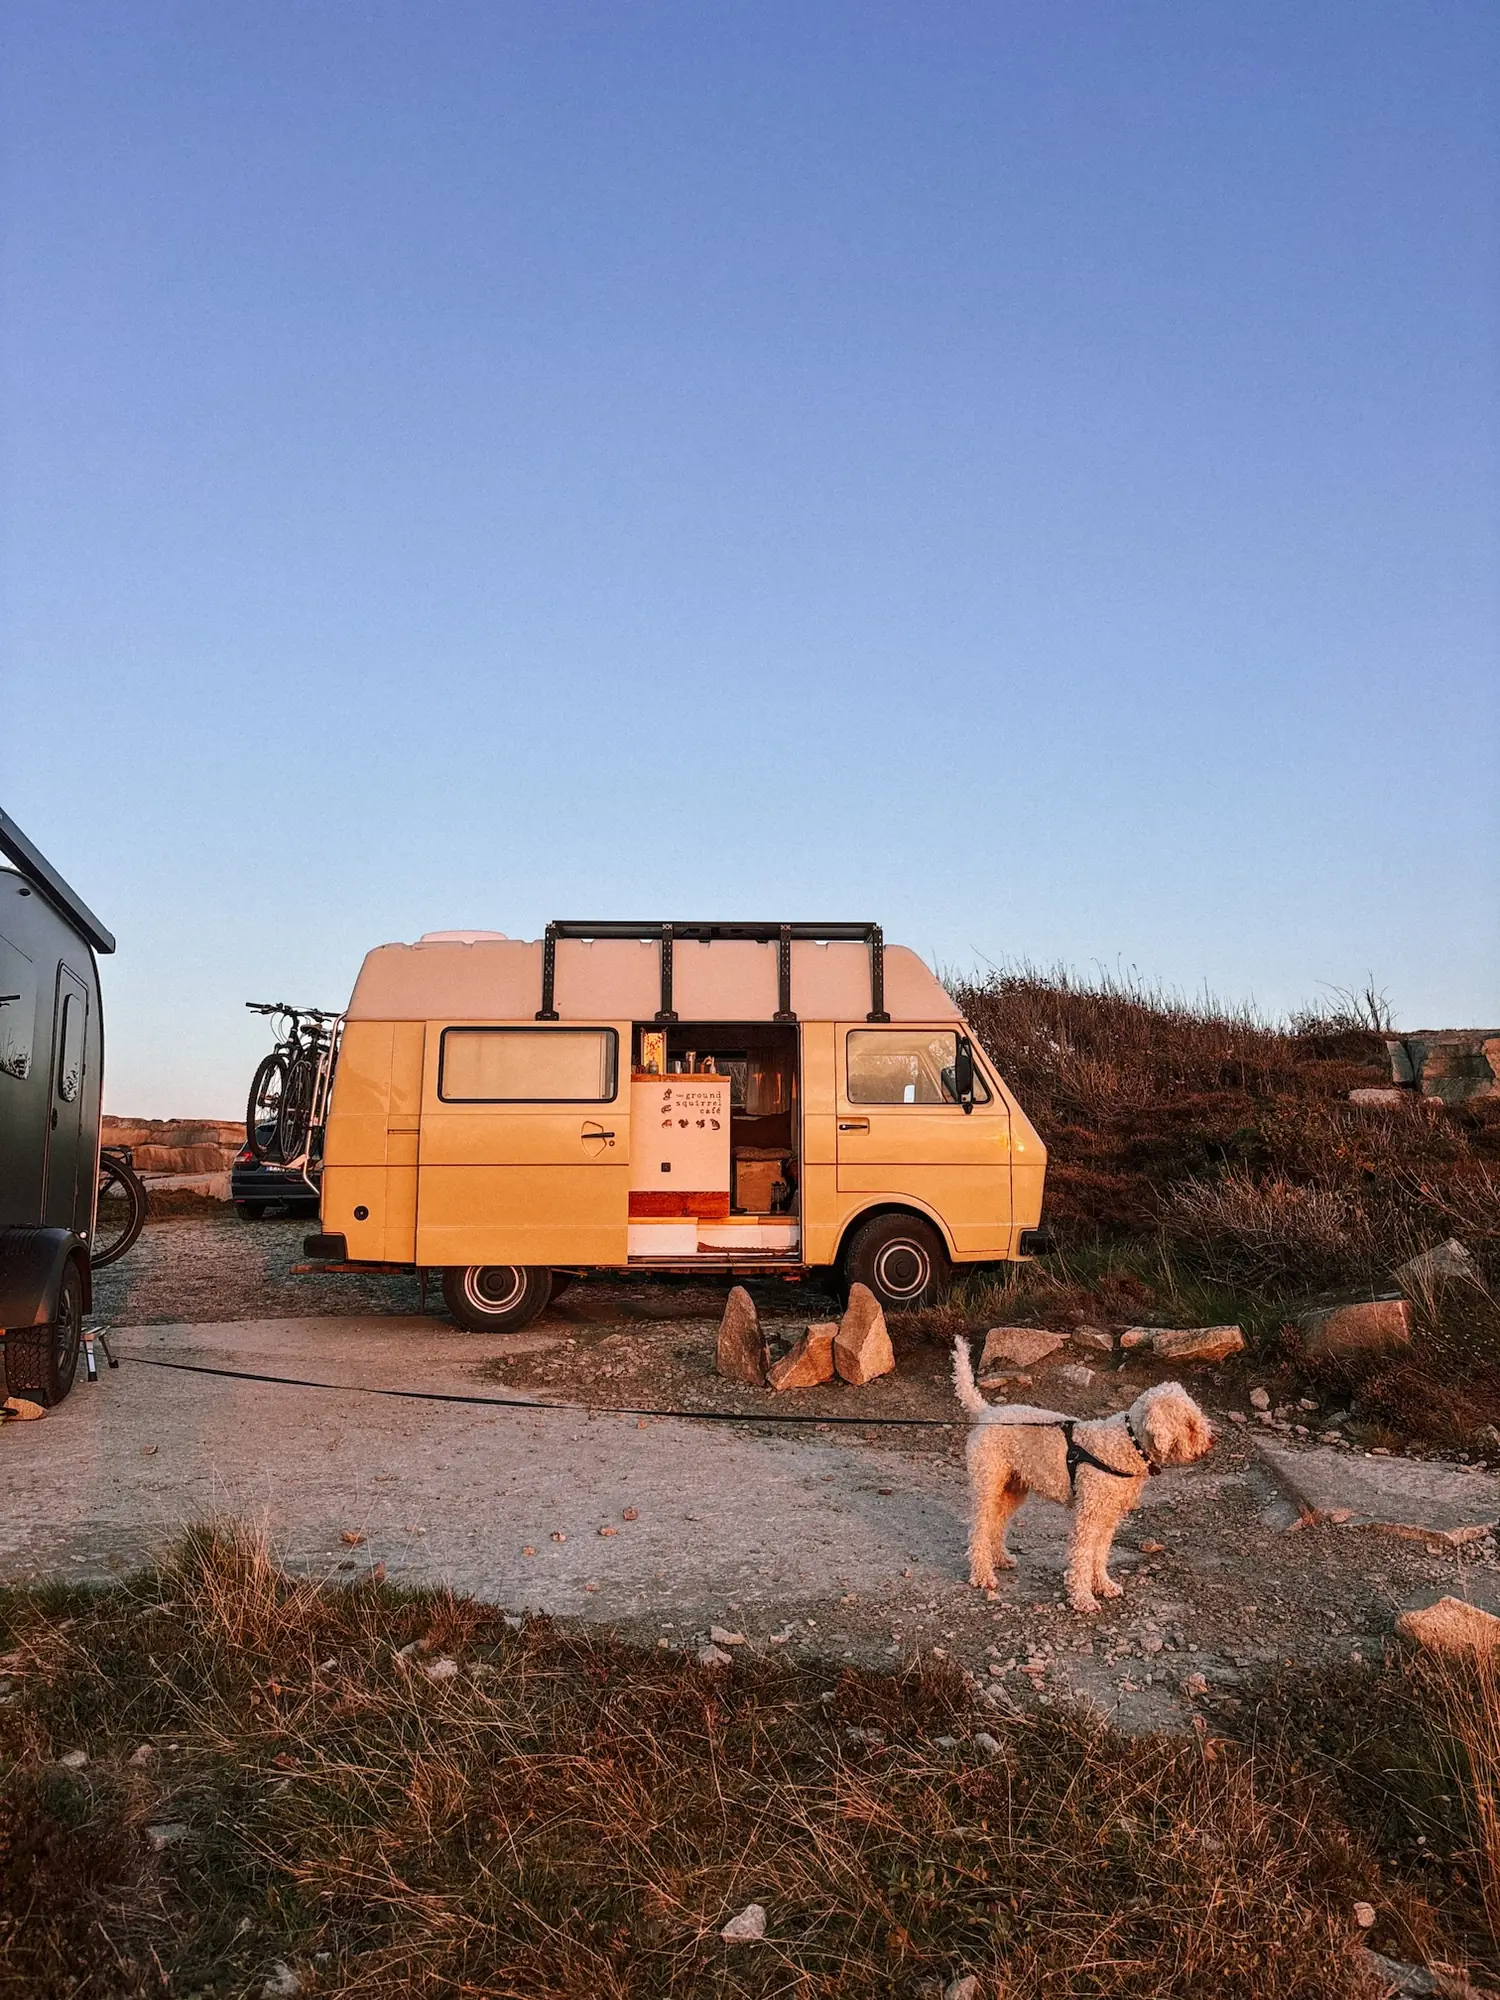
Because we have to come clean about one thing: Humbär isn't exactly the most rational way to get from A to B. He's old, not what you'd call thrifty, and about every six months he needs a solid dose of TLC. In return, this old van has taught us an incredible amount. Woodworking, electrics, fighting rust: all skills that will come in handy one day when we fix up a house of our own.
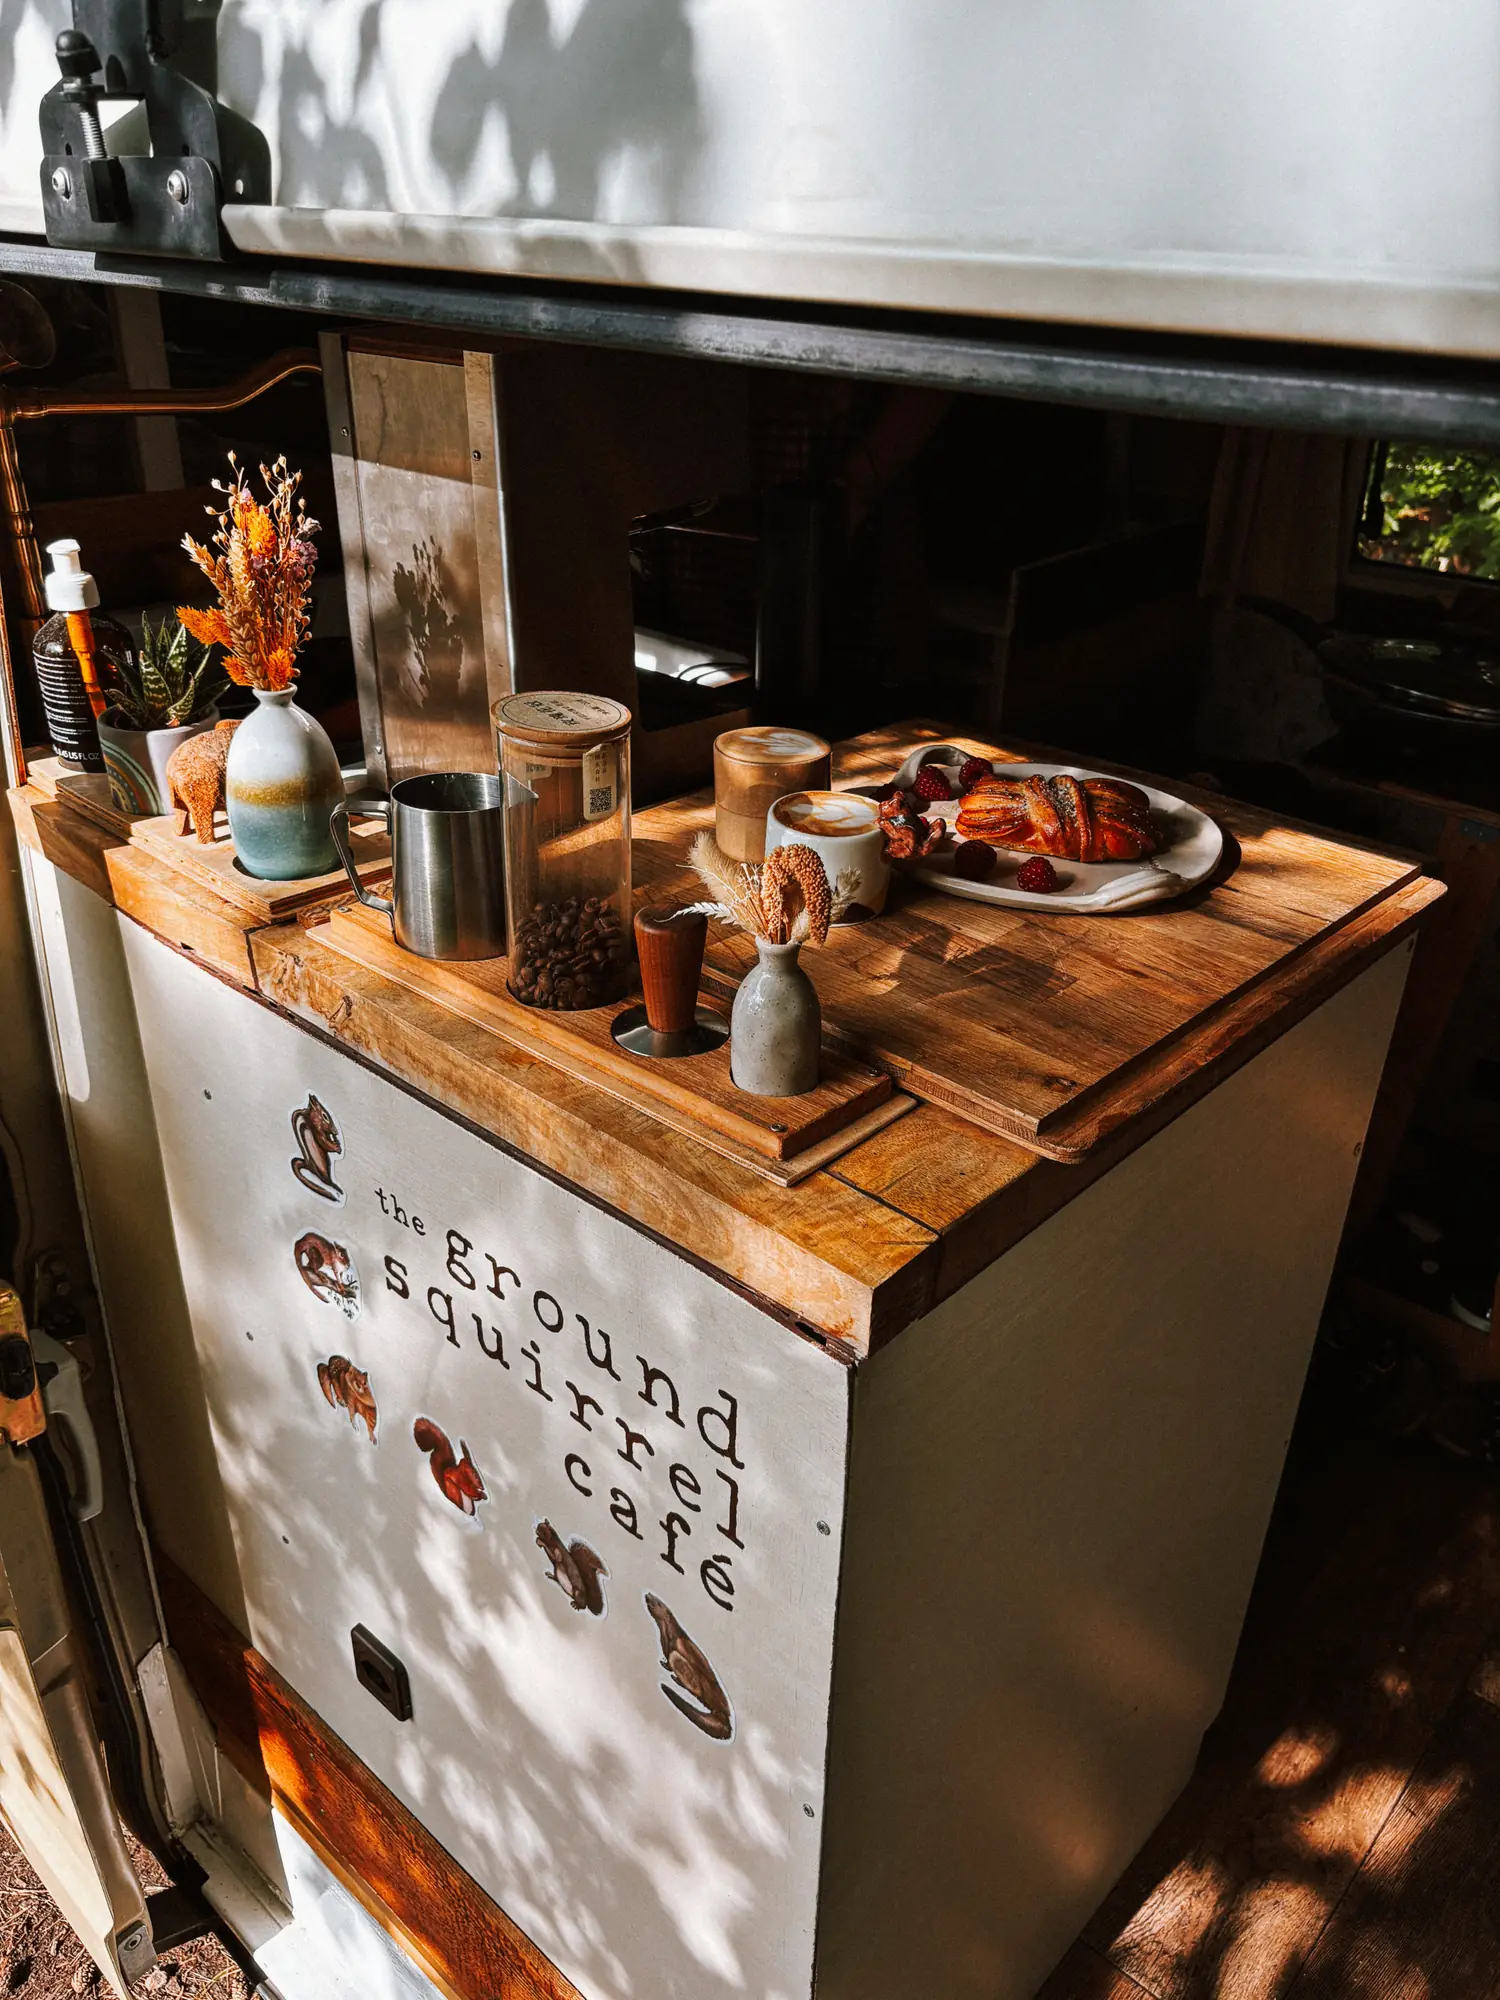
And today, when we swing open the back doors somewhere with a killer view, brew some coffee and have breakfast, we're grateful for every hour at the hardware store and every tiny detail we put in back then.
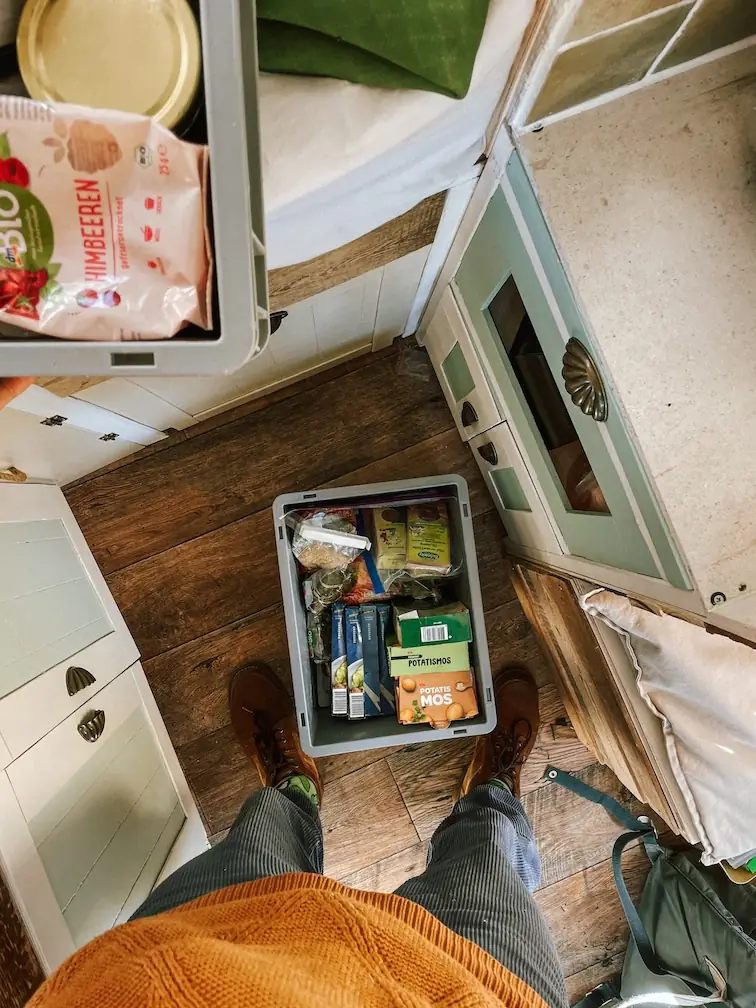
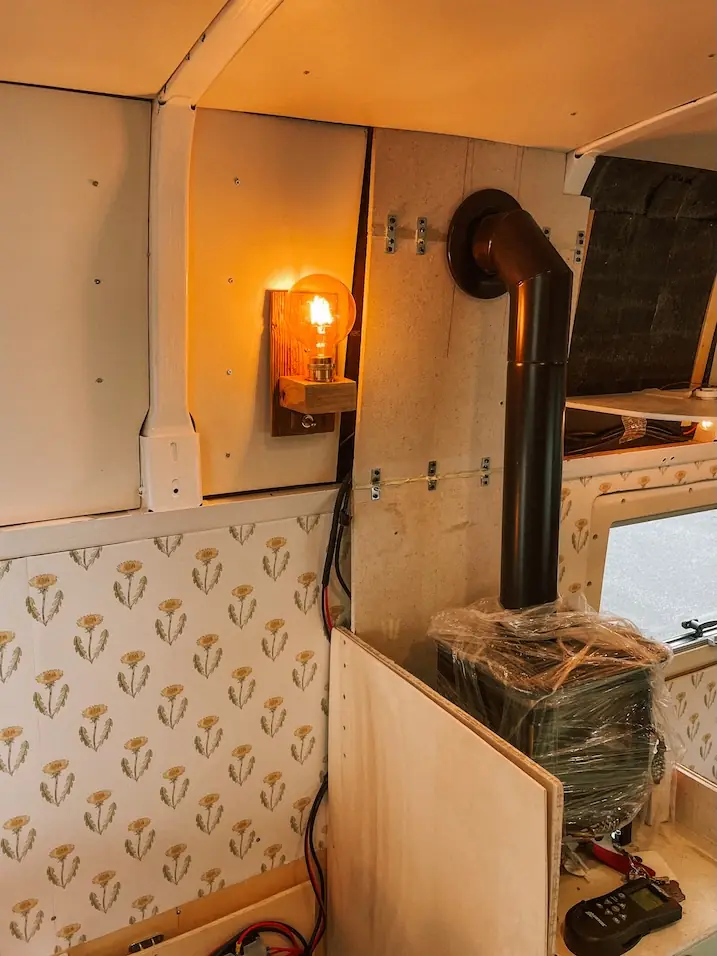
Like we said, Humbär isn't perfect. We know pretty much exactly where we simply ran out of steam and decided: that's it, we're hitting the road. But somehow that's part of him too. For now, anyway, we're pretty happy to spend our weekends traveling and soaking it all in instead of sawing, sanding and driving screws.
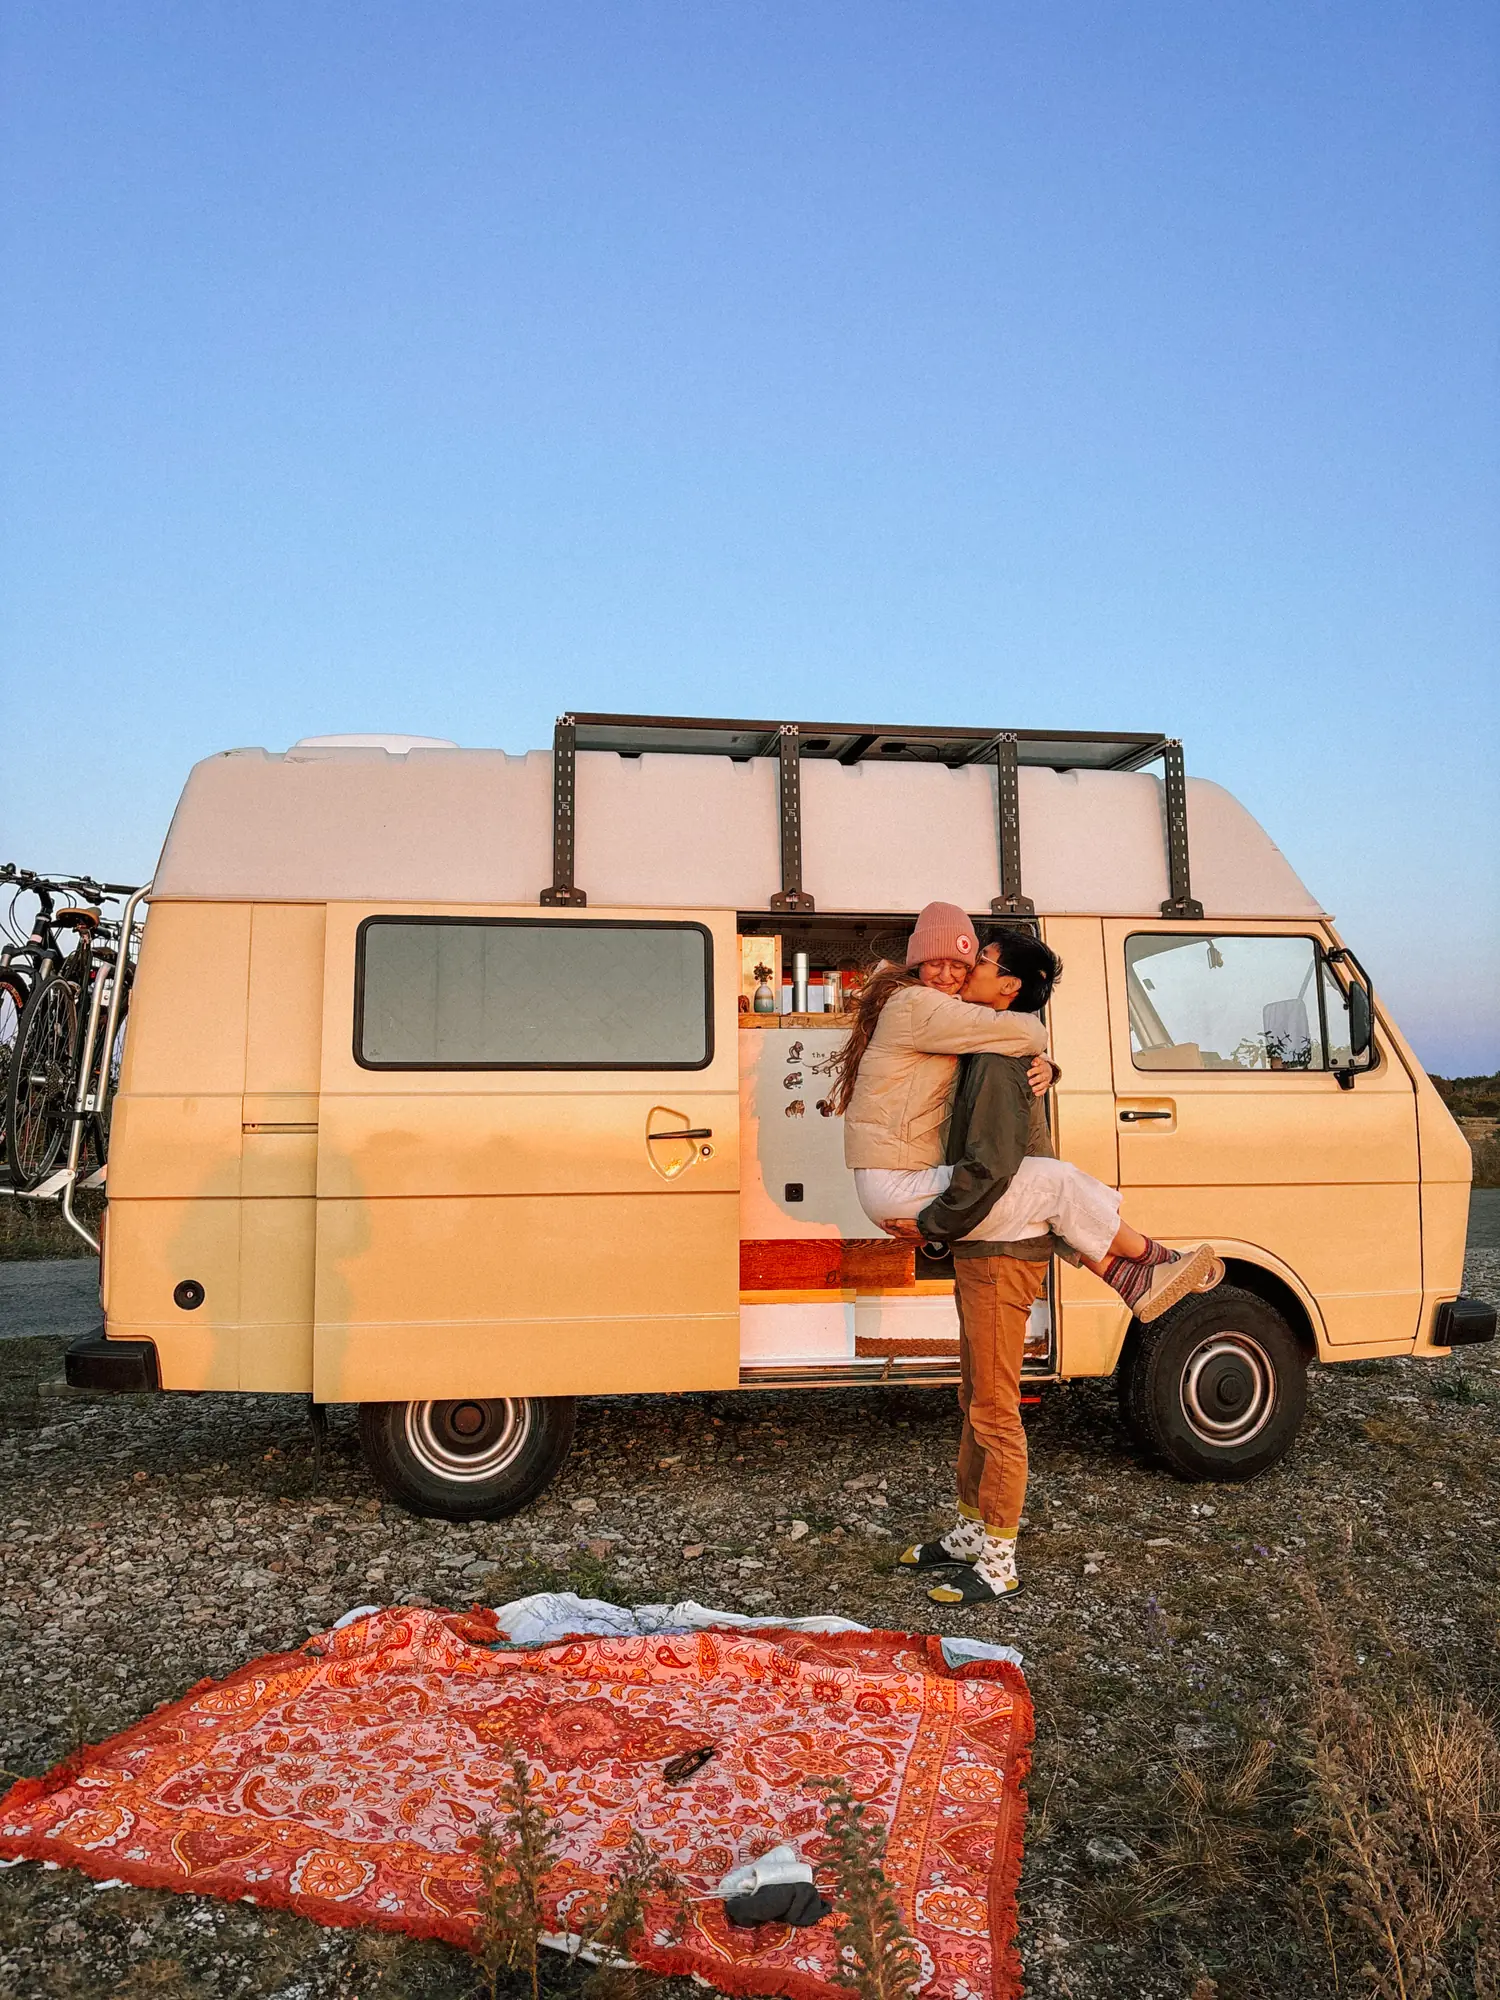
So, would we build out a van again? Tough one. Life is short, and there are so many wonderful things you can do with your time. In another timeline we might have spent that year and a half working in Yosemite, backpacking through Southeast Asia and Australia, or building a tiny house in an enchanted Swedish forest and opening a little bakery there. Every one of those sounds at least as lovely.
But in this timeline, we poured our time, our energy and a whole lot of love into Humbär. And now we get to roam all the places with him that we dreamed about while we were building.
So would we do it again? No clue. But we wouldn't trade Humbär for anything.
 From the journalVanlife Without Gas? What Our Camper Electrical System Does All DayAn induction cooktop, an espresso machine, a fridge and Starlink - and not a gram of gas. We have been living off-grid in Humbär for more than a year and a half. Here is what we actually use, how much solar comes in, and whether 5 kWh is enough.Read the post →
 From the journalBuilding a Camper Van Water System: Fresh Water, Filters and Waste WaterHow the water system in our campervan works - fresh water tank, Alb Filter filtration, pressure pump and underfloor waste water tank. With a full parts list, filter service intervals and everything we have learned about drinking water on the road. Built into our VW LT35, but it fits any camper or motorhome.Read the post →
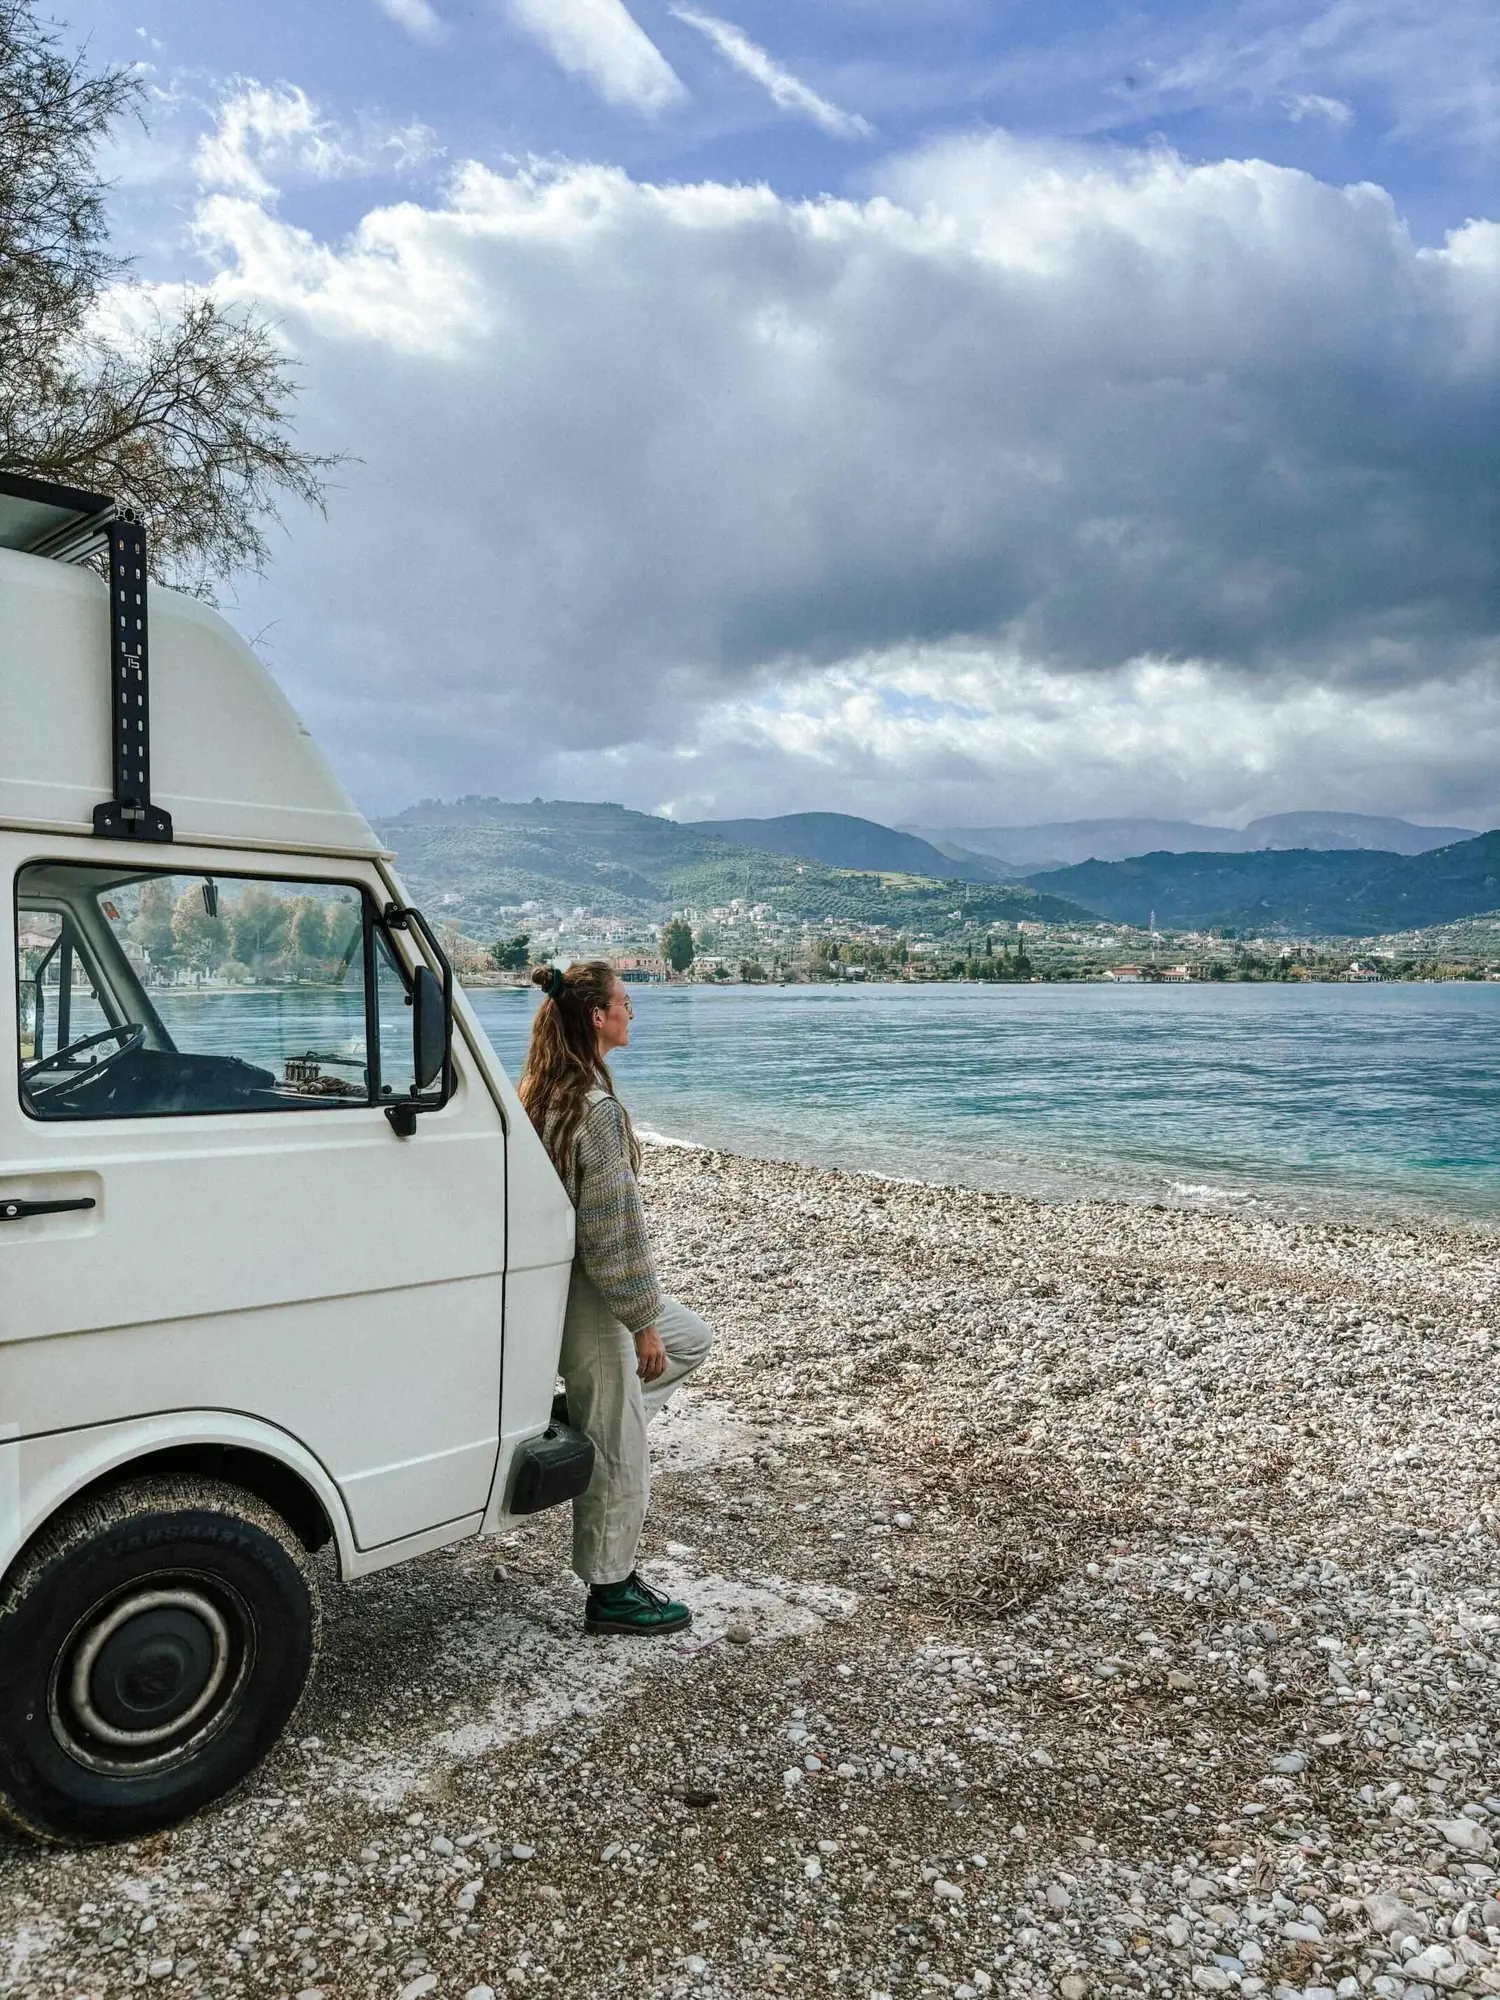 From the journalSpending Winter in Greece: Our Vanlife Adventure, What It's Really Like, The Weather, CampingFrom December to March we spent the winter in Greece with our off-grid camper Humbär, and it quickly became our favorite country for vanlife. How cold it really gets, how often our solar setup needed a plug, what the law says about wild camping, what surprised us about the costs, and the people we met along the way.Read the post →
With 🐿️ by Frank
Wir haben unseren Oldtimer-Van Humbär mit einem klaren Ziel gekauft und ausgebaut: Vanlife. Für einige Jahre sollte er unser Hauptdomizil werden. Dafür haben wir unsere Wohnung gekündigt, um als Digital Nomads vom Van aus zu leben und zu arbeiten. Humbär ist also ganz bewusst als langfristiger Rückzugsort in der Natur gebaut, autark und komfortabel, aber auch ästhetisch. Dabei wollten wir ihn so günstig wie möglich ausbauen, ohne bei den Dingen zu sparen, die uns für einen gemütlichen Alltag im Van wirklich wichtig sind. Falls du dir ebenfalls überlegst, einen Oldtimer für Vanlife auszubauen, hilft dir dieser Blogpost vielleicht ein wenig dabei abzuschätzen, was finanziell auf dich zukommt. Bei uns waren es am Ende CHF 24'836.08.
Was für einen Oldtimer-Van habt ihr euch zugelegt?
Unser Basisfahrzeug Humbär ist ein VW LT 35 aus dem Jahr 1992: ein Kastenwagen mit GFK-Hochdach, und zwar in der kurzen der beiden Varianten. Nach heutiger Bezeichnung wäre das ein L2H2, 4.855 m lang, 2.57 m hoch und 2.04 m breit. Die Ladefläche misst 2.97 m.
Unter der Haube arbeitet ein 2.4-Liter-Sechszylinder-Benziner mit 70 kW. Humbär hat bereits Servolenkung und Katalysator und gehört damit zu den jüngsten seiner Art.
Neben dem LT 35 hatten wir auch den Mercedes-Benz T1 im Blick. Die Wahl fiel aber schnell auf den LT, denn er ist ein gutes Stück breiter. So konnten wir das Bett quer einbauen, und Frank passt mit seinen 1.80 m je nach Frisur haargenau hinein.
Wie viel hat das Basisfahrzeug gekostet?
Wir kaufen uns einen neuen Van
CHF 3'500, und das grenzt fast an ein Wunder. Humbär hatte rund 120'000 km auf dem Tacho und war technisch in gutem Zustand. Direkt nach dem Kauf waren trotzdem kleine Schweissarbeiten und Arbeiten am Getriebe fällig. Die haben wir für rund CHF 1'600 machen lassen.
Der niedrige Kaufpreis war nur der Anfang. Gerade bei einem über 30 Jahre alten Fahrzeug sollte man nicht davon ausgehen, dass mit dem Kauf alles erledigt ist.
Was hat die Rostsanierung beim VW LT 35 gekostet?
Rost und Oldtimer gehören zusammen wie Pech und Schwefel. Nachdem wir Humbär ausgeräumt und den Riffelblechboden entfernt hatten, kam der Schreck: zwei grosse Rostlöcher. Dazu kam ein bekanntes Problem beim VW LT 1: Rost entlang der Windschutzscheibe. Also ab in die Werkstatt.
Die Rostsanierung kostete uns stolze CHF 4'862.85. Teuer, aber nötig, denn ohne solide Basis lohnt sich kein Ausbau. Dazu kamen rund CHF 290 für Lack, Rostumwandler und Schleifmaterial.
Später haben wir Humbär in Griechenland neu lackieren lassen, inklusive weiterer Restaurierungs- und Rostarbeiten, zu einem für uns sehr fairen Preis.
Wie lange hat der Ausbau gedauert und wie viel hat er gekostet?
CHF 24'836.08Total
- AutoCHF 10'285.8541 %
- InteriorCHF 6'301.7825 %
- ElektrikCHF 3'921.8816 %
- ExteriorCHF 2'118.039 %
- SanitärCHF 1'956.138 %
- KonstruktionCHF 252.411 %
Alle Preise in CHF. Nicht enthalten ist die spätere Lackierung in Griechenland.
Unter Konstruktion (CHF 252.41) haben wir Werkzeug und Kleinmaterial wie Sikaflex und Sägeblätter erfasst.
Ehrlich gesagt: Fertig wird man nie. Aus geplanten 6 Monaten wurden ganz schnell 18. Irgendwann haben wir einfach gesagt: Wir fahren jetzt los, sonst fahren wir nie.
Wir hatten beide Vollzeitjobs. Unter der Woche stand Humbär in einer überdachten Halle, am Wochenende sind wir zu Evelynes Elternhaus gefahren und haben auf dem Parkplatz gebaut. Samstags wurde geschliffen, gesägt, konstruiert und im Baumarkt eingekauft. Sonntags kamen aus Rücksicht auf die Nachbarschaft die leisen Arbeiten dran, wie Streichen und Einbauen.
Allein von der Abholung Anfang Februar bis Ende 2024 waren das 48 Wochenenden. Bei rund acht Stunden pro Tag sind das gut 750 Stunden pro Person, zu zweit über 1'500 Stunden.
Vor dem Ausbau hatten wir grob geschätzt: Wenn Humbär inklusive Ausbau unter CHF 30'000 bleibt, ist das ein gutes Ergebnis, auch mit unseren Sonderwünschen wie dem Holzofen. Am Ende haben wir für das Fahrzeug, die ersten Renovationsarbeiten und den gesamten Innen- und Aussenausbau CHF 24'836.08 bezahlt. Ziel erreicht!
Wie viel habt ihr für Dämmung, Boden und Möbel im Innenausbau ausgegeben?
Mehr als gedacht! In der Kategorie Interior sind insgesamt CHF 6'301.78 zusammengekommen. Ohne Holzofen (CHF 1'438) und Kühlschrank (CHF 338.40) sind es rund CHF 4'525 für Dämmung, Boden, Holz, Möbel und Küche.
Vor allem Holz ist in der Schweiz teuer. Während der Bauphase sind wir selten mit weniger als CHF 100 aus dem Hornbach spaziert.
Dämmung: Gedämmt haben wir mit Armaflex in 6 und 19 mm, insgesamt rund 27 m². Die Holme und Träger haben wir zusätzlich mit Filz isoliert.
Boden: Das Fundament besteht aus Holzleisten mit Isolation dazwischen, darauf kamen OSB-Platten und ein aufgeklebter PVC-Boden. Das würden wir heute anders machen: OSB-Platten sind ziemlich instabil, hier hätten wir besser in ein solideres Material investiert.
Wände: Verkleidet haben wir sie mit Sperrholz, die Kabel laufen unsichtbar dahinter. Als Gestaltungselement haben wir uns eine schwedische Tapete gegönnt.
Zeichnung der Küchenzeile und der Hängeschränke von Evelyne
Küche: Hier ist übrigens nichts speziell fürs Camping gemacht. Spülbecken, Armatur und Induktionsplatte sind ganz normale Haushaltsgeräte, vieles davon von IKEA. Die einzige Ausnahme ist unsere Kühlbox mit zwei Fächern, die extra fürs Camping gemacht ist. Montiert haben wir sie auf einer Schwerlastschiene.
Was haben Fenster, Dachlüfter und Dachträger gekostet?
Für eine wohnliche Atmosphäre mit viel Licht haben wir ein grosses Skylight eingebaut und ein Fenster genau dort, wo unser Esstisch steht. Über der Küche sitzt der beliebte Maxxfan, der Luft sowohl hinein- als auch hinausziehen kann.
Aufs Dach kam ein Dachträger aus acht Trägern, die mit Aluminiumprofilen verbunden sind. Darauf sind unsere vier Solarpanels montiert. Später haben wir Humbär noch mit einem Fahrradträger von Fiamma ausgestattet. Insgesamt hat uns der Aussenausbau CHF 2'118.03 gekostet.
Wie viel kostet es, einen autarken Camper mit Solaranlage und Lithiumbatterie zu bauen?
Unser Ziel war, längere Zeit frei und autark zu stehen. Dafür haben wir eine 5-kWh-Lithiumbatterie, 500 Wp Solar auf dem Dach und einen kräftigen Wechselrichter eingeplant. Wie sich das System nach 1.5 Jahren unterwegs schlägt, liest du in diesem Artikel.
Nach dem Innenausbau ist die Elektrik der grösste Posten im Ausbau. Insgesamt haben wir CHF 3'921.88 in unsere Elektrik investiert. So verteilt sich der Betrag:
Mit der grossen Batterie können wir ohne Gas kochen, und Solar hilft uns, unterwegs unabhängig zu bleiben. Das heisst allerdings nicht, dass die Sonne immer genug liefert: Gerade im Winter und bei längeren Schlechtwetterphasen müssen wir unseren Verbrauch im Auge behalten oder Landstrom nutzen.
Dafür sparen wir uns sämtliche Kosten für Gas. Weil wir ausschliesslich mit Induktion kochen, müssen wir unterwegs nie Gasflaschen nachfüllen oder tauschen, was schnell ins Geld geht, und brauchen auch keine Gasprüfung.
Was für ein Wassersystem habt ihr im Camper und was kostet es?
Vor dem Bau haben wir genau abgewogen, wie gross unser Wassersystem sein soll. Uns war eine bequeme Lösung wichtig: keine Plastikflaschen und kein Herumschleppen von Kanistern. Deshalb haben wir einen 84-Liter-Frischwassertank und einen 54-Liter-Abwassertank unterflur verbaut. Allein der Abwassertank kostete samt Montageset CHF 226.15.
Auf eine Dusche haben wir verzichtet, weil uns die Feuchtigkeit im Innenraum zu riskant war. Auch Warmwasser gibt es bei uns nicht: zu viel Energie für zu viel Komplexität.
Das Wassersystem hat uns rund CHF 946 gekostet. Unsere detaillierte Teileliste findest du in diesem Blogpost, falls du es nachbauen möchtest.
Bei der Wasserqualität haben wir keine Kompromisse gemacht. Wir wollten unterwegs das bestmögliche und sicherste Wasser, deshalb haben wir von Anfang an in das beste Filtersystem investiert.
Was für eine Toilette habt ihr im Van und wie viel hat sie gekostet?
Eine Toilette an Bord war für uns nicht verhandelbar. Gerade wenn man gerne abseits von Campingplätzen unterwegs ist, finden wir es wichtig, seine Hinterlassenschaften nicht in der Natur zu lassen. Das ist angenehmer für alle und hilft, solche Orte langfristig zu erhalten.
Wir haben uns für eine chemie- und plastikfreie Trockentrenntoilette der Schweizer Firma Flower Pott entschieden, Modell Bonsai, für CHF 1'050. Den Urintank leeren wir zu zweit etwa alle drei Tage. Die Feststoffe landen in Holzmehl, werden alle vier Stunden elektrisch gekurbelt und können nach zwei Wochen entsorgt oder kompostiert werden.
Wo konntet ihr beim Camper-Ausbau am meisten Geld sparen?
Die wichtigste Erkenntnis: Du bist nicht die einzige Person, die gerade einen Van ausbaut! Viele, die fertig sind, verkaufen ihre Restposten auf tutti.ch (in Deutschland auf Kleinanzeigen). Oft ist das Material neu und trotzdem bis zur Hälfte günstiger als im Laden. So kamen wir zu 8 m² Armaflex für CHF 115, Alubutyl für CHF 30 und sogar zu unserem Frischwassertank: CHF 40 statt CHF 140.
Sogar Werkzeug haben wir auf tutti gefunden, zum Beispiel eine Stichsäge für CHF 20 und eine Bohrmaschine für CHF 50. Fast geschenkt!
Welche Dinge waren ihren Preis wirklich wert?
Unser Holzofen ist wunderschön, aber zugegebenermassen nicht gerade die vernünftigste Investition. Für die CHF 1'438 hätten wir uns genauso gut eine Dieselstandheizung einbauen können. Die wäre vermutlich praktischer gewesen und hätte uns einiges an Arbeit erspart. Aber wie so oft bei unserem alten Humbär gilt: Romantik vor Vernunft.
Wofür wir dagegen jederzeit wieder Geld ausgeben würden, ist eine leistungsstarke Elektrik (CHF 3'921.88). Dass wir unsere Kaffeemaschine, den Backofen oder den Wasserkocher benutzen können, ohne jedes Mal über den Stromverbrauch nachdenken zu müssen, macht das Leben im Van fast so komfortabel wie in einer Wohnung.
Auch bei der Isolierung hat sich jeder Rappen gelohnt, rund CHF 550 für Armaflex und Alubutyl. Selbst in kalten Nächten hält Humbär die Wärme erstaunlich lange. Wenn wir abends den Holzofen einheizen, bleibt es oft bis zwei oder drei Uhr morgens angenehm warm, also lange genug, bis wir tief und fest schlafen.
Lohnt sich ein Selbstausbau finanziell im Vergleich zu einem fertigen Wohnmobil?
Für uns hat sich der Selbstausbau gelohnt. Wir kennen jede Schraube, und Humbär ist genau so geworden, wie wir ihn uns vorgestellt haben. Wo uns etwas besonders wichtig war, konnten wir selbst entscheiden, wofür wir Geld ausgeben.
Evelyne hat das gesamte Interior zuerst auf Papier entworfen und danach im Van umgesetzt, ganz nach unserer Inspiration und Vorstellung
Ob ein Selbstausbau grundsätzlich günstiger ist als ein gebrauchtes Wohnmobil, lässt sich aber nicht pauschal sagen. Wer Werkzeug, Stellplatz und viele Arbeitsstunden einrechnet, kommt vielleicht zu einem anderen Ergebnis. Ein fertiges Wohnmobil kann ähnlich gut oder besser ausgestattet sein, nur eben nicht unbedingt so, wie wir es uns wünschen. Am Ende ging es uns aber gar nicht um Geld und Zeit, sondern darum, ein Wohnmobil zu bauen, das sich nach Zuhause anfühlt und unsere Charaktere so schön wie möglich widerspiegelt.
Und dann sind da noch die Erfahrungen aus 1.5 Jahren Ausbau. Die sind unbezahlbar.
Was bereut ihr an Humbär?
Am Ausbau? Fast nichts! Wir sind wirklich froh um jede Minute, die wir in Humbär gesteckt haben. Von all den kleinen und grossen Entscheidungen profitieren wir jeden Tag unterwegs: vom durchdachten Wassersystem bis hin zu den Steckdosen, die genau dort sitzen, wo man sie braucht.
Es wäre aber gelogen zu behaupten, dass Humbär perfekt ist.
Was uns tatsächlich ein wenig stört, ist die Höhe der Fenster. Durch das Hochdach stehen wir im Van ziemlich weit oben, während die Fenster noch auf der ursprünglichen Höhe sitzen. Das heisst: Wer die Aussicht geniessen möchte, muss sich erst einmal ordentlich bücken. Auch die Heckfenster sind so tief, dass wir von drinnen kaum etwas von der Landschaft sehen. Zum Glück gibt es dafür eine einfache Lösung: Hecktüren auf!
Würden wir noch einmal einen alten Van zum Camper ausbauen?
Lustigerweise fragen wir uns ab und zu, ob wir die eineinhalb Jahre, die wir in Humbärs Ausbau gesteckt haben, noch einmal durchleben würden.
Denn eines müssen wir zugeben: Humbär ist nicht gerade die vernünftigste Art, von A nach B zu kommen. Er ist alt, nicht besonders sparsam und braucht etwa alle sechs Monate eine ordentliche Portion Aufmerksamkeit. Dafür hat uns dieser alte Van unglaublich viel beigebracht. Vom Holzwerken über Elektrik bis hin zur Rostbekämpfung: alles Dinge, die uns bestimmt einmal zugutekommen, wenn wir unser eigenes Haus renovieren.
Und wenn wir heute irgendwo mit schöner Aussicht die Hecktüren öffnen, Kaffee kochen und frühstücken, sind wir froh um jede Stunde im Baumarkt und um jedes noch so kleine Detail, das wir damals umgesetzt haben.
Perfekt ist Humbär, wie gesagt, nicht. Wir wissen ziemlich genau, an welchen Stellen uns irgendwann einfach die Lust am Bauen vergangen ist und wir beschlossen haben: Jetzt fahren wir los. Aber irgendwie gehört auch das zu ihm. Im Moment sind wir jedenfalls ganz froh, dass wir unsere Wochenenden mit Reisen und Geniessen verbringen statt mit Sägen, Schleifen und Schrauben.
Also, würden wir noch einmal einen Van ausbauen? Schwierig. Das Leben ist kurz, und es gibt so unglaublich viele schöne Dinge, die man mit seiner Zeit anfangen kann. In einer anderen Timeline hätten wir diese eineinhalb Jahre vielleicht damit verbracht, im Yosemite-Nationalpark zu arbeiten, mit dem Rucksack durch Südostasien und Australien zu reisen oder in einem schwedischen Zauberwald ein Tiny House zu bauen und dort eine kleine Bäckerei zu eröffnen. Alles Vorstellungen, die mindestens genauso schön klingen.
Aber in dieser Timeline haben wir unsere Zeit, Energie und ganz viel Liebe in Humbär gesteckt. Und jetzt dürfen wir mit ihm all die Orte entdecken, von denen wir während des Ausbaus geträumt haben.
Würden wir es also noch einmal machen? Keine Ahnung. Aber wir würden Humbär auch gegen nichts eintauschen.
Aus dem JournalVanlife ohne Gas? Unsere Camper-Elektrik im AlltagInduktionskochplatte, Espressomaschine, Kühlschrank und Starlink - und kein Gramm Gas. Seit über anderthalb Jahren stehen wir mit Humbär autark. Was wir tatsächlich verbrauchen, wie viel Solarstrom reinkommt, und ob 5 kWh dafür reichen.Zum Beitrag →
Aus dem JournalWassersystem im Camper selber bauen: Frischwasser, Filter und AbwasserWie unser Wassersystem im Campervan aufgebaut ist: Frischwassertank, Alb Filter Filtersystem, Druckpumpe und Unterflur-Abwassertank - mit Steckbrief, kompletter Stückliste und unseren Erfahrungen aus dem Vanlife. Wir haben es in unseren VW LT35 gebaut, es passt aber in jeden Camper und jedes Wohnmobil.Zum Beitrag →
Aus dem JournalÜberwintern im Van in Griechenland: Kosten, Wetter, Freistehen & unsere ErfahrungenVon Dezember bis März haben wir mit unserem autarken Camper Humbär in Griechenland überwintert, und schnell ist es zu unserem Lieblingsland für Vanlife geworden. Wie kalt es wirklich wird, wie oft unsere Solaranlage eine Steckdose brauchte, was das Gesetz zum Freistehen sagt, was uns bei den Kosten überrascht hat, und wen wir unterwegs getroffen haben.Zum Beitrag →
Mit 🐿️ von Frank
Written by

Engineer, barista & solar wizard
Frank likes lavender, fluffy bumblebees, golden larch trees in fall, and playing the guitar with just four chords.